Homemade exposure unit
So, I decided I wanted to do some screen printing at home. With not having access to any facilities, the one thing I didn’t have at home was an exposure unit to expose images onto screens. I have pretty much everything else I needed to actually print with so it was becoming a little frustrating that this one thing was holding me back.
I have been looking online for some time anyway as this was something I have been thinking of for a while now, but everything I see is very expensive and takes up too much space. I am limited for space in my shed studio. I did however see a small portable exposure unit on the website www.wickedprintstuff.com
https://www.wickedprintingstuff.com/exposing_equipment_digital_screen_makers_and_direct_to_screen_systems/exposure_units/exposure_unit_P1505.html that seemed less expensive and took up less space. Well, it’s not a unit as in a self contained unit, more of a stand with a light. So, after you tubing I decided to try to make my own.
Here’s what I did.
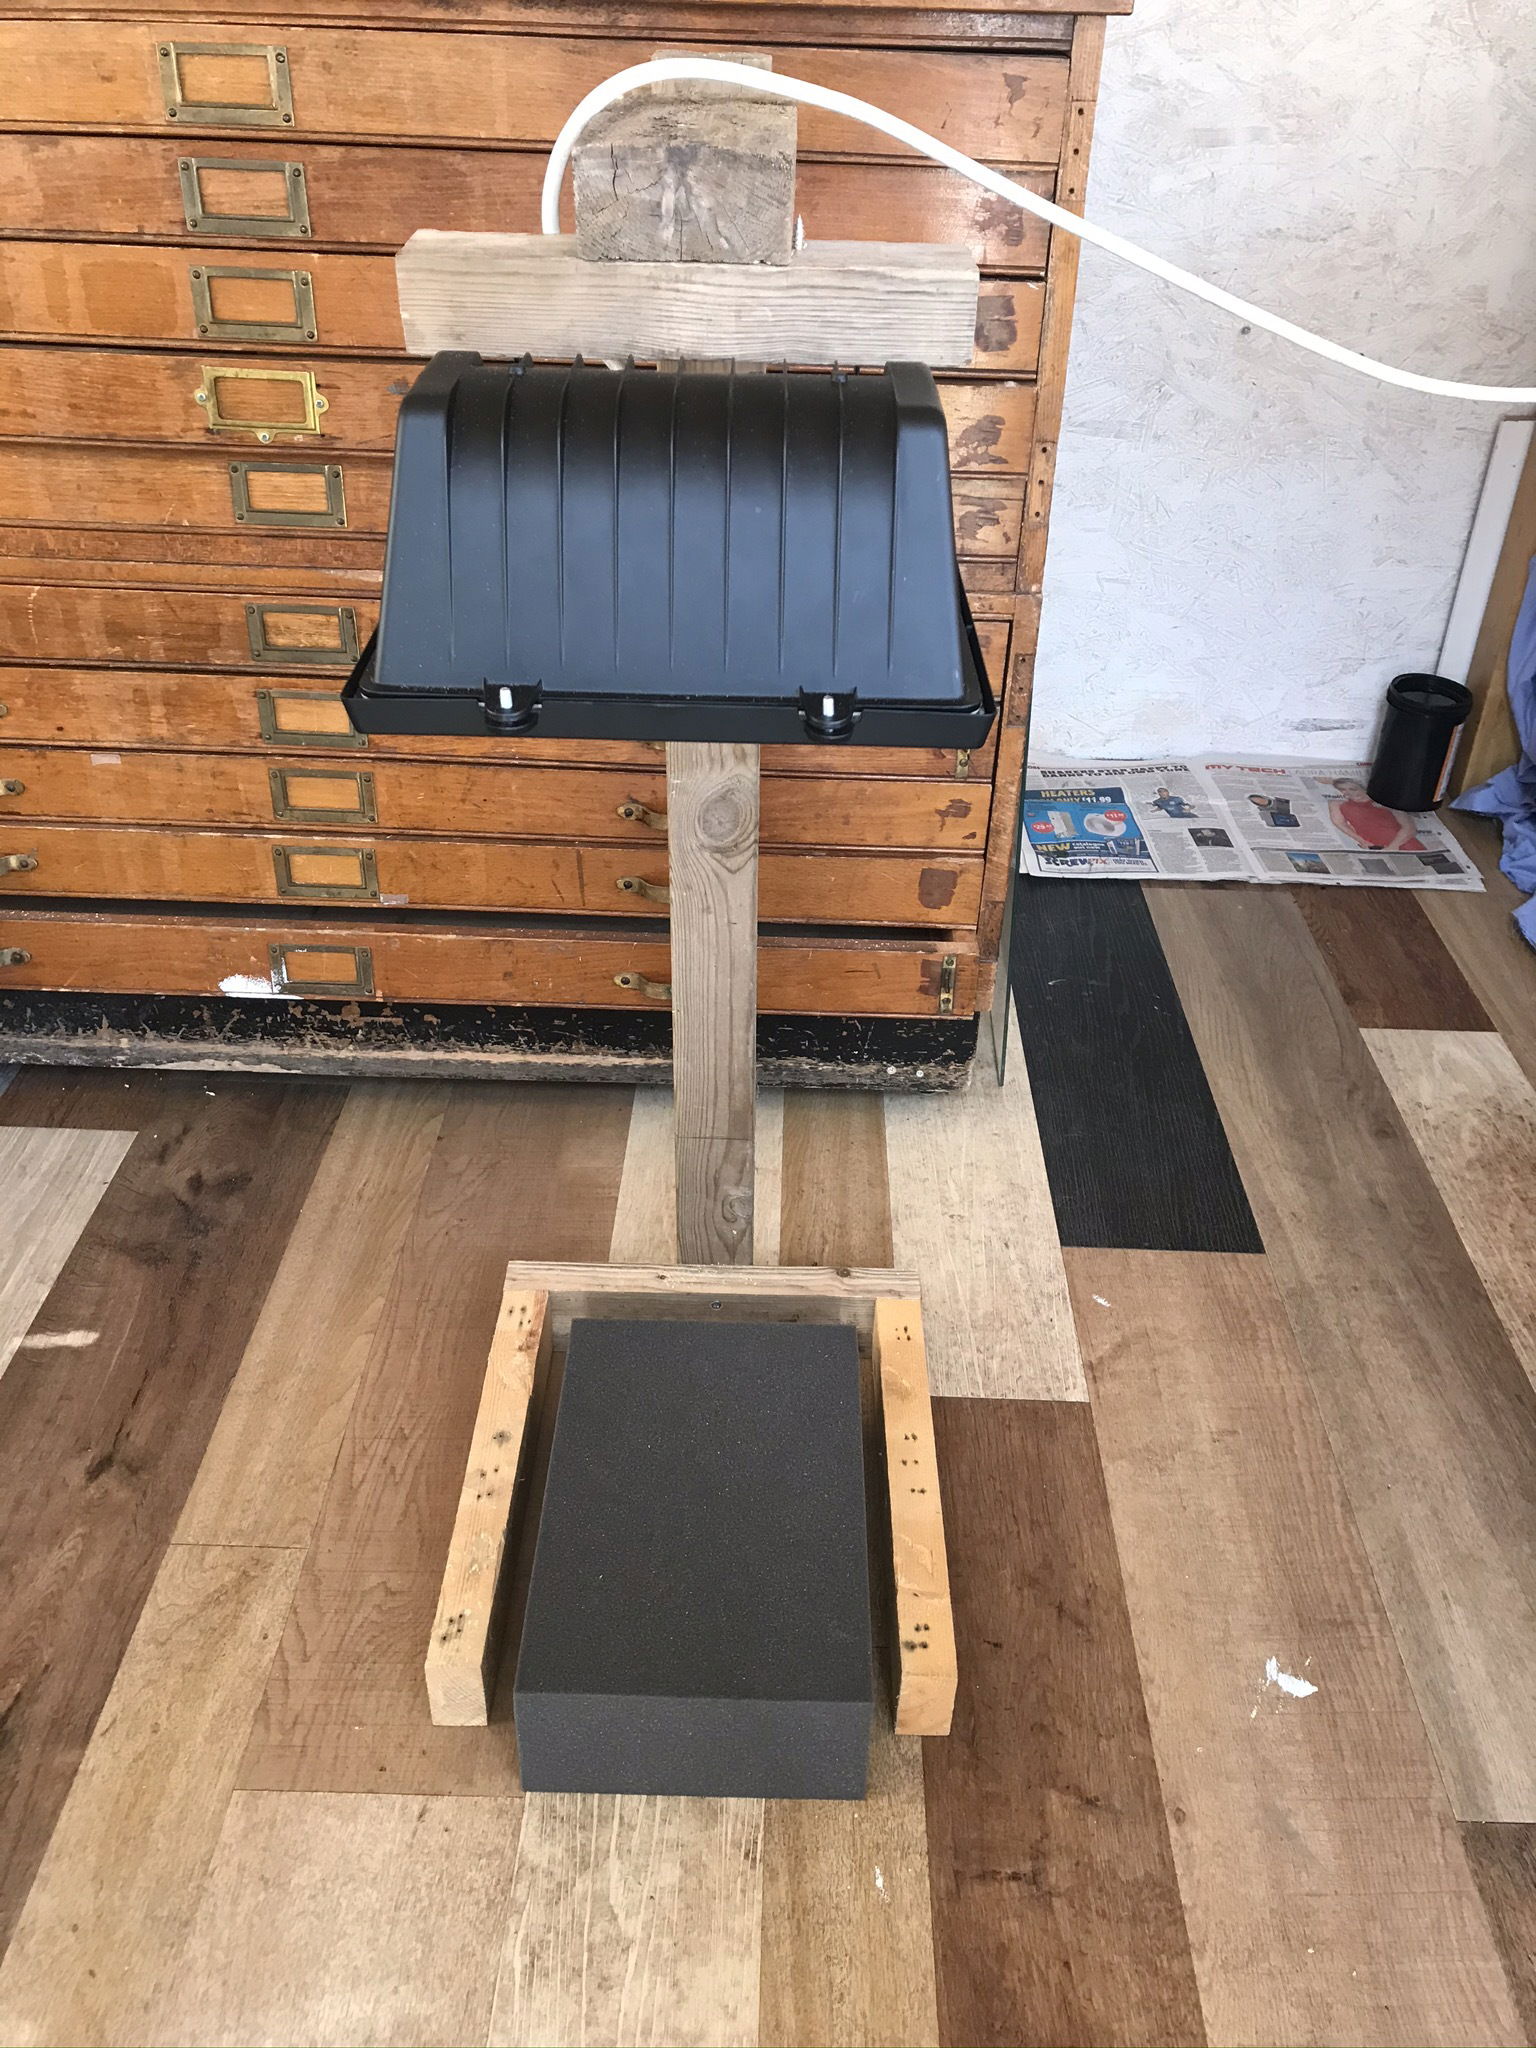
Basing my sizes on the one size of screen that was manageable to use at home, I ordered some foam from www.anyfoam.co.uk
The sizes I bought were 16” x 20” x 4” and 12.5” x 8.5” x 4” in charcoal. This enables my screen to rest on the foam to expose the image. The charcoal colour helps to absorb the light and not to reflect it back onto the screen when exposing.
Costs were; 16” x 20” x 4” £7.86
12.5” x 8.5” x 4” £2.61
Delivery £7.95
Total £18.42
I needed a strong 1000w metal halide light so I ordered this one on Amazon
https://www.amazon.co.uk/gp/product/B00NWB0C3E/ref=ppx_yo_dt_b_asin_title_o04_s00?ie=UTF8&psc=1 costing £17.50.
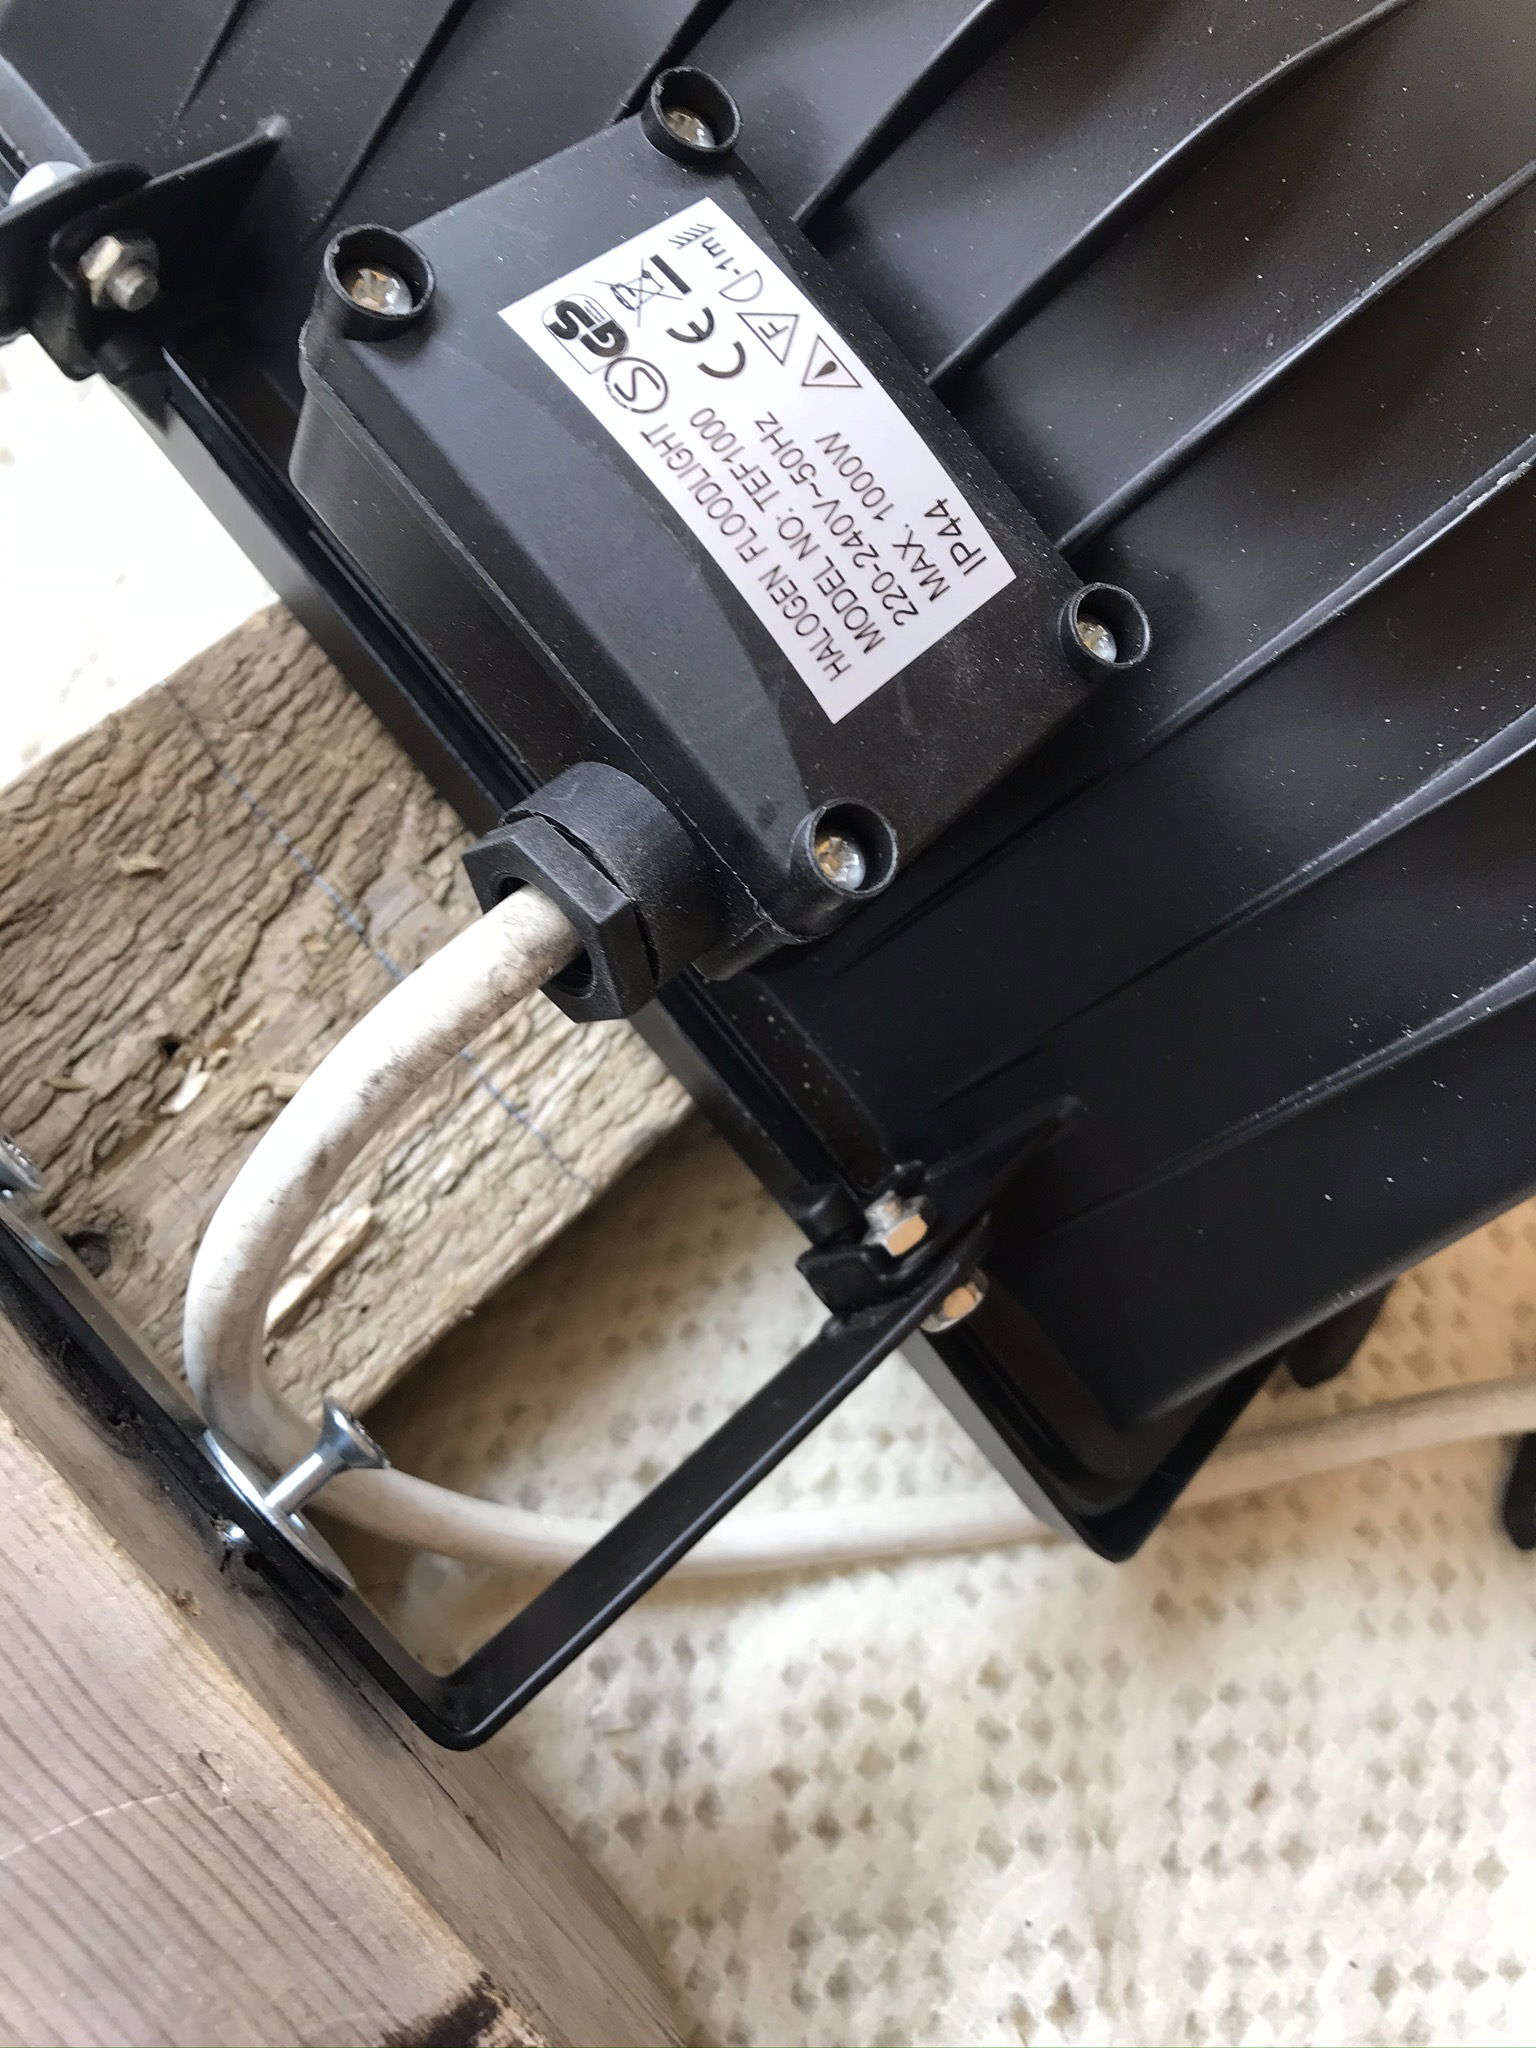
I had to ask my dad to wire in a lead with a plug as it didn’t come with one!
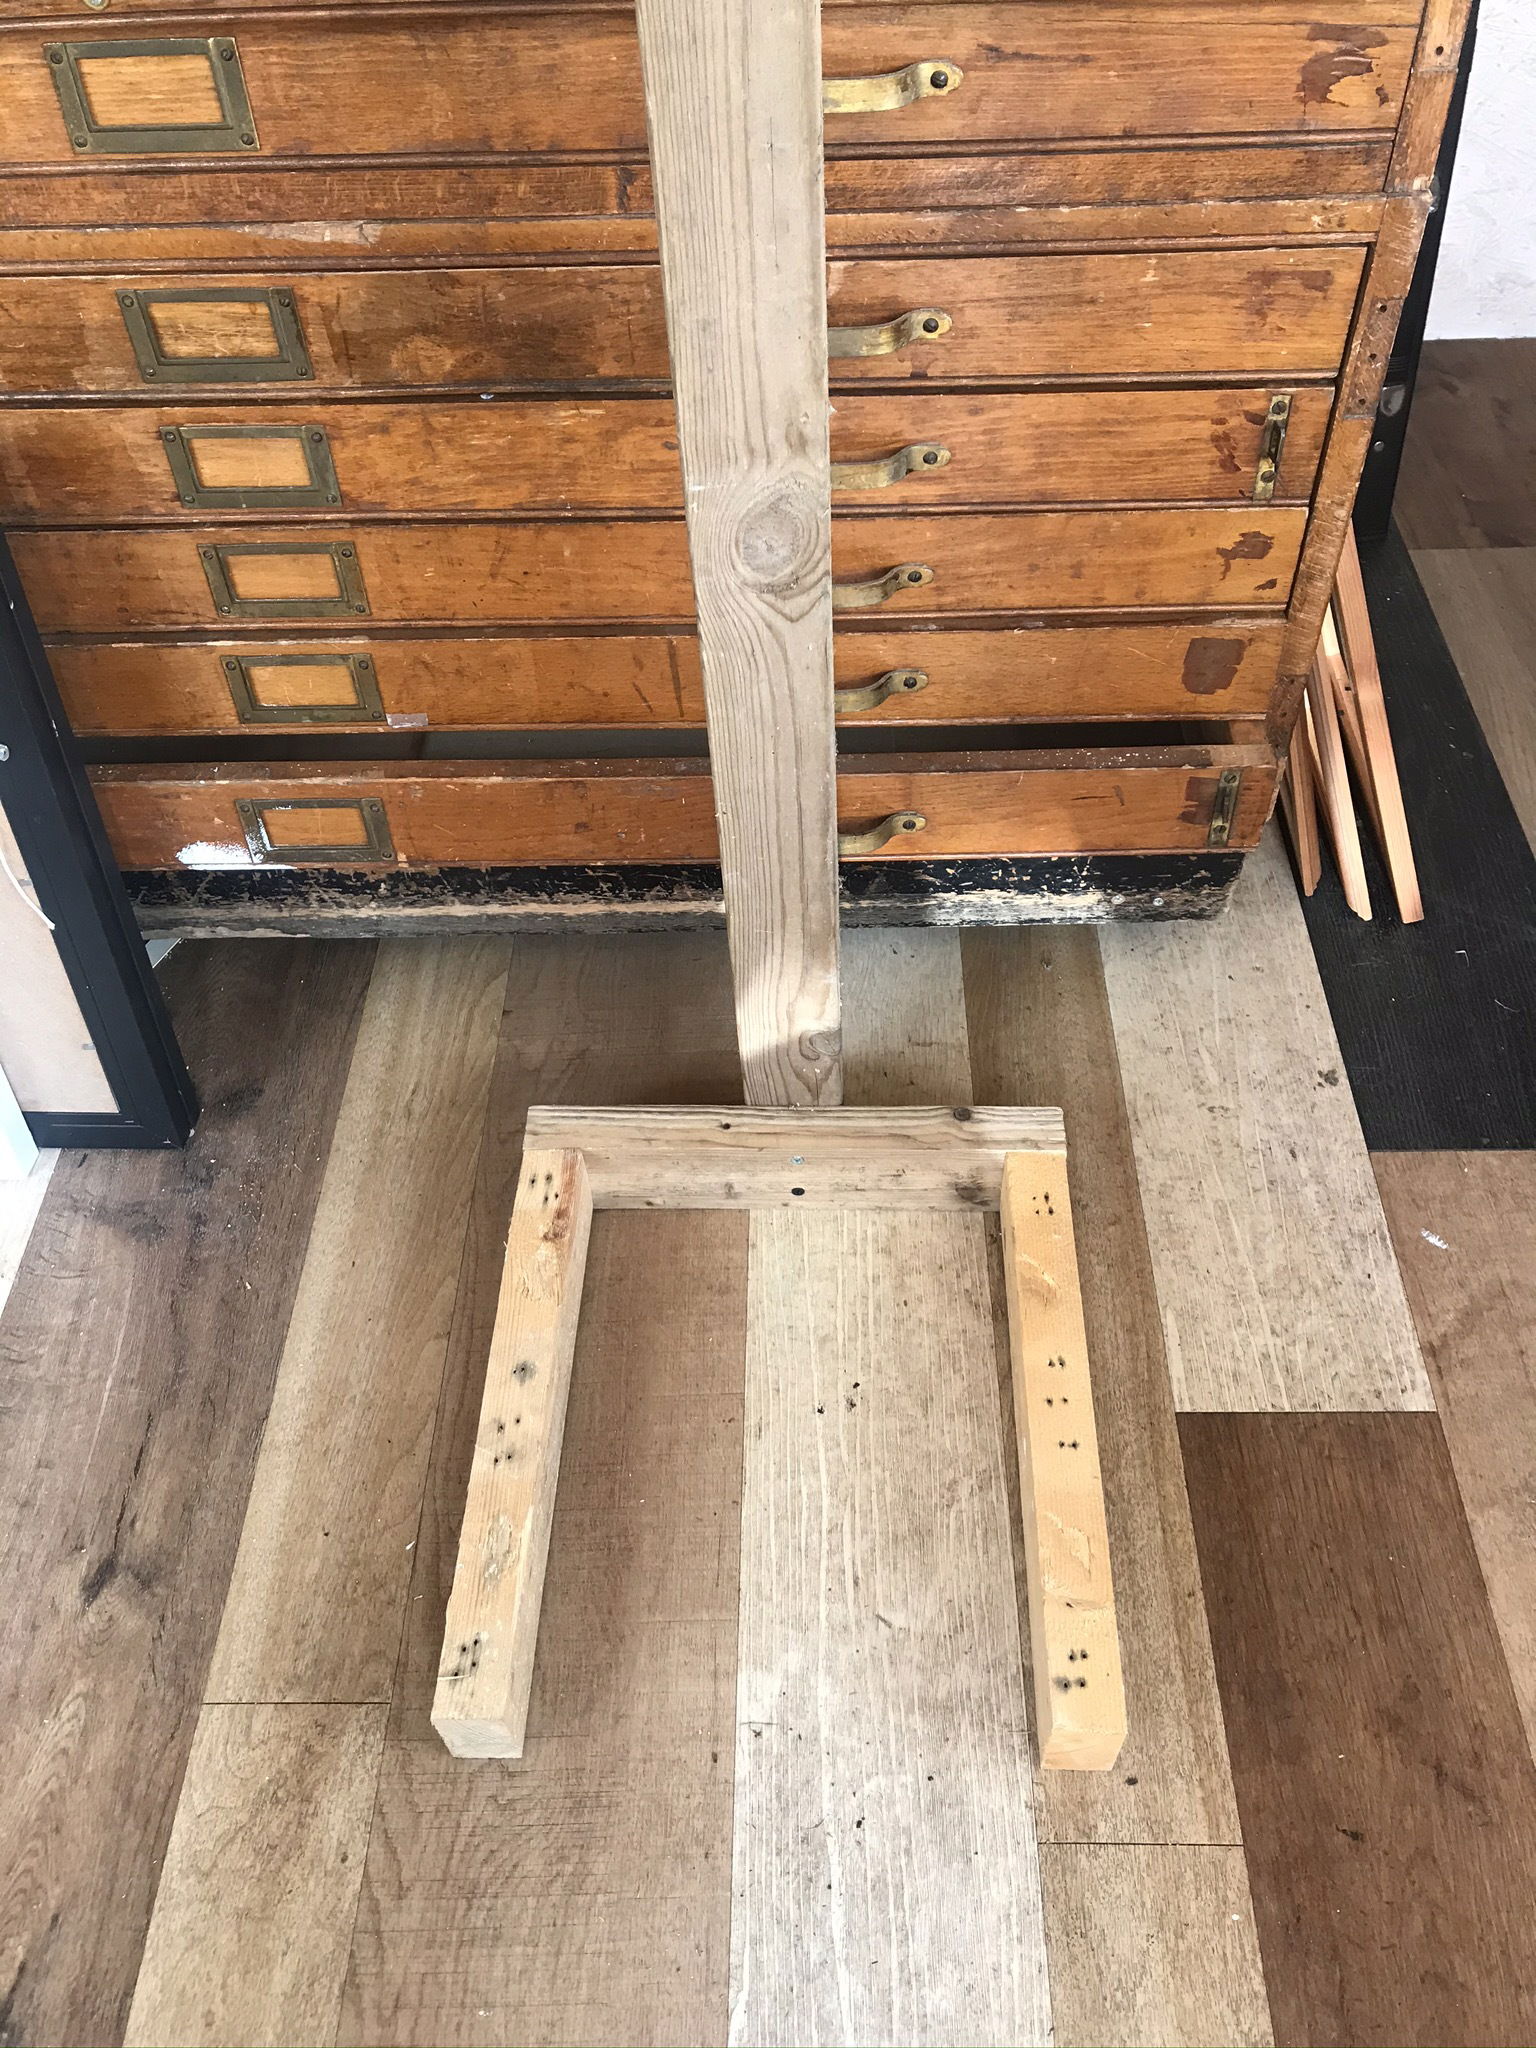
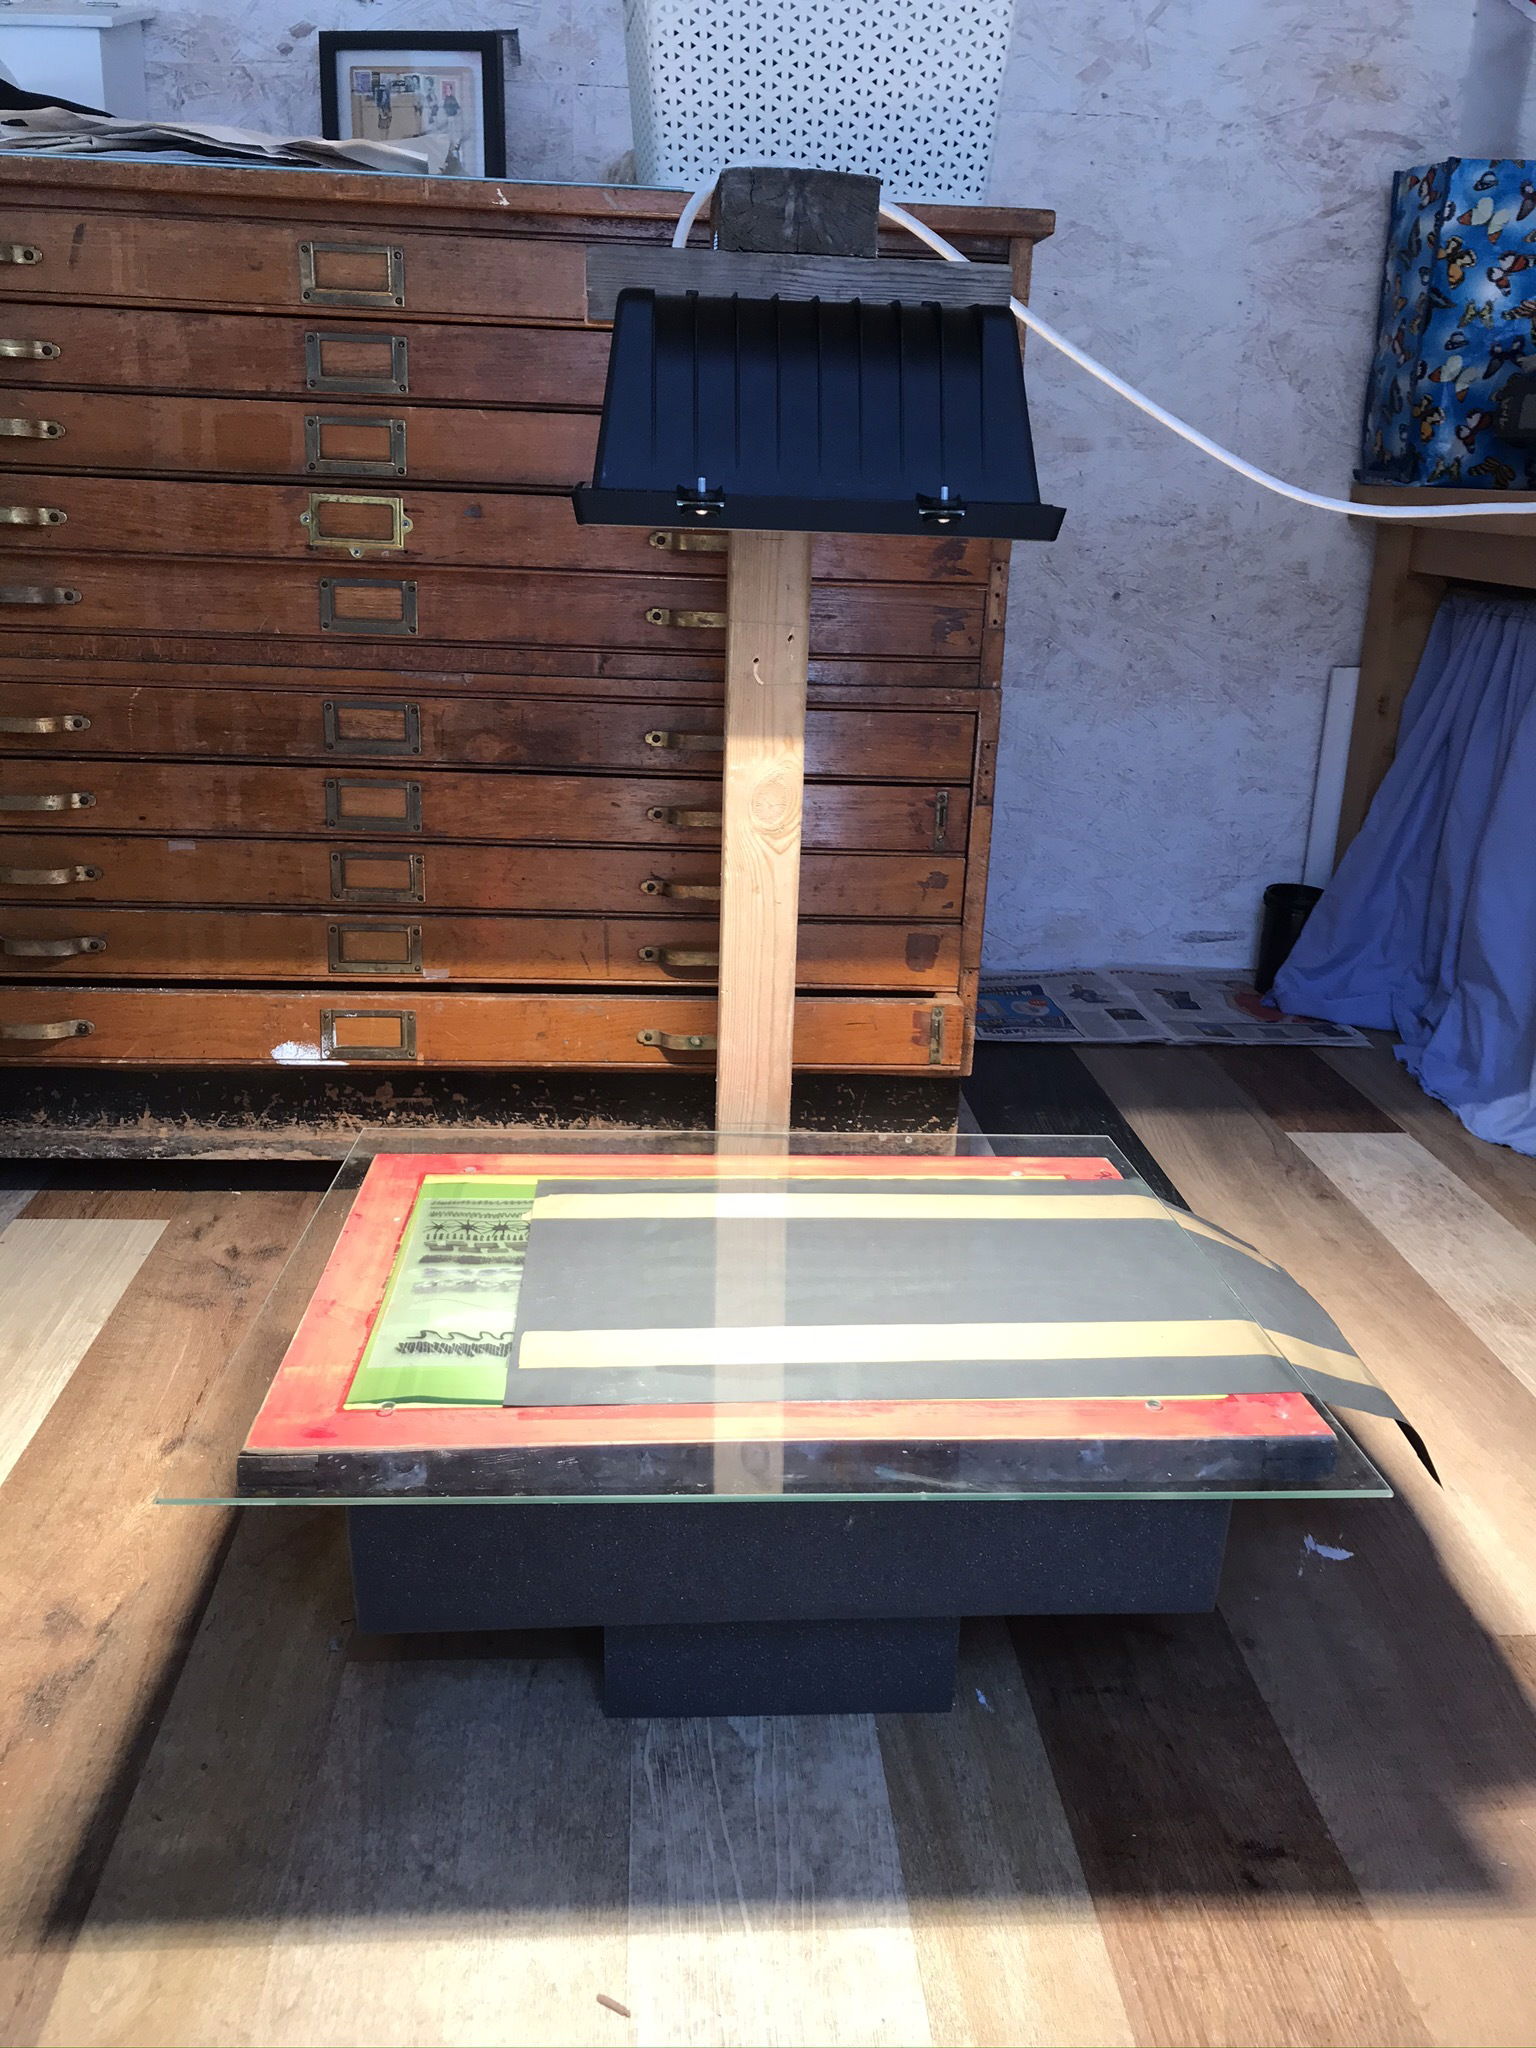
I built a rather crude wooden frame. I am not that accomplished with drills and tools but managed it in the end.
This part didn’t cost me anything as it was all bits of wood I had around the garage and garden. I attached the lamp to the frame so that the lamp shone around 20” from the screen. This should give me even exposure on the 19” x 24” screens that I’m using. I did switch the light on and was surprised at the amount of heat it instantly produces. I felt it was something I would need to be very careful with and for safety reasons, not leave unattended at all whilst switched on.
The next thing I did was to prepare the screens. I had ordered some screen cleaner, coating trough and light sensitive emulsion from www.cadisch.co.uk. I cleaned the old emulsion off the screen using a power washer we had. Applying the cleaner with a cleaned out kitchen cleaner spray bottle and spreading it around with a sponge I made sure I started the power washer off the screen first so it didn’t damage the screen with the sudden spray. Then degreased it with some washing up liquid spread on with a sponge. It’s important to degrease the screen so the new emulsion will adhere to the screen.
I let this dry and then coated the screen using the coating trough, with the two part emulsion that I mixed the night before. The emulsion (Azocol Z1) needs to be mixed at least an hour before using so that it can settle and all air bubbles are removed before using. This has to dry in a dark, cool place.
I converted a paper rack I had made a few years before by covering the back and sides with some ply board and making a thick curtain to cover the front to eliminate all the light getting to the inside. I now use this to store my wet, coated screen away from any light.
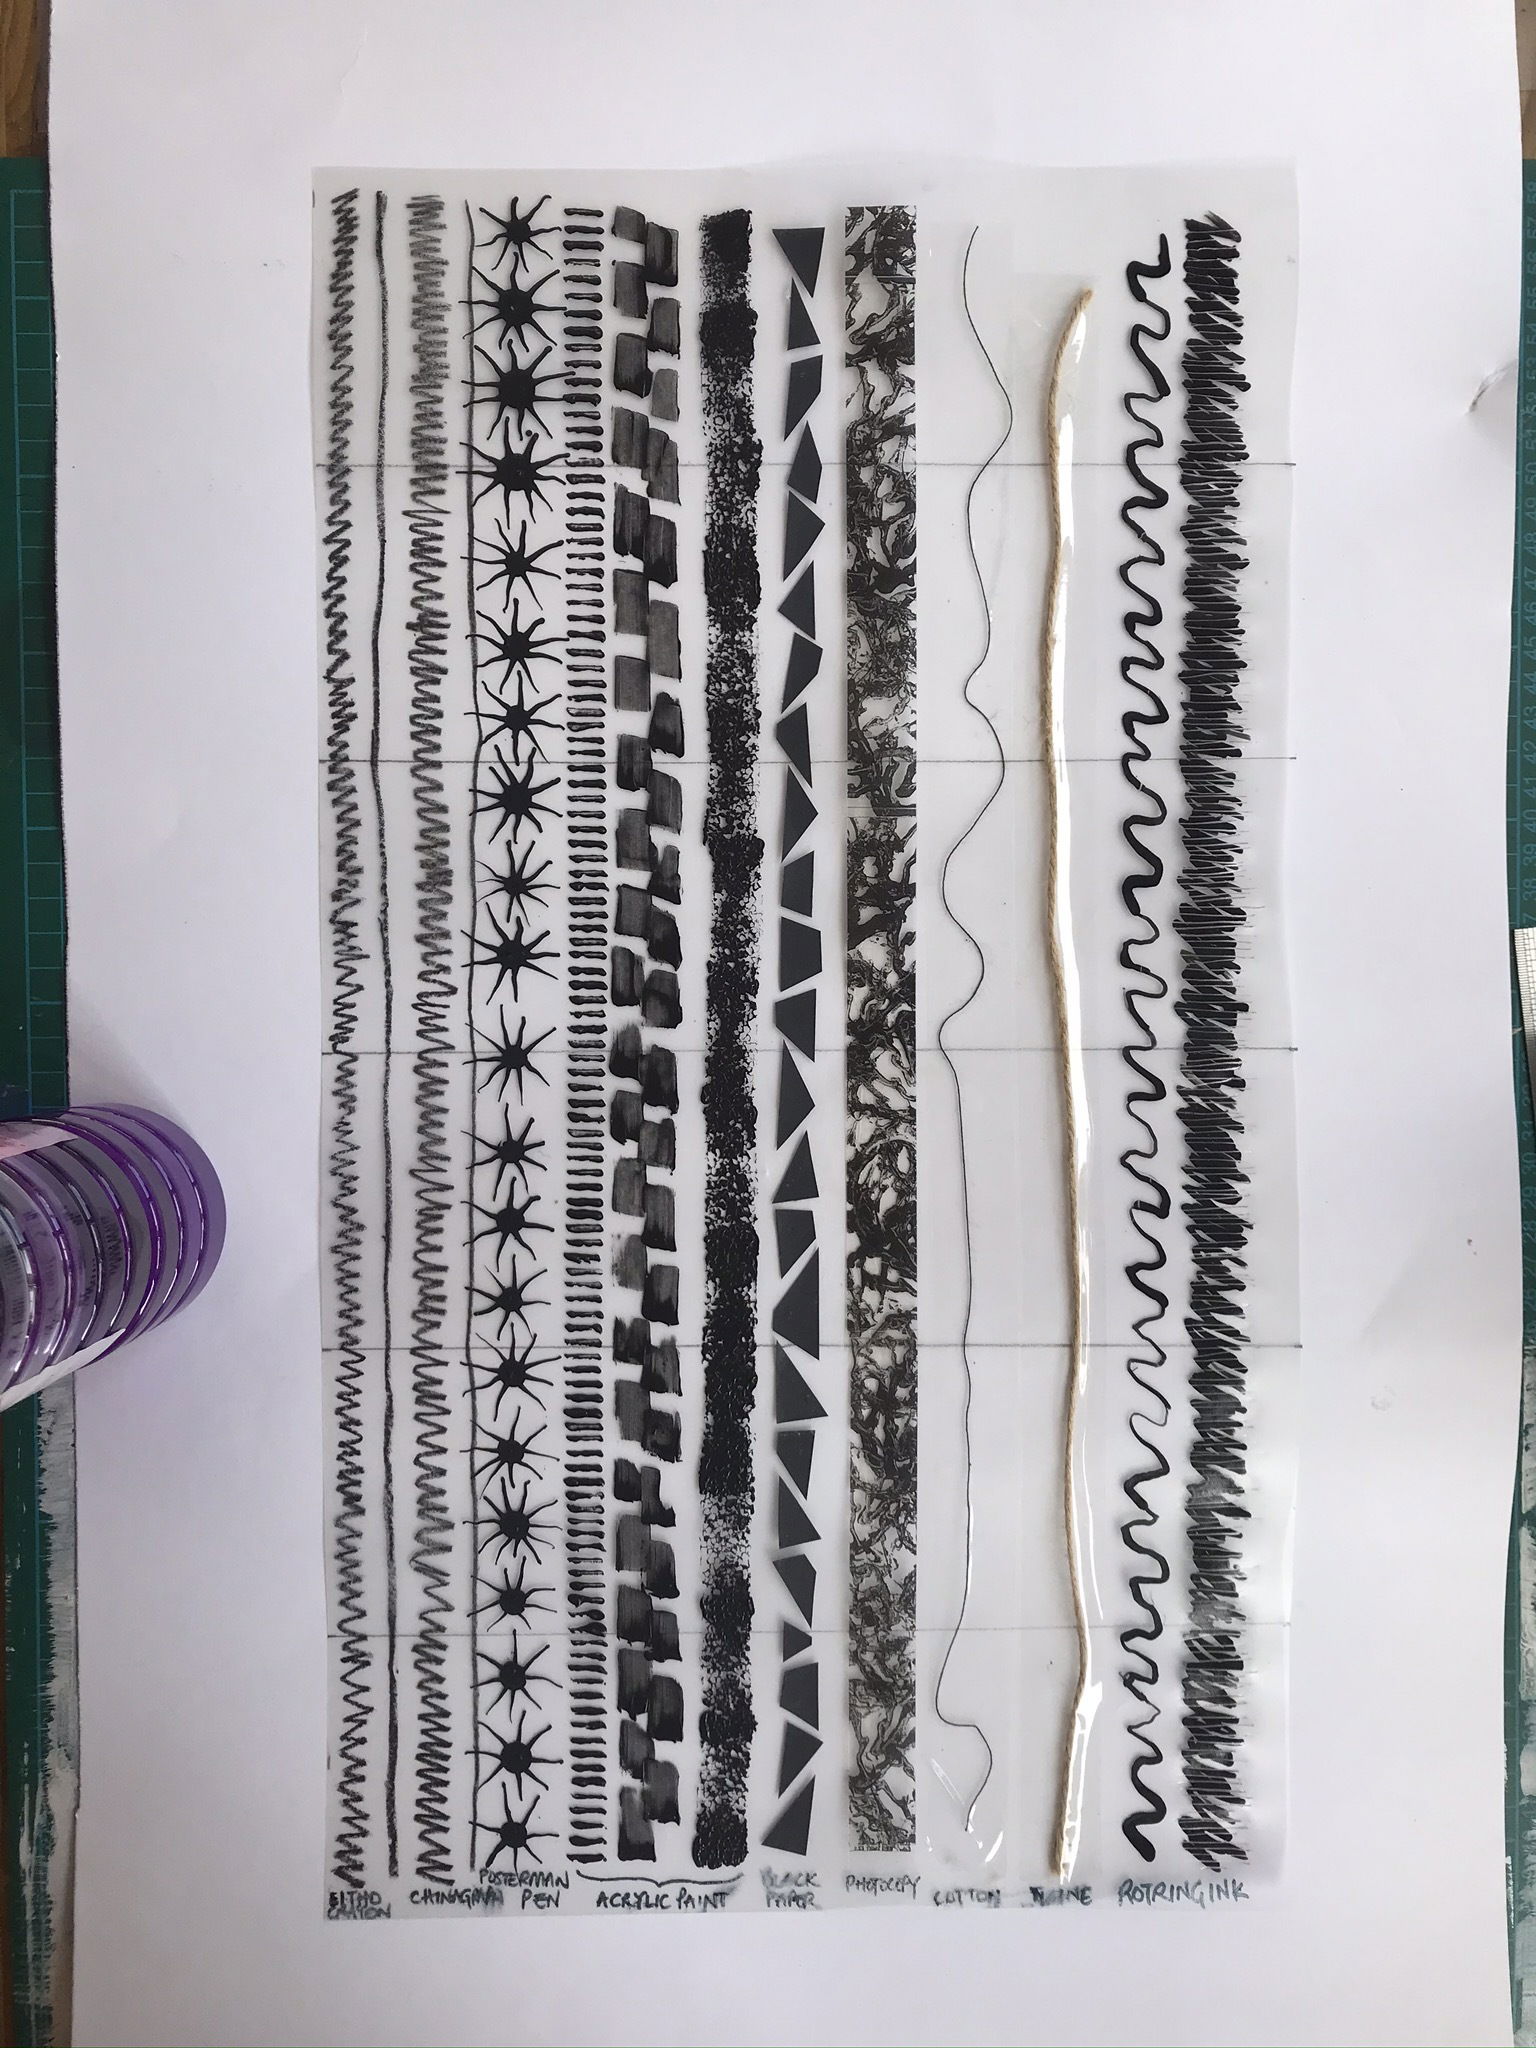
While this was drying I made a test sheet on true grain mark resist film with some materials I like to make marks with. This included black paper, chinagraph pencil, rotring ink and black acrylic paint.
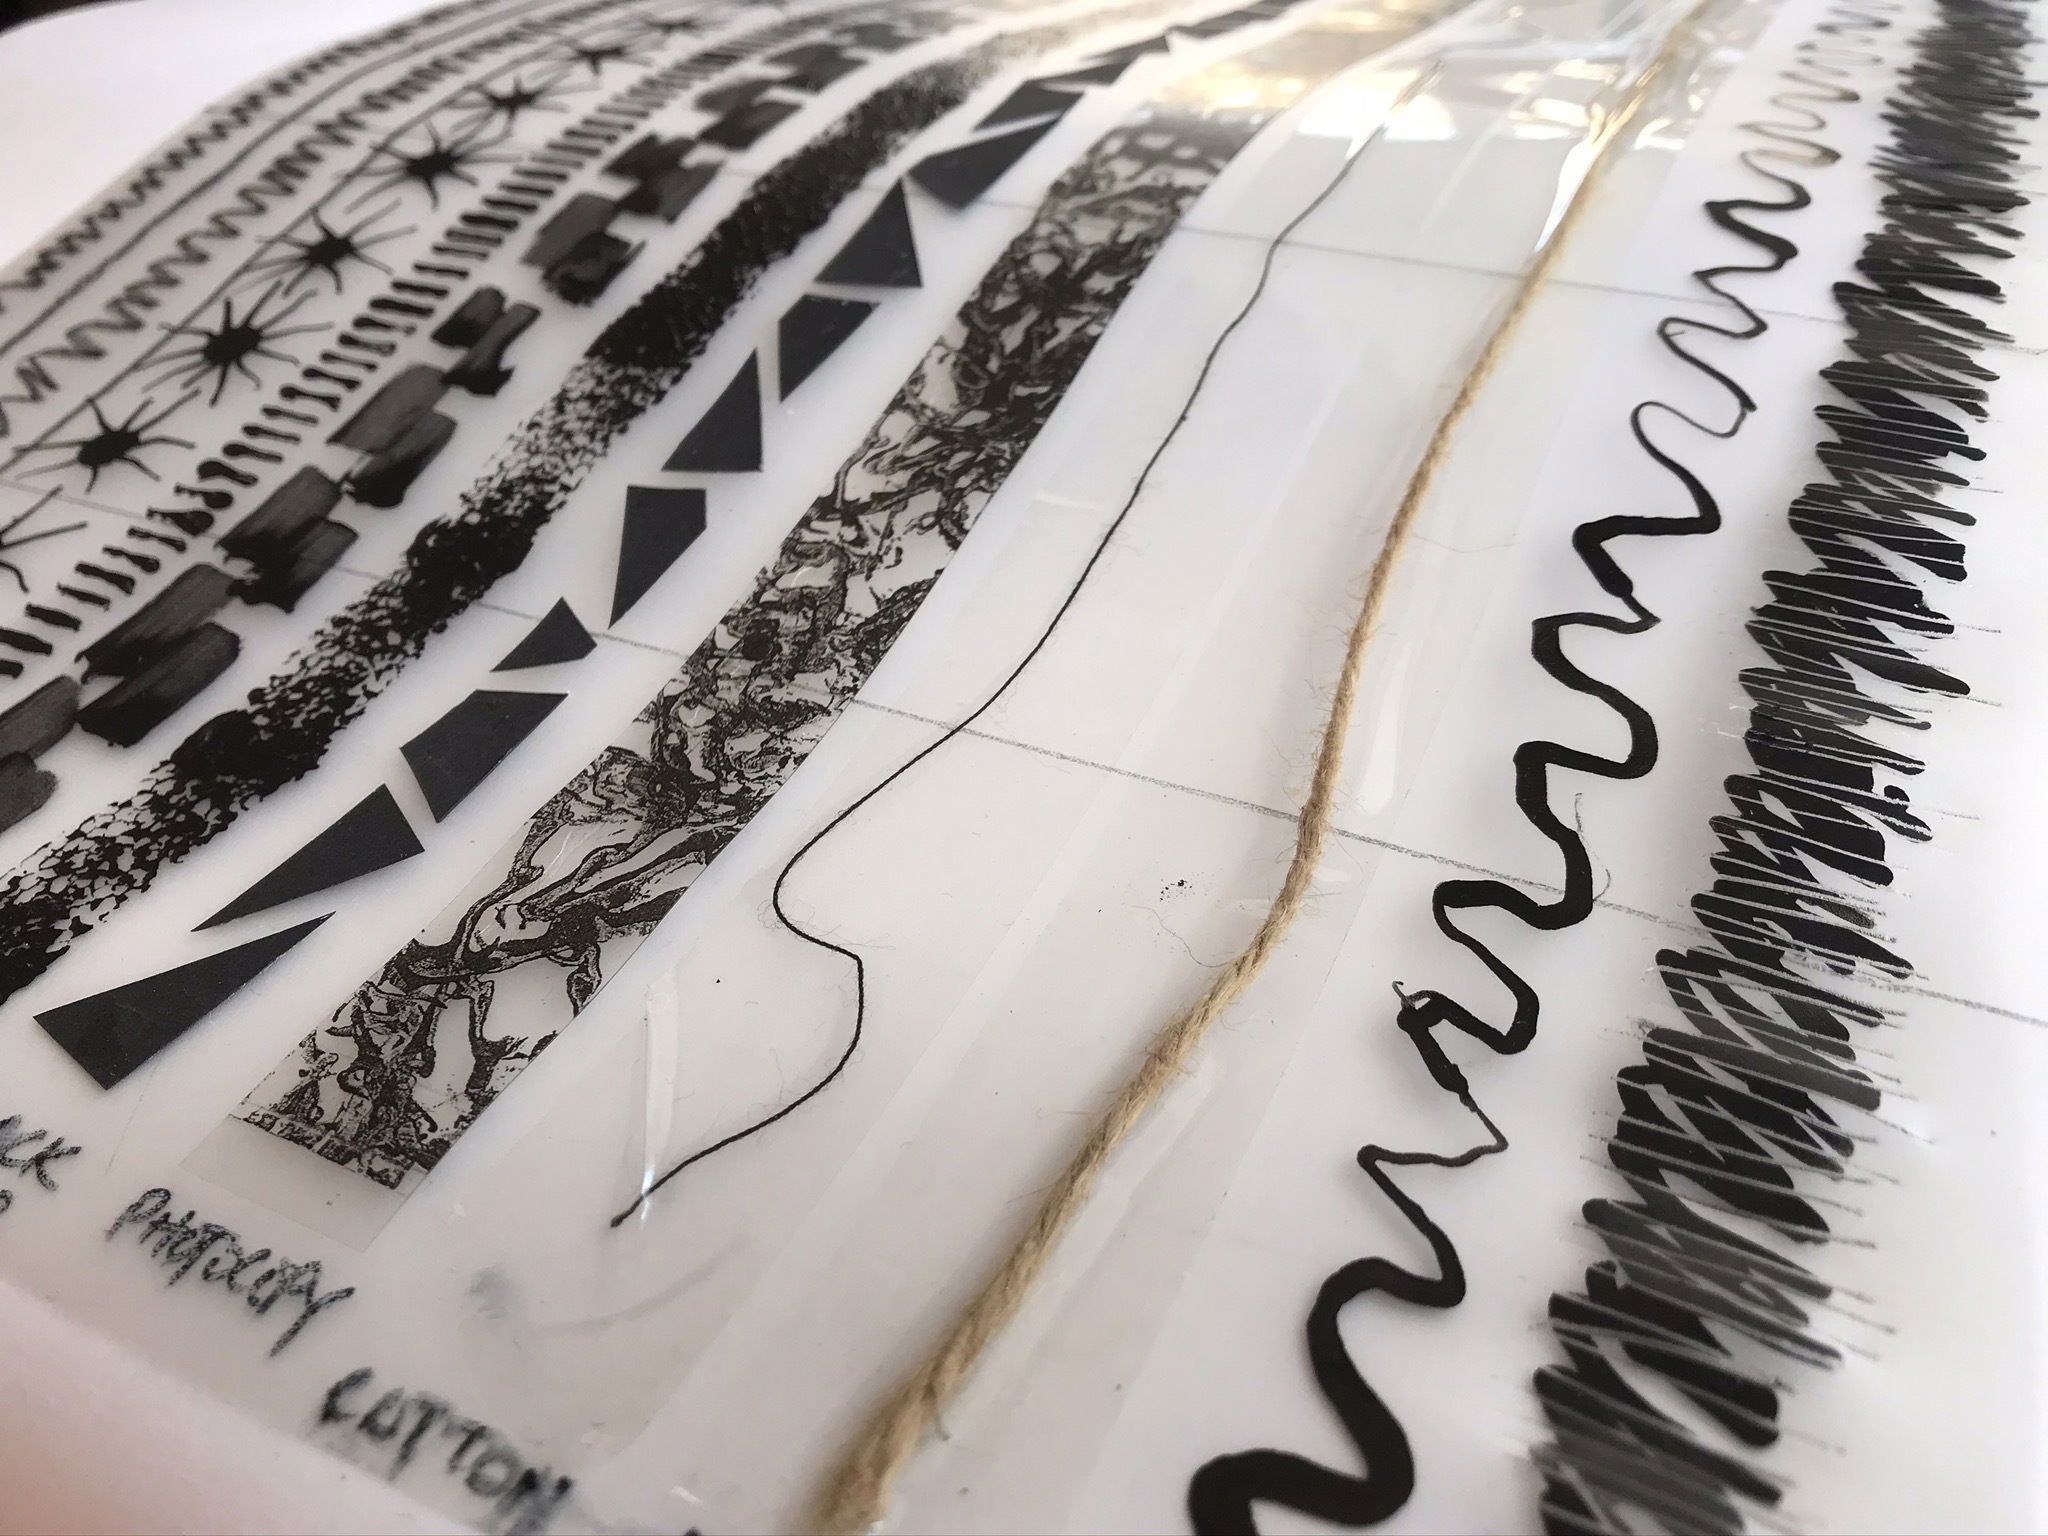
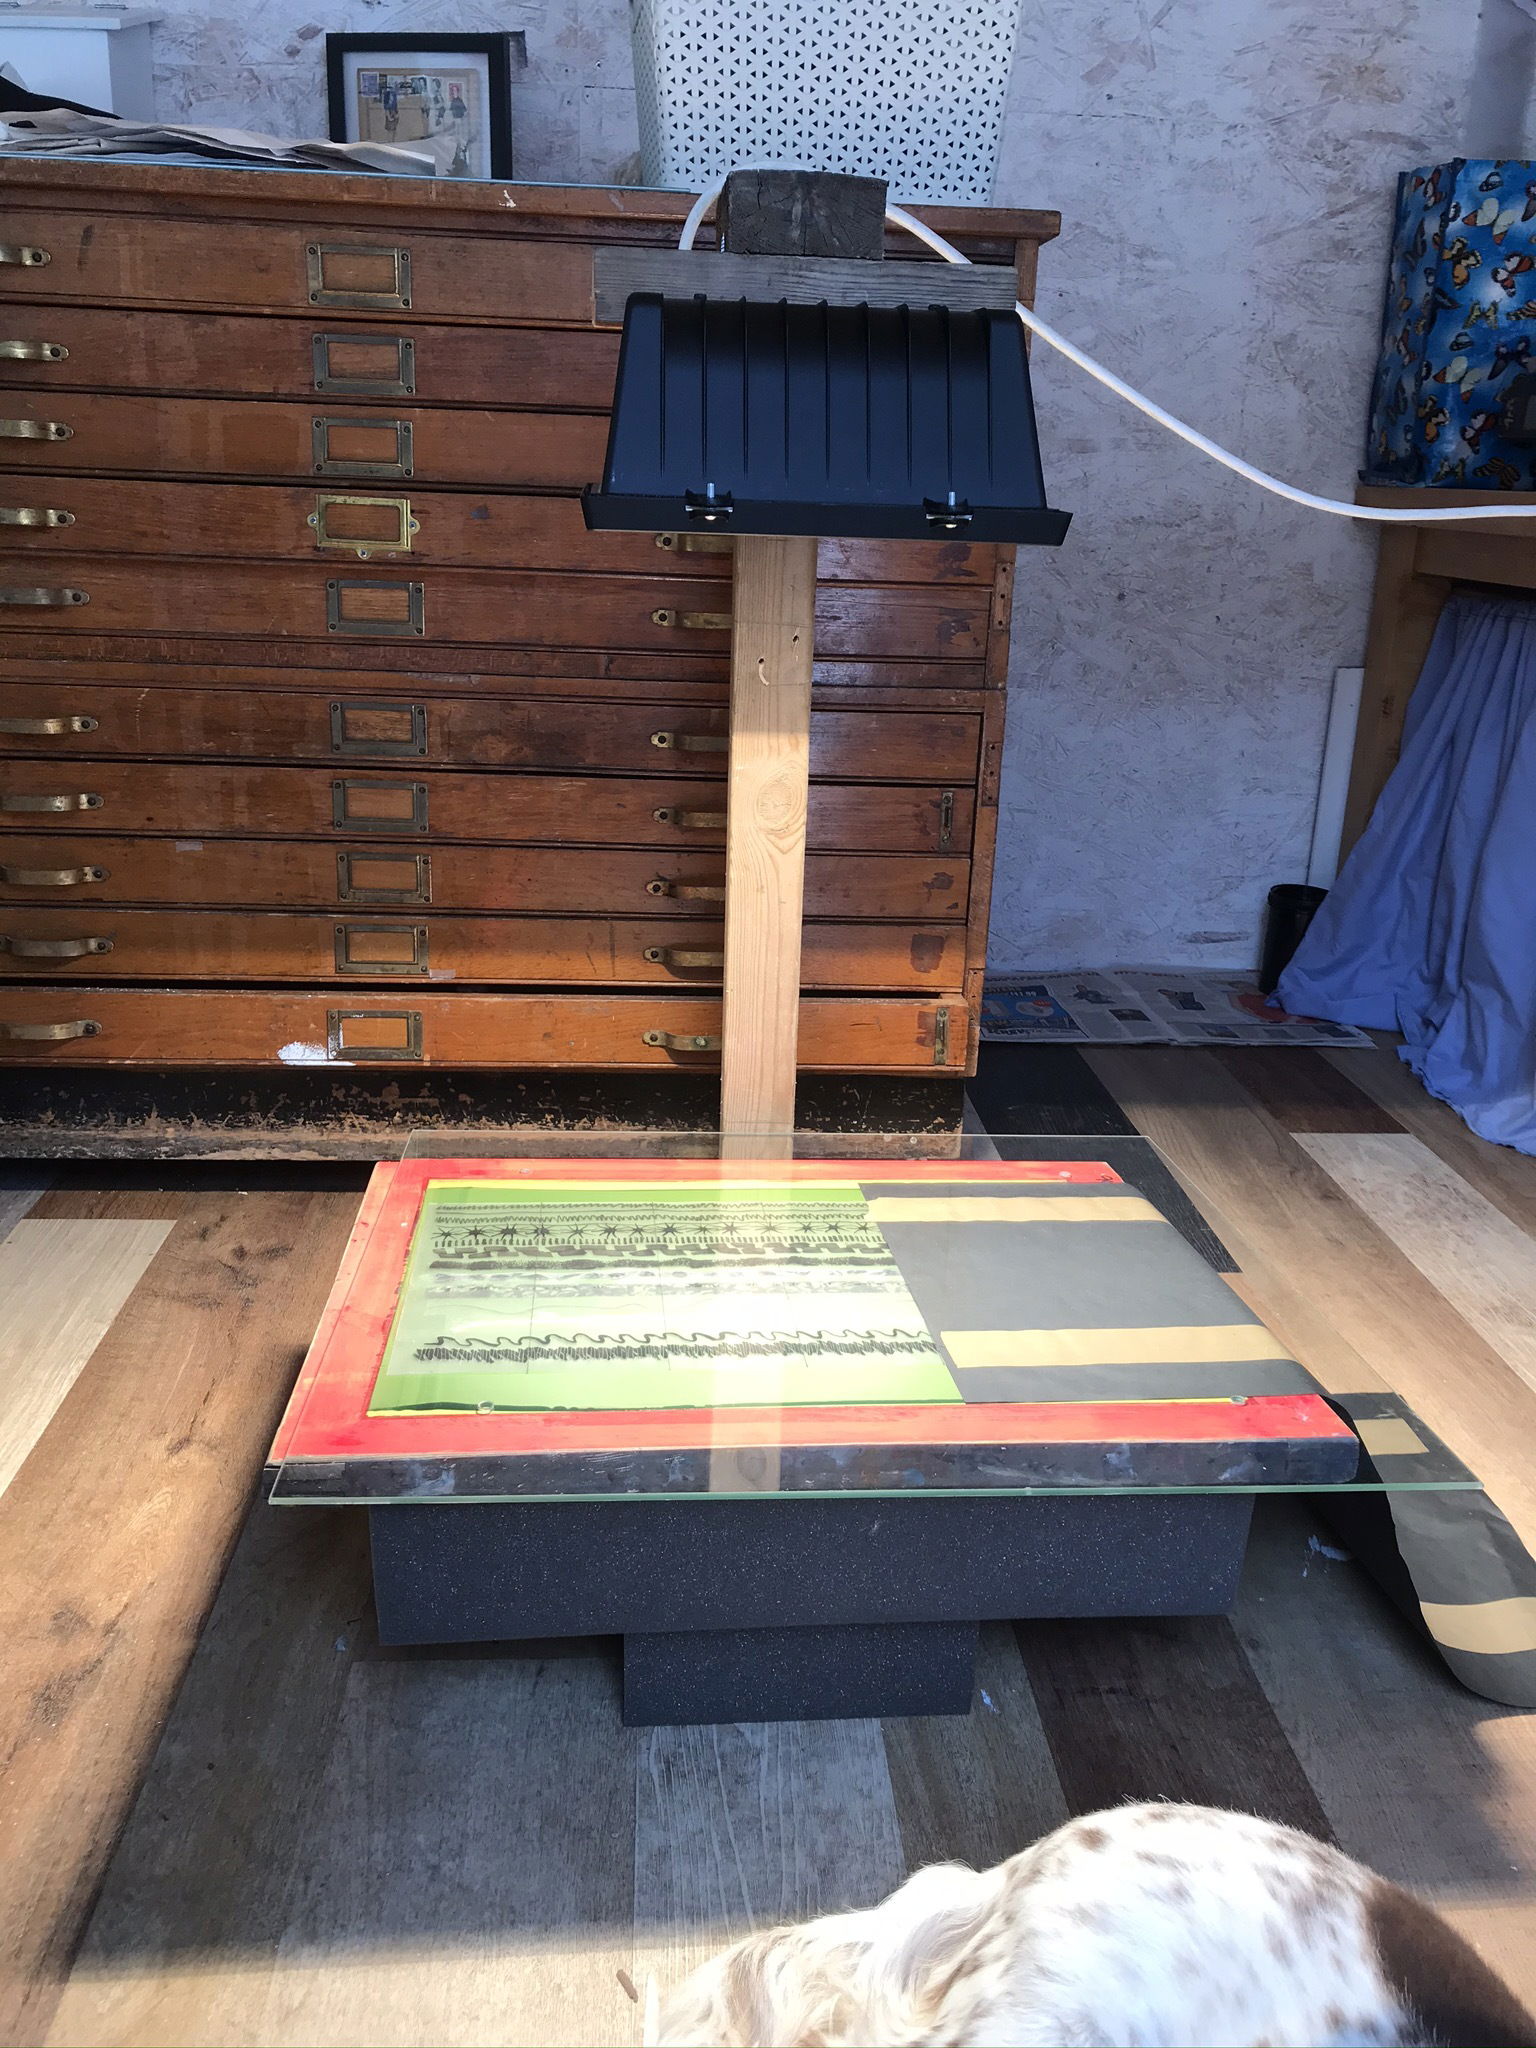
The idea of the test sheet is to test timings of the exposure which I had no clue as to how long to leave at this stage. I did a test of between 10 to 20 minutes exposure. This involved setting up the screen on top of the charcoal foam, laying the image on top of the screen (the image had to be laid down in reverse in order for the image to come out the ‘right’ way) laying a piece of black paper over this and then a piece of glass over everything to hold it all down nice and flat against the screen. All of this was placed under the light source and exposed. The black paper was pulled down the screen at two minute intervals after the initial 10 minute exposure creating a step process of exposure up to 20 minutes.
What I learned.
Test number 1.
What happened from this experiment was disappointing. The mark resist film didn’t like the intense heat that the lamp was producing and rippled slightly as it shrunk a little. These ripples meant that the light was able to penetrate the screen underneath the image so didn’t expose terribly well. I didn't even bother to try and print with it.
I concluded that the glass needed to be thicker in order to weigh the image down to the screen more and to block the heat getting to the screen so much.
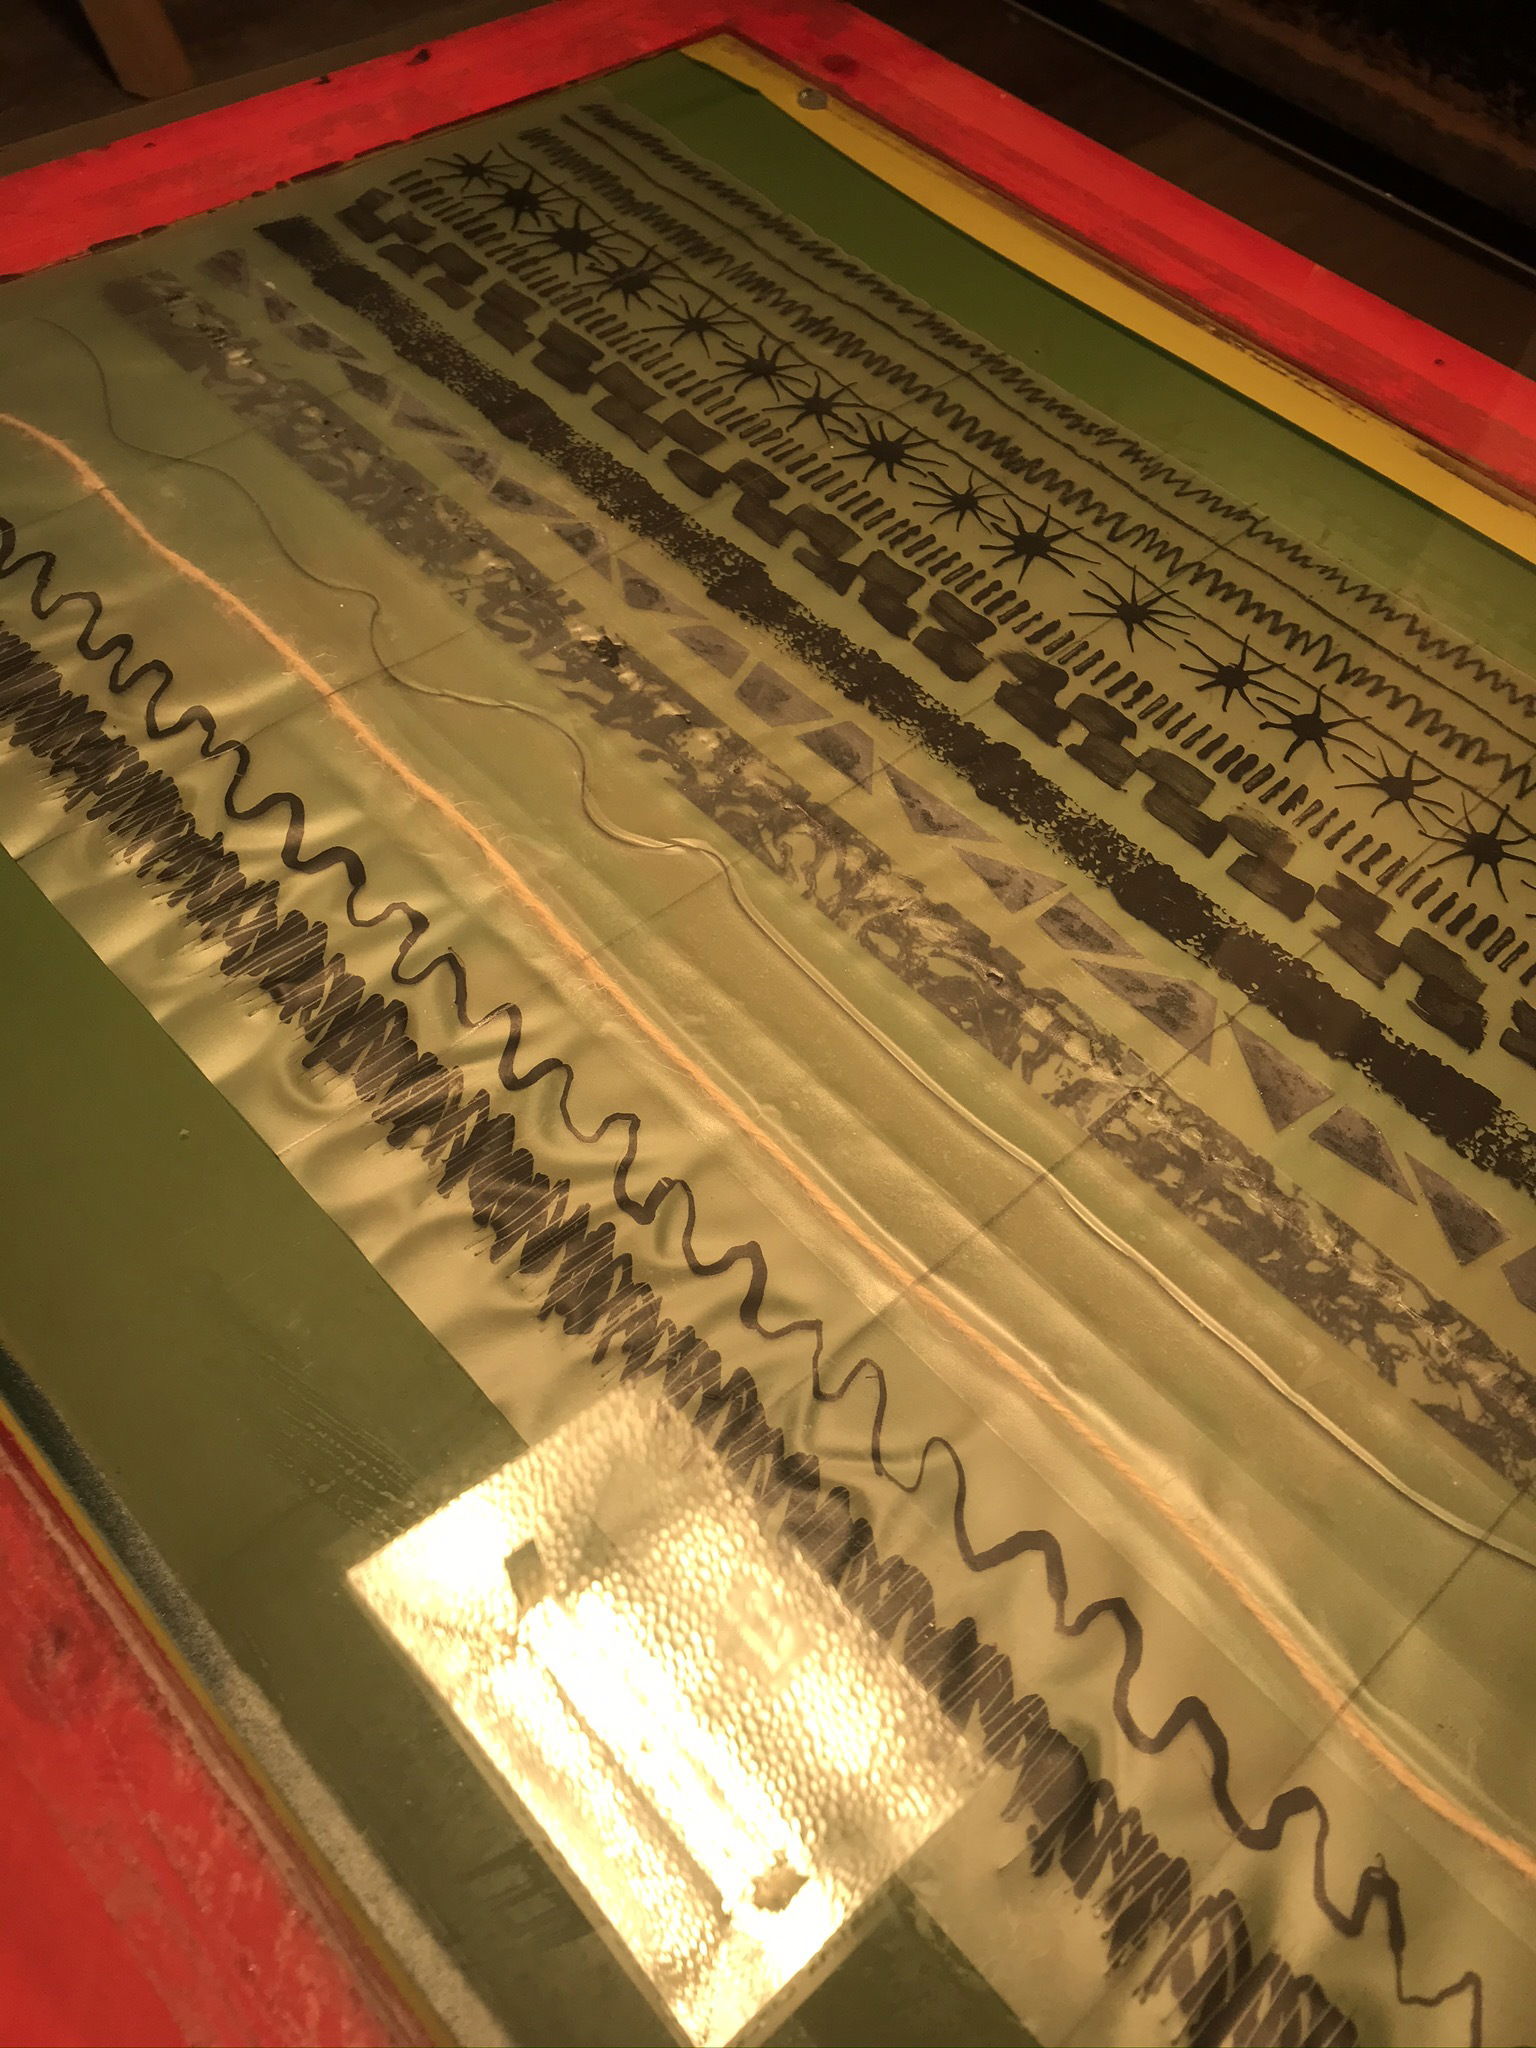
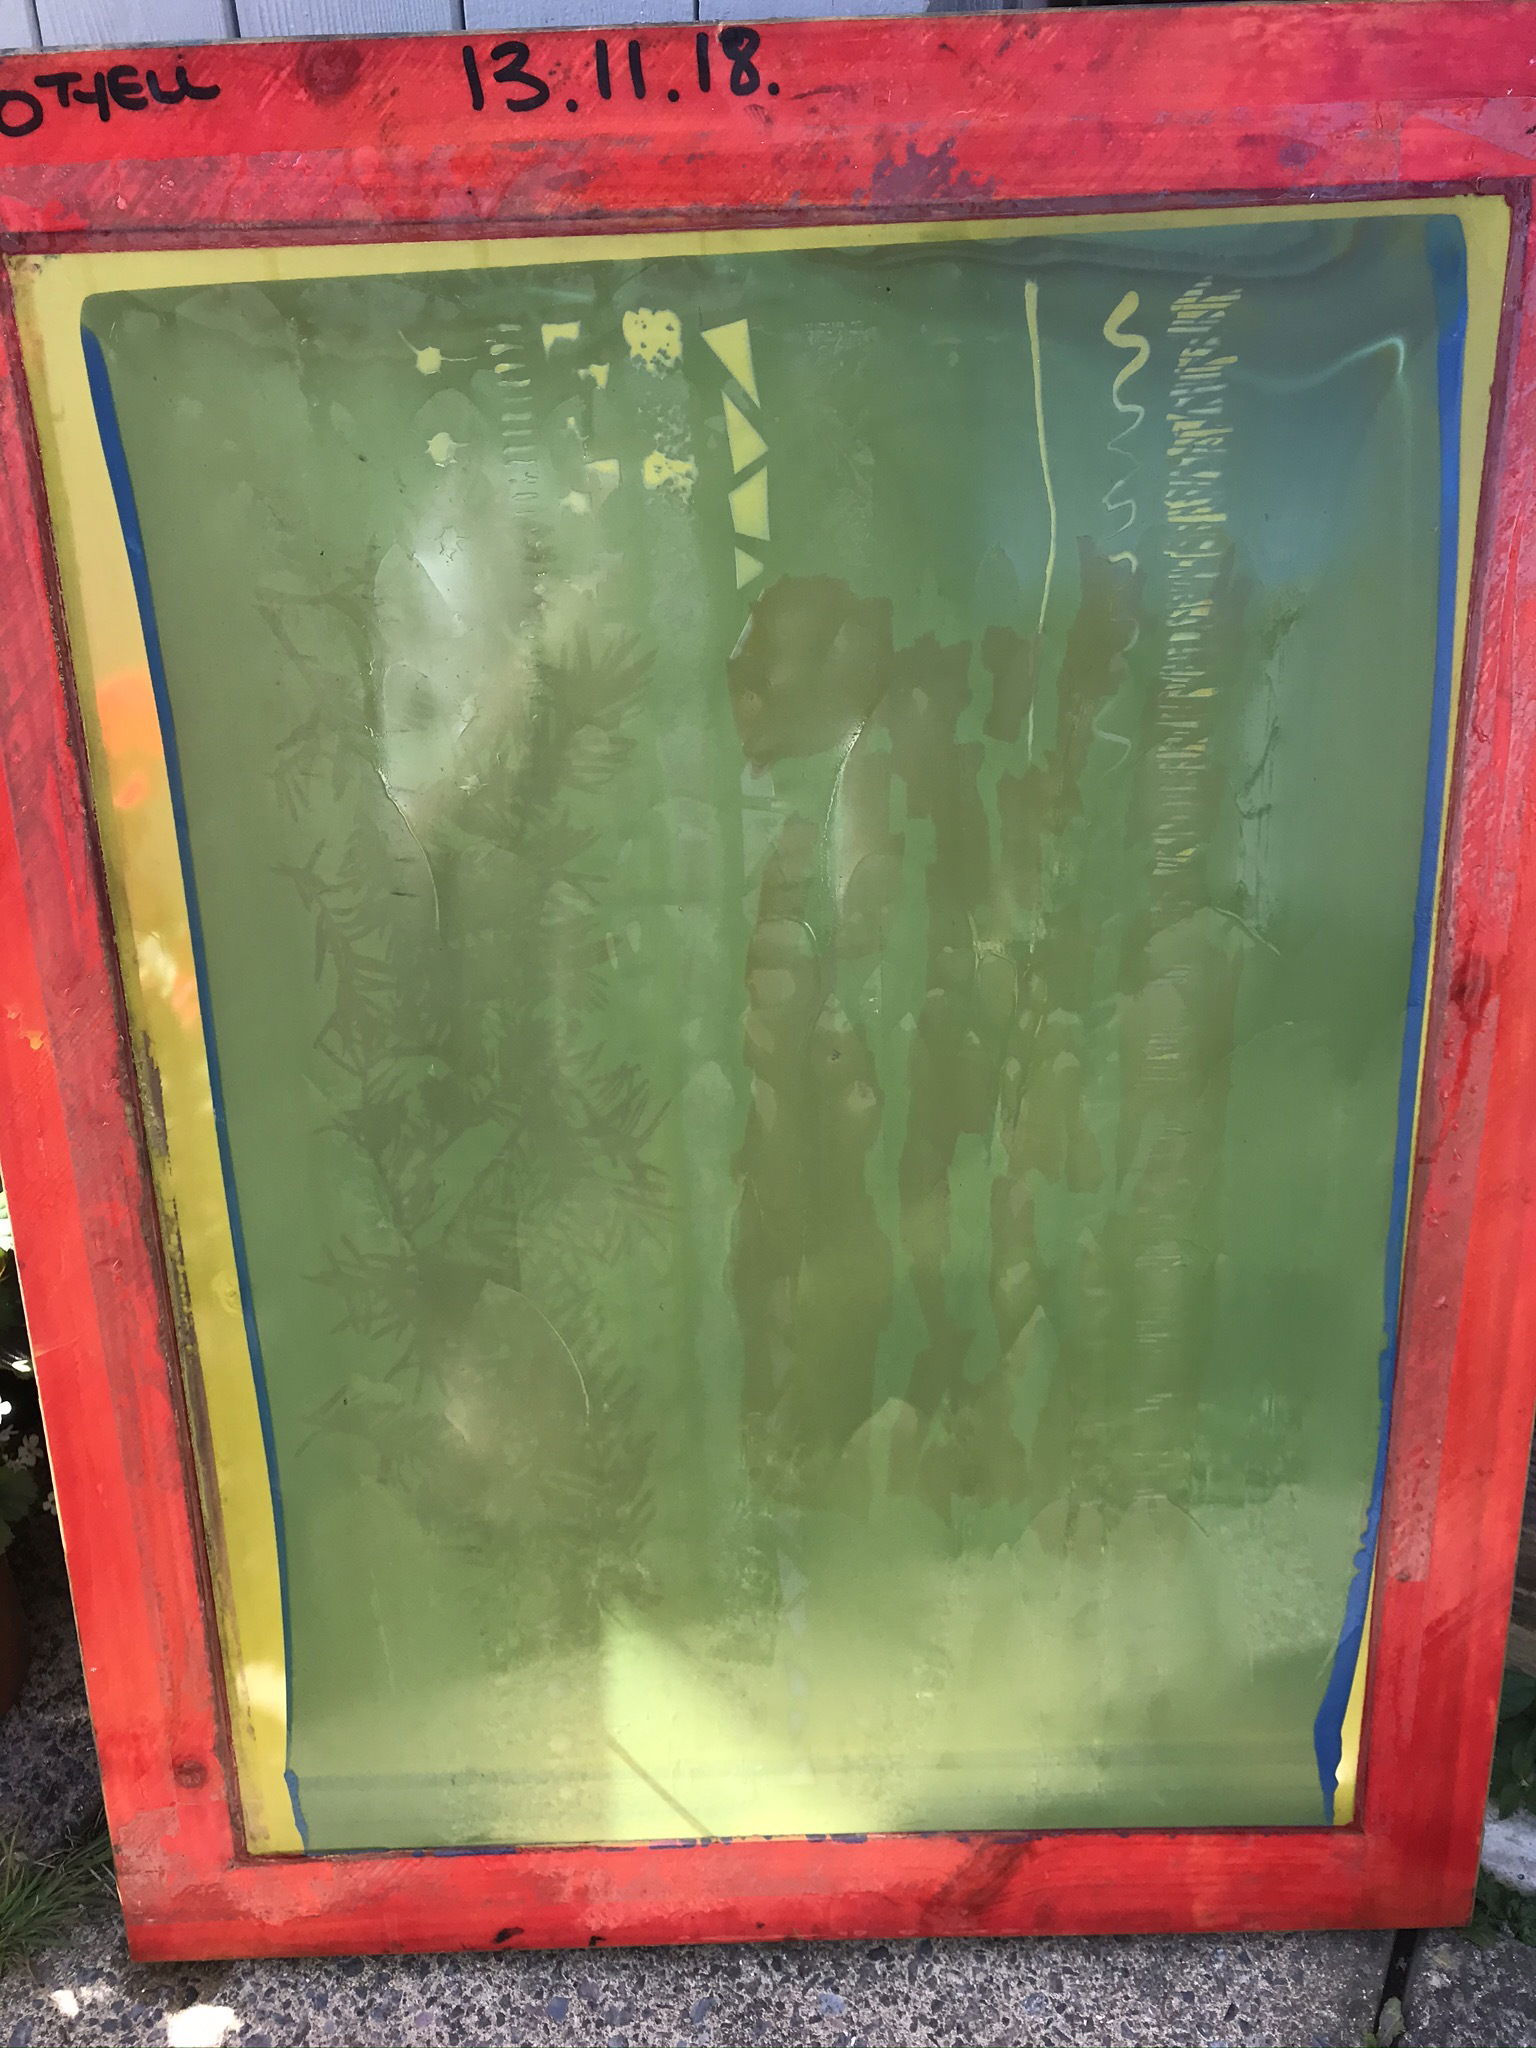
As you can see by the image above, the exposure hardly worked at all.
Test number 2.
After washing, degreasing and coating the screen again I tried again with some fresh test sheets. I gaged that the timings of between 8 and 10 minutes were about right so tried those timings. I had bought a sheet of thicker 6mm glass from the local glaziers to try as well as the first thinner sheet. This seemed to work better. The weight and thickness stopped the heat penetrating to the plastic so much. When cleaning out the image the use of the pressure washer seemed to help as well. The image came out a lot clearer.
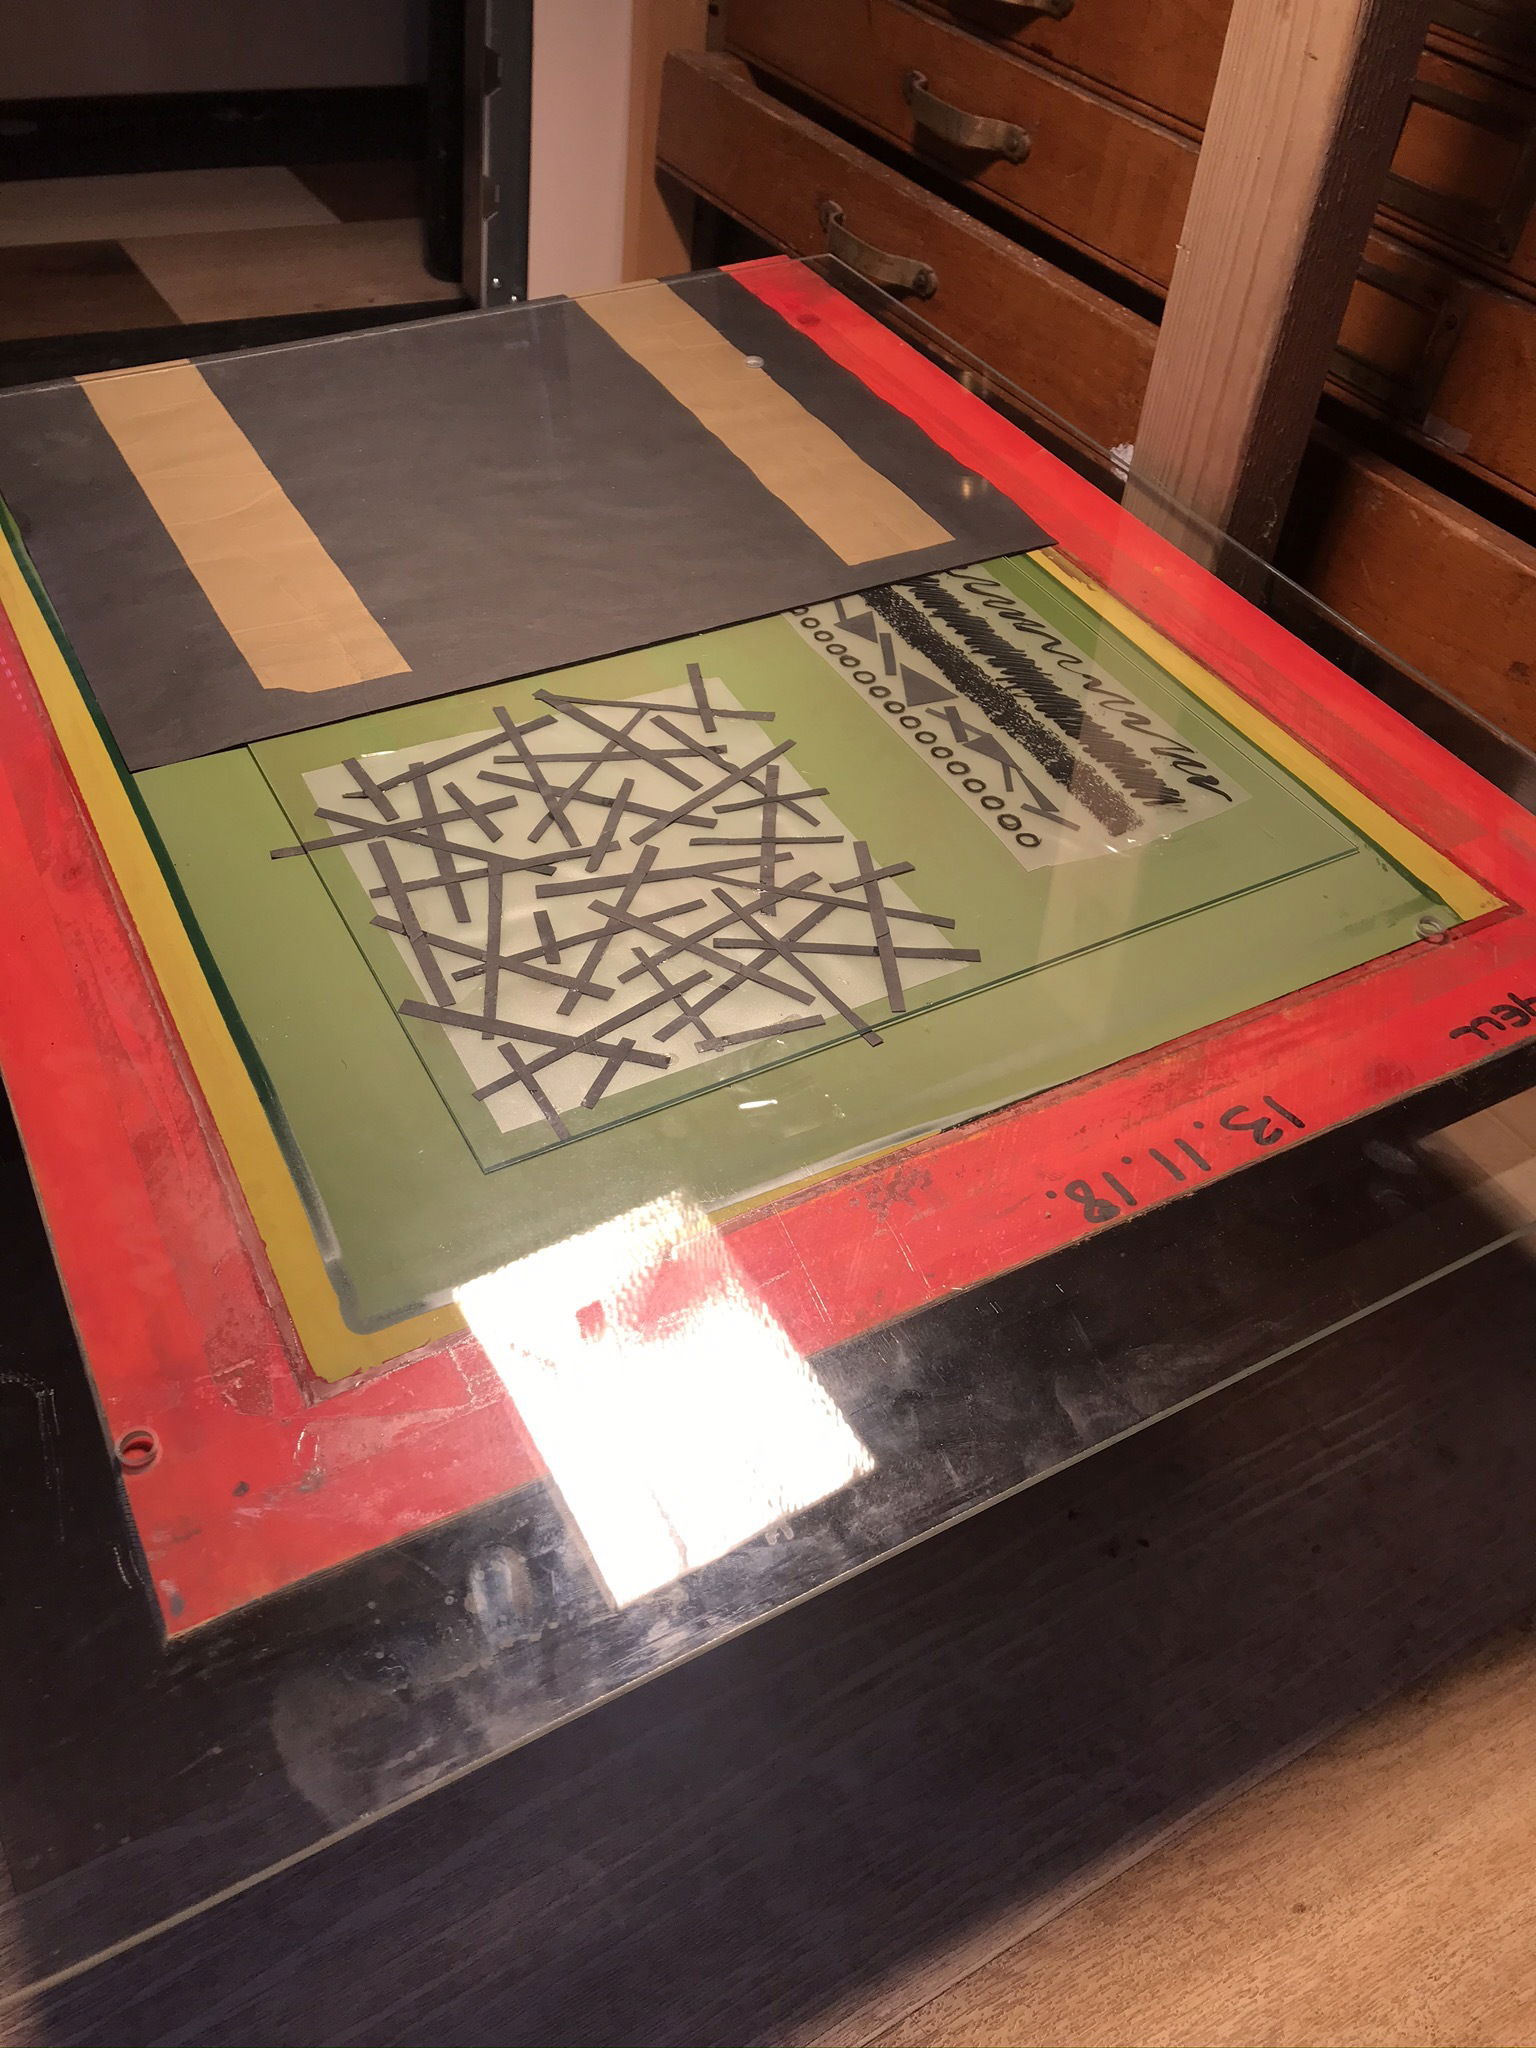

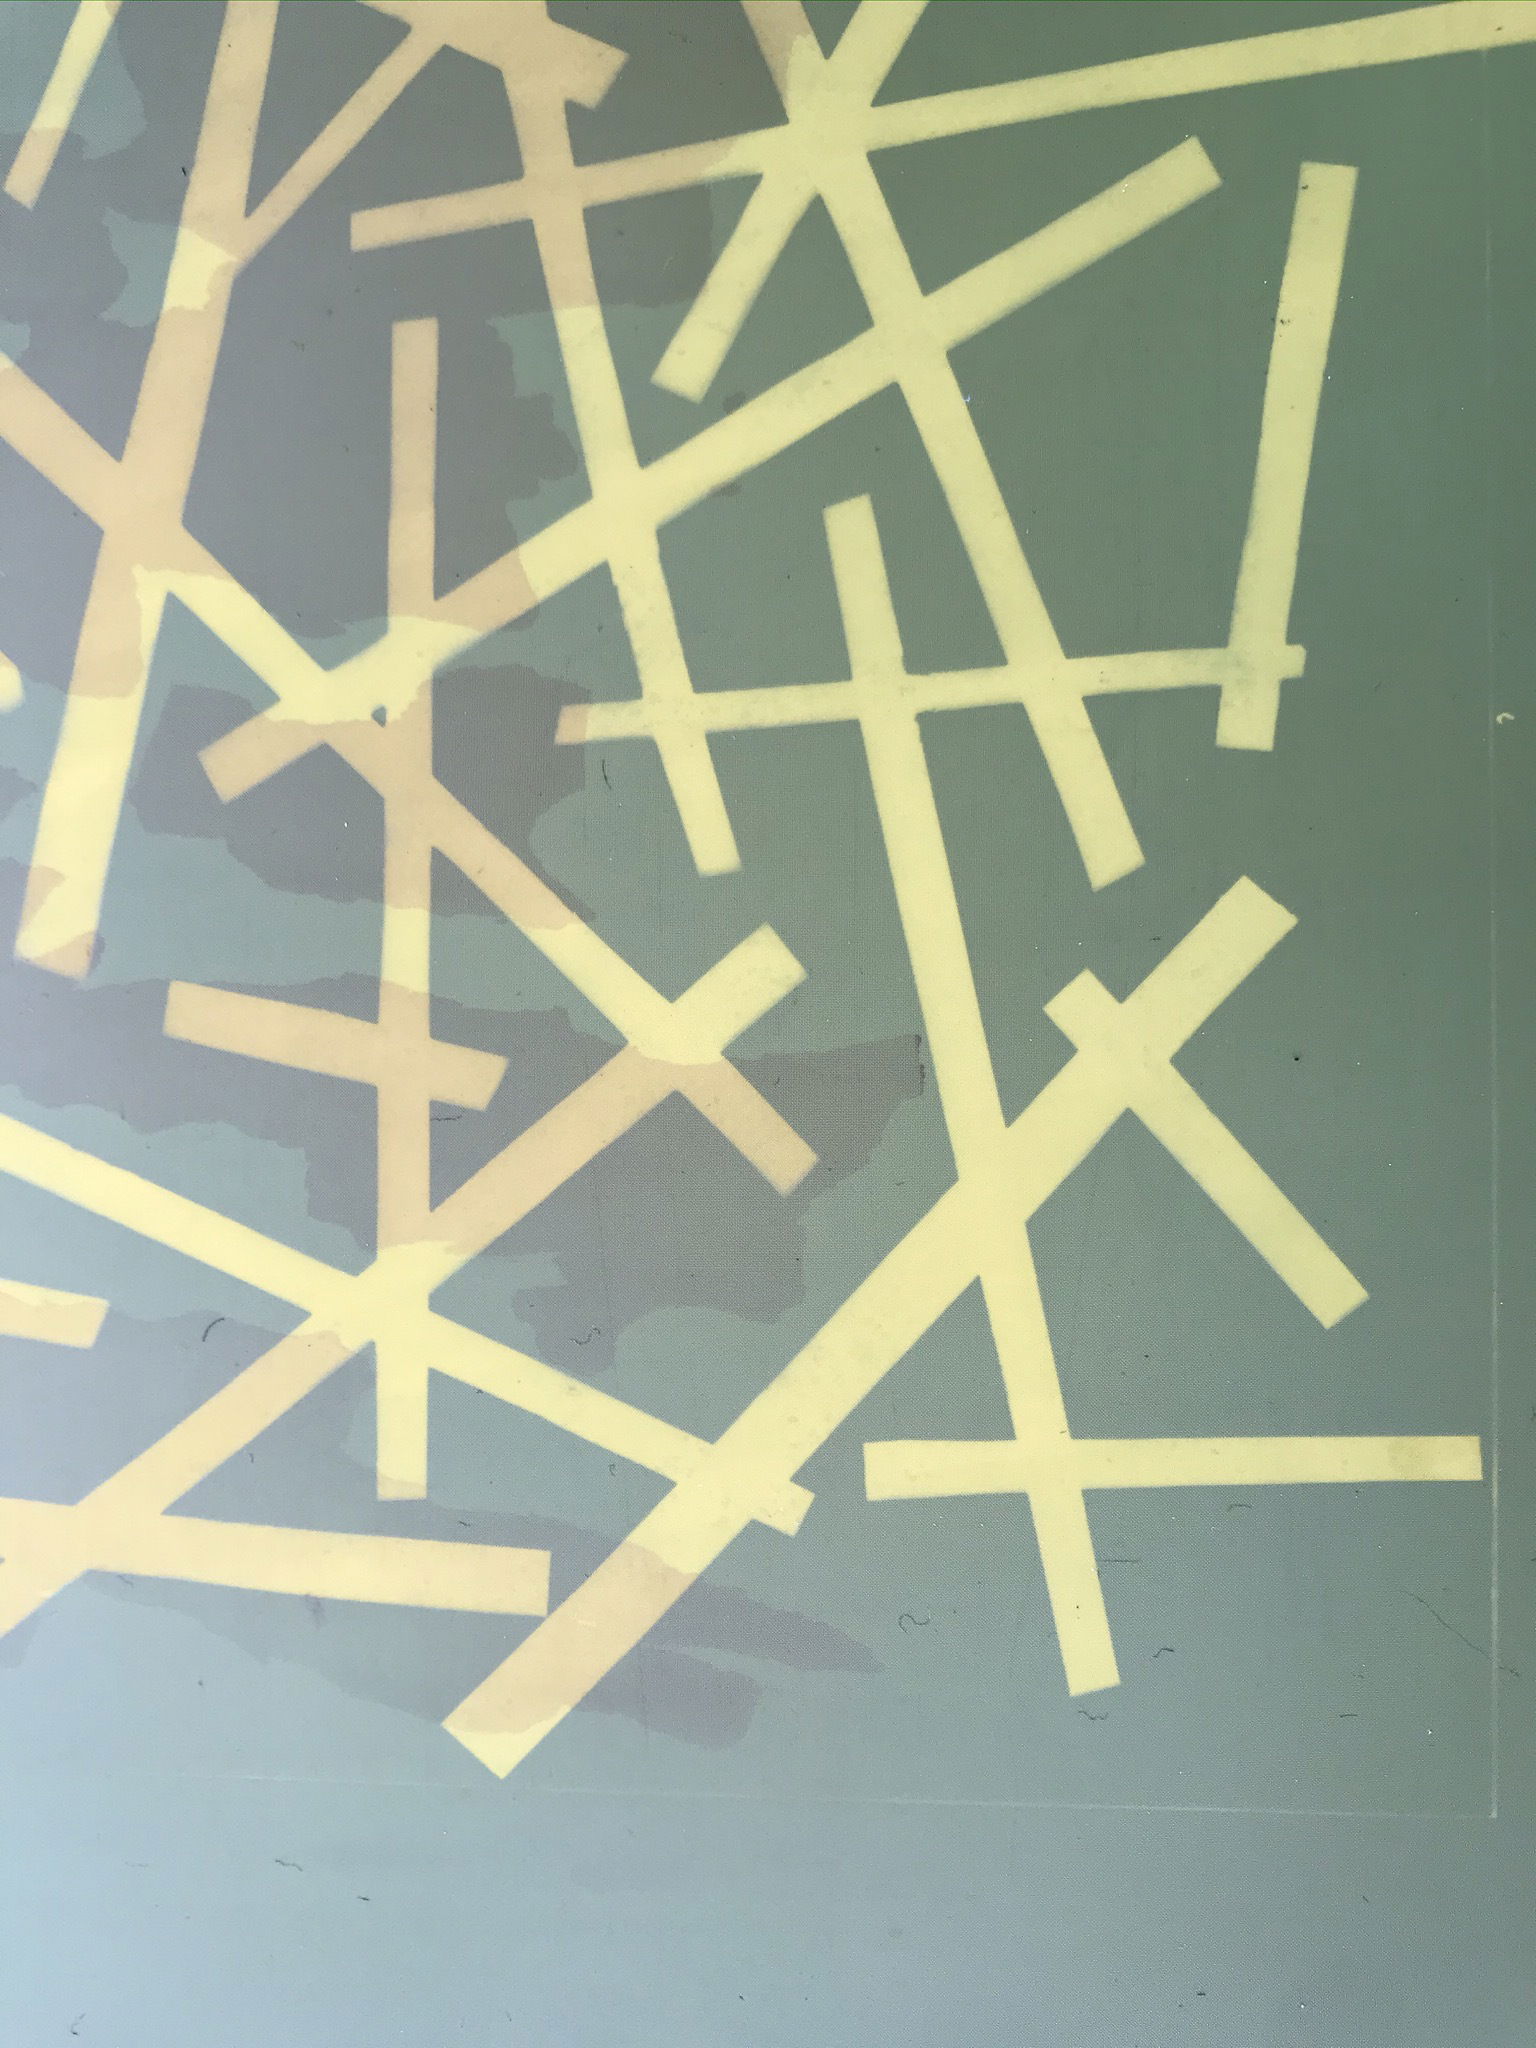
In conclusion, this test produced a far better image with the ten minute exposure and with the new second piece of glass. There seemed to be less blurred edges to the imagery. There were fairly detailed lines. Fine if I'm printing something with no fine detail. Hooray! From these, I have established though, that the heat is my main problem here. The mark resist paper just doesn’t take the heat from the lamp very well at all. With that in mind, I am going to look at some (cheap) alternative light sources.