Building my shed studio
This is about my journey of building my own shed studio. My family were getting sick of me taking up space on the dining table and I was getting sick of having to put my things away all the time. I did a bit of research into studio buildings from new and we decided that it was too expensive from new and we should look at re using something. I was looking on ebay and after about 6 months I found one. We hired a big transport van and off we went....
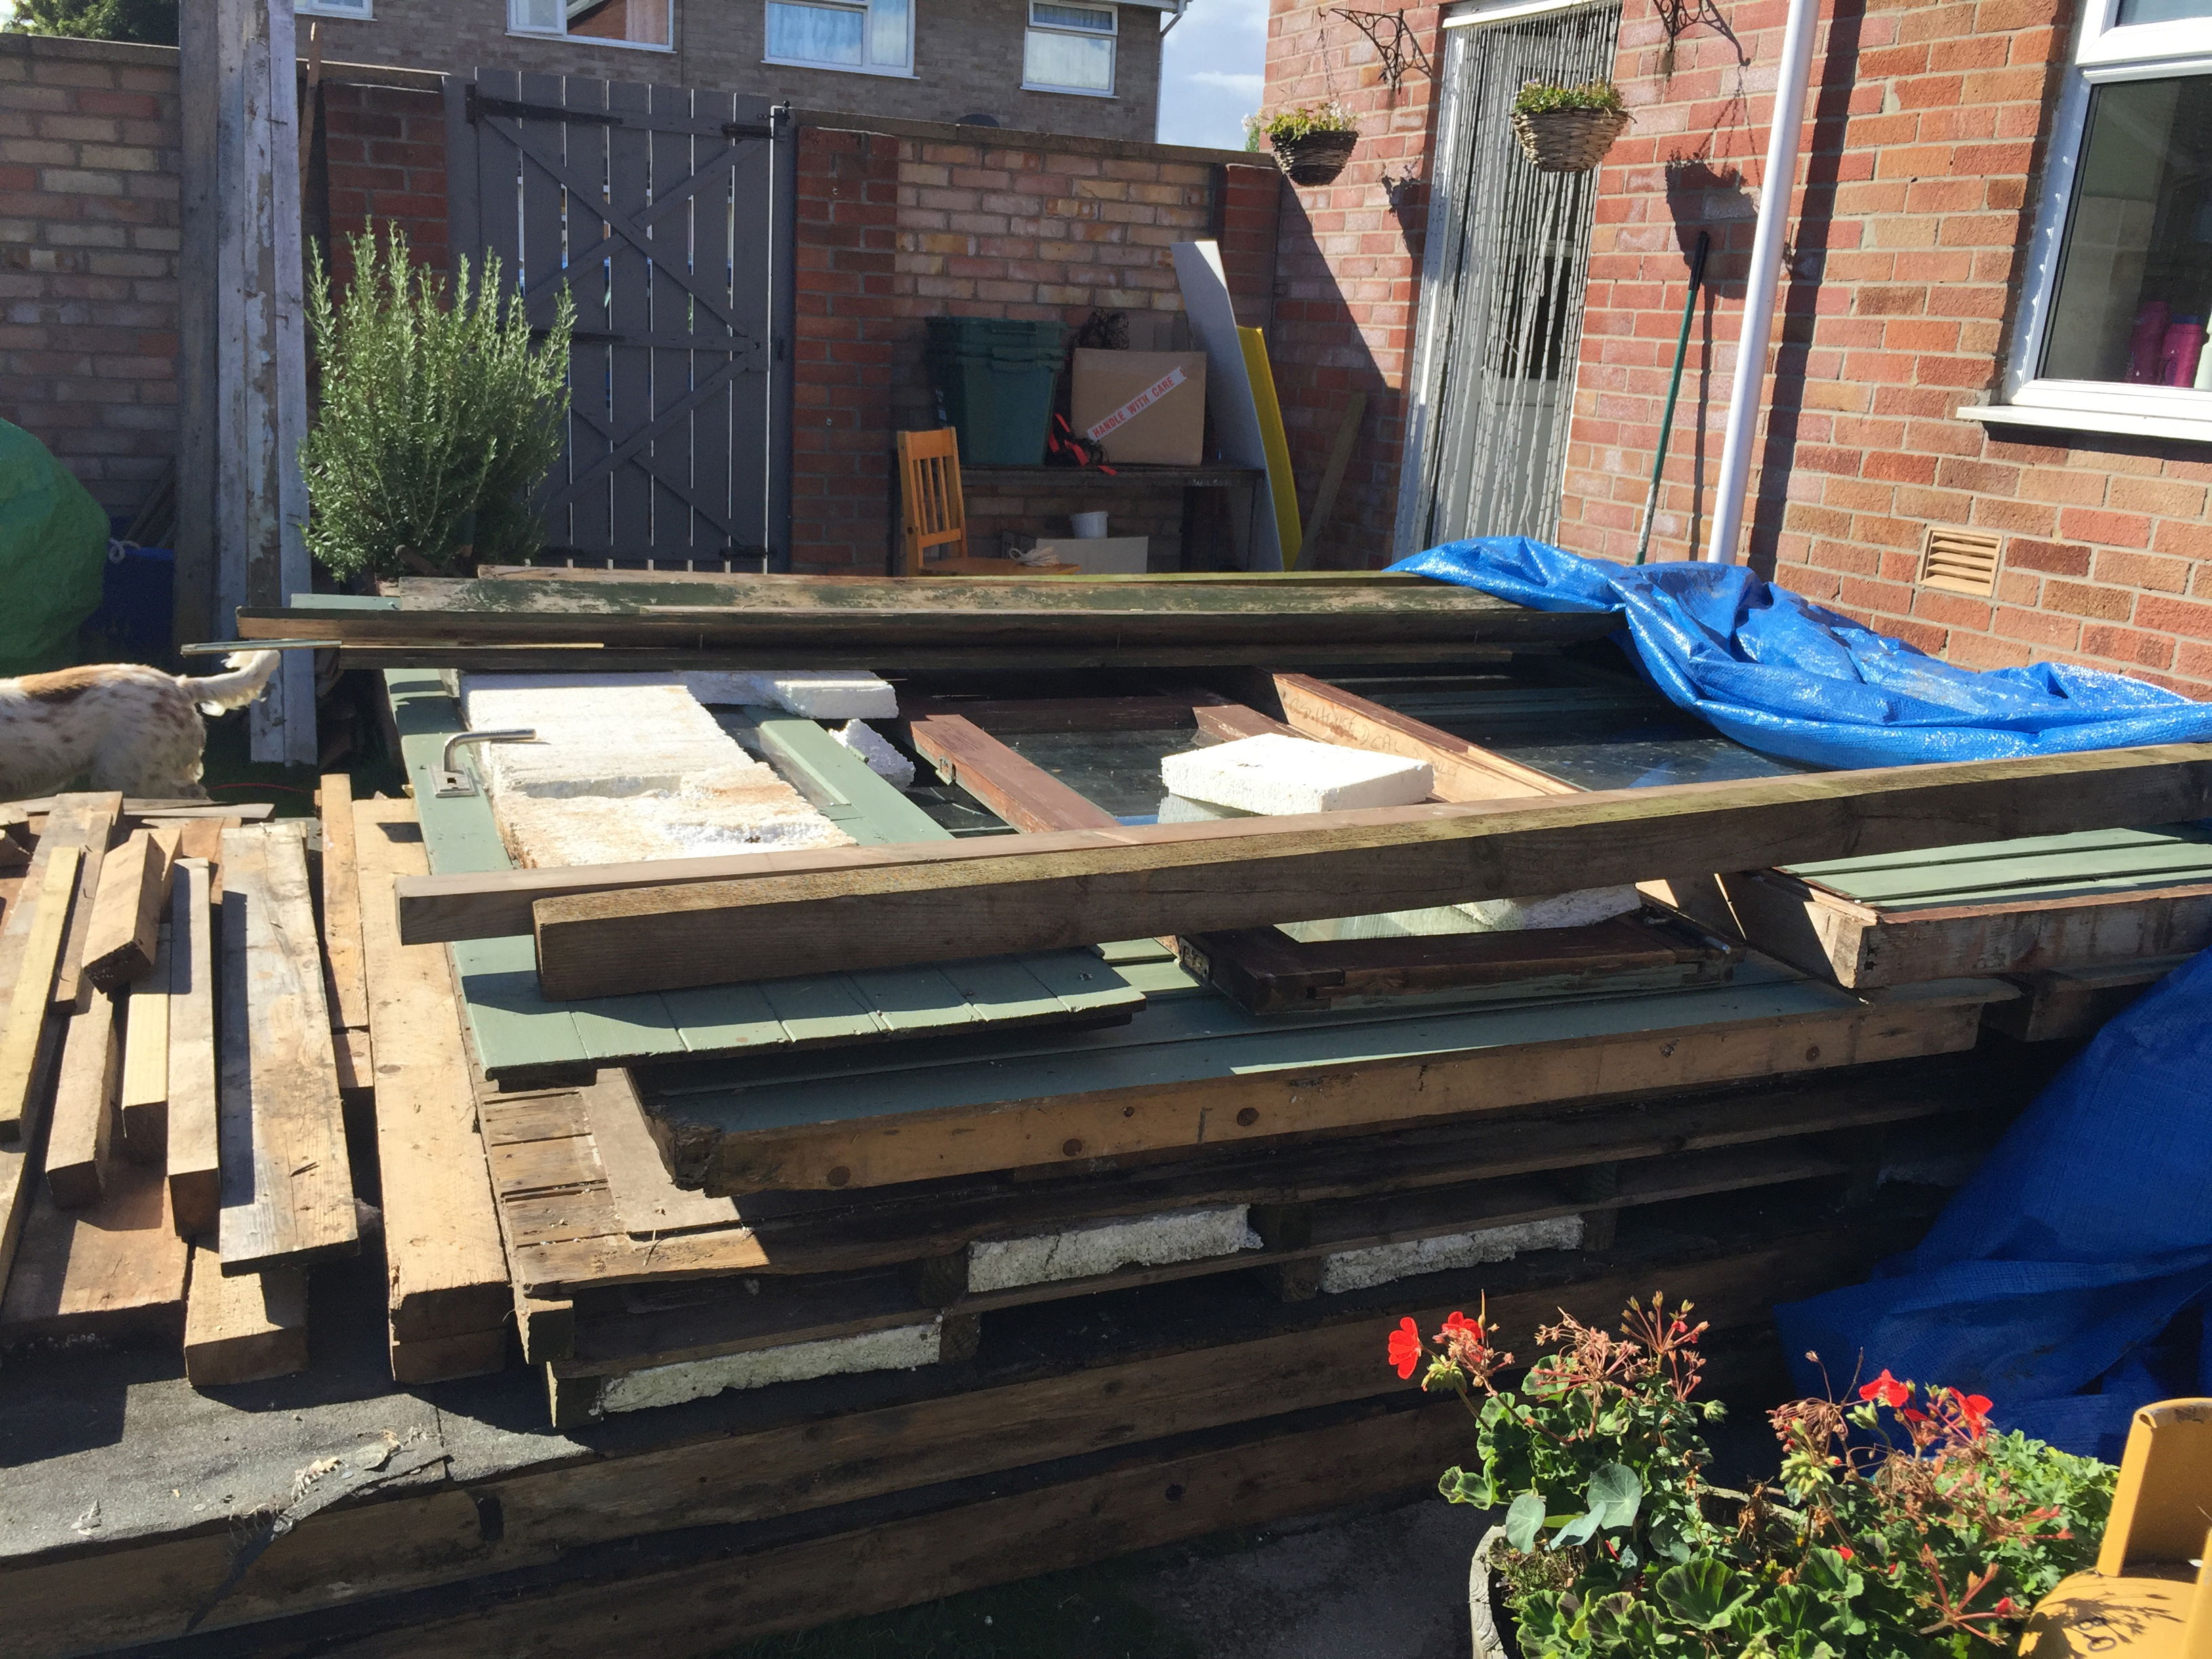
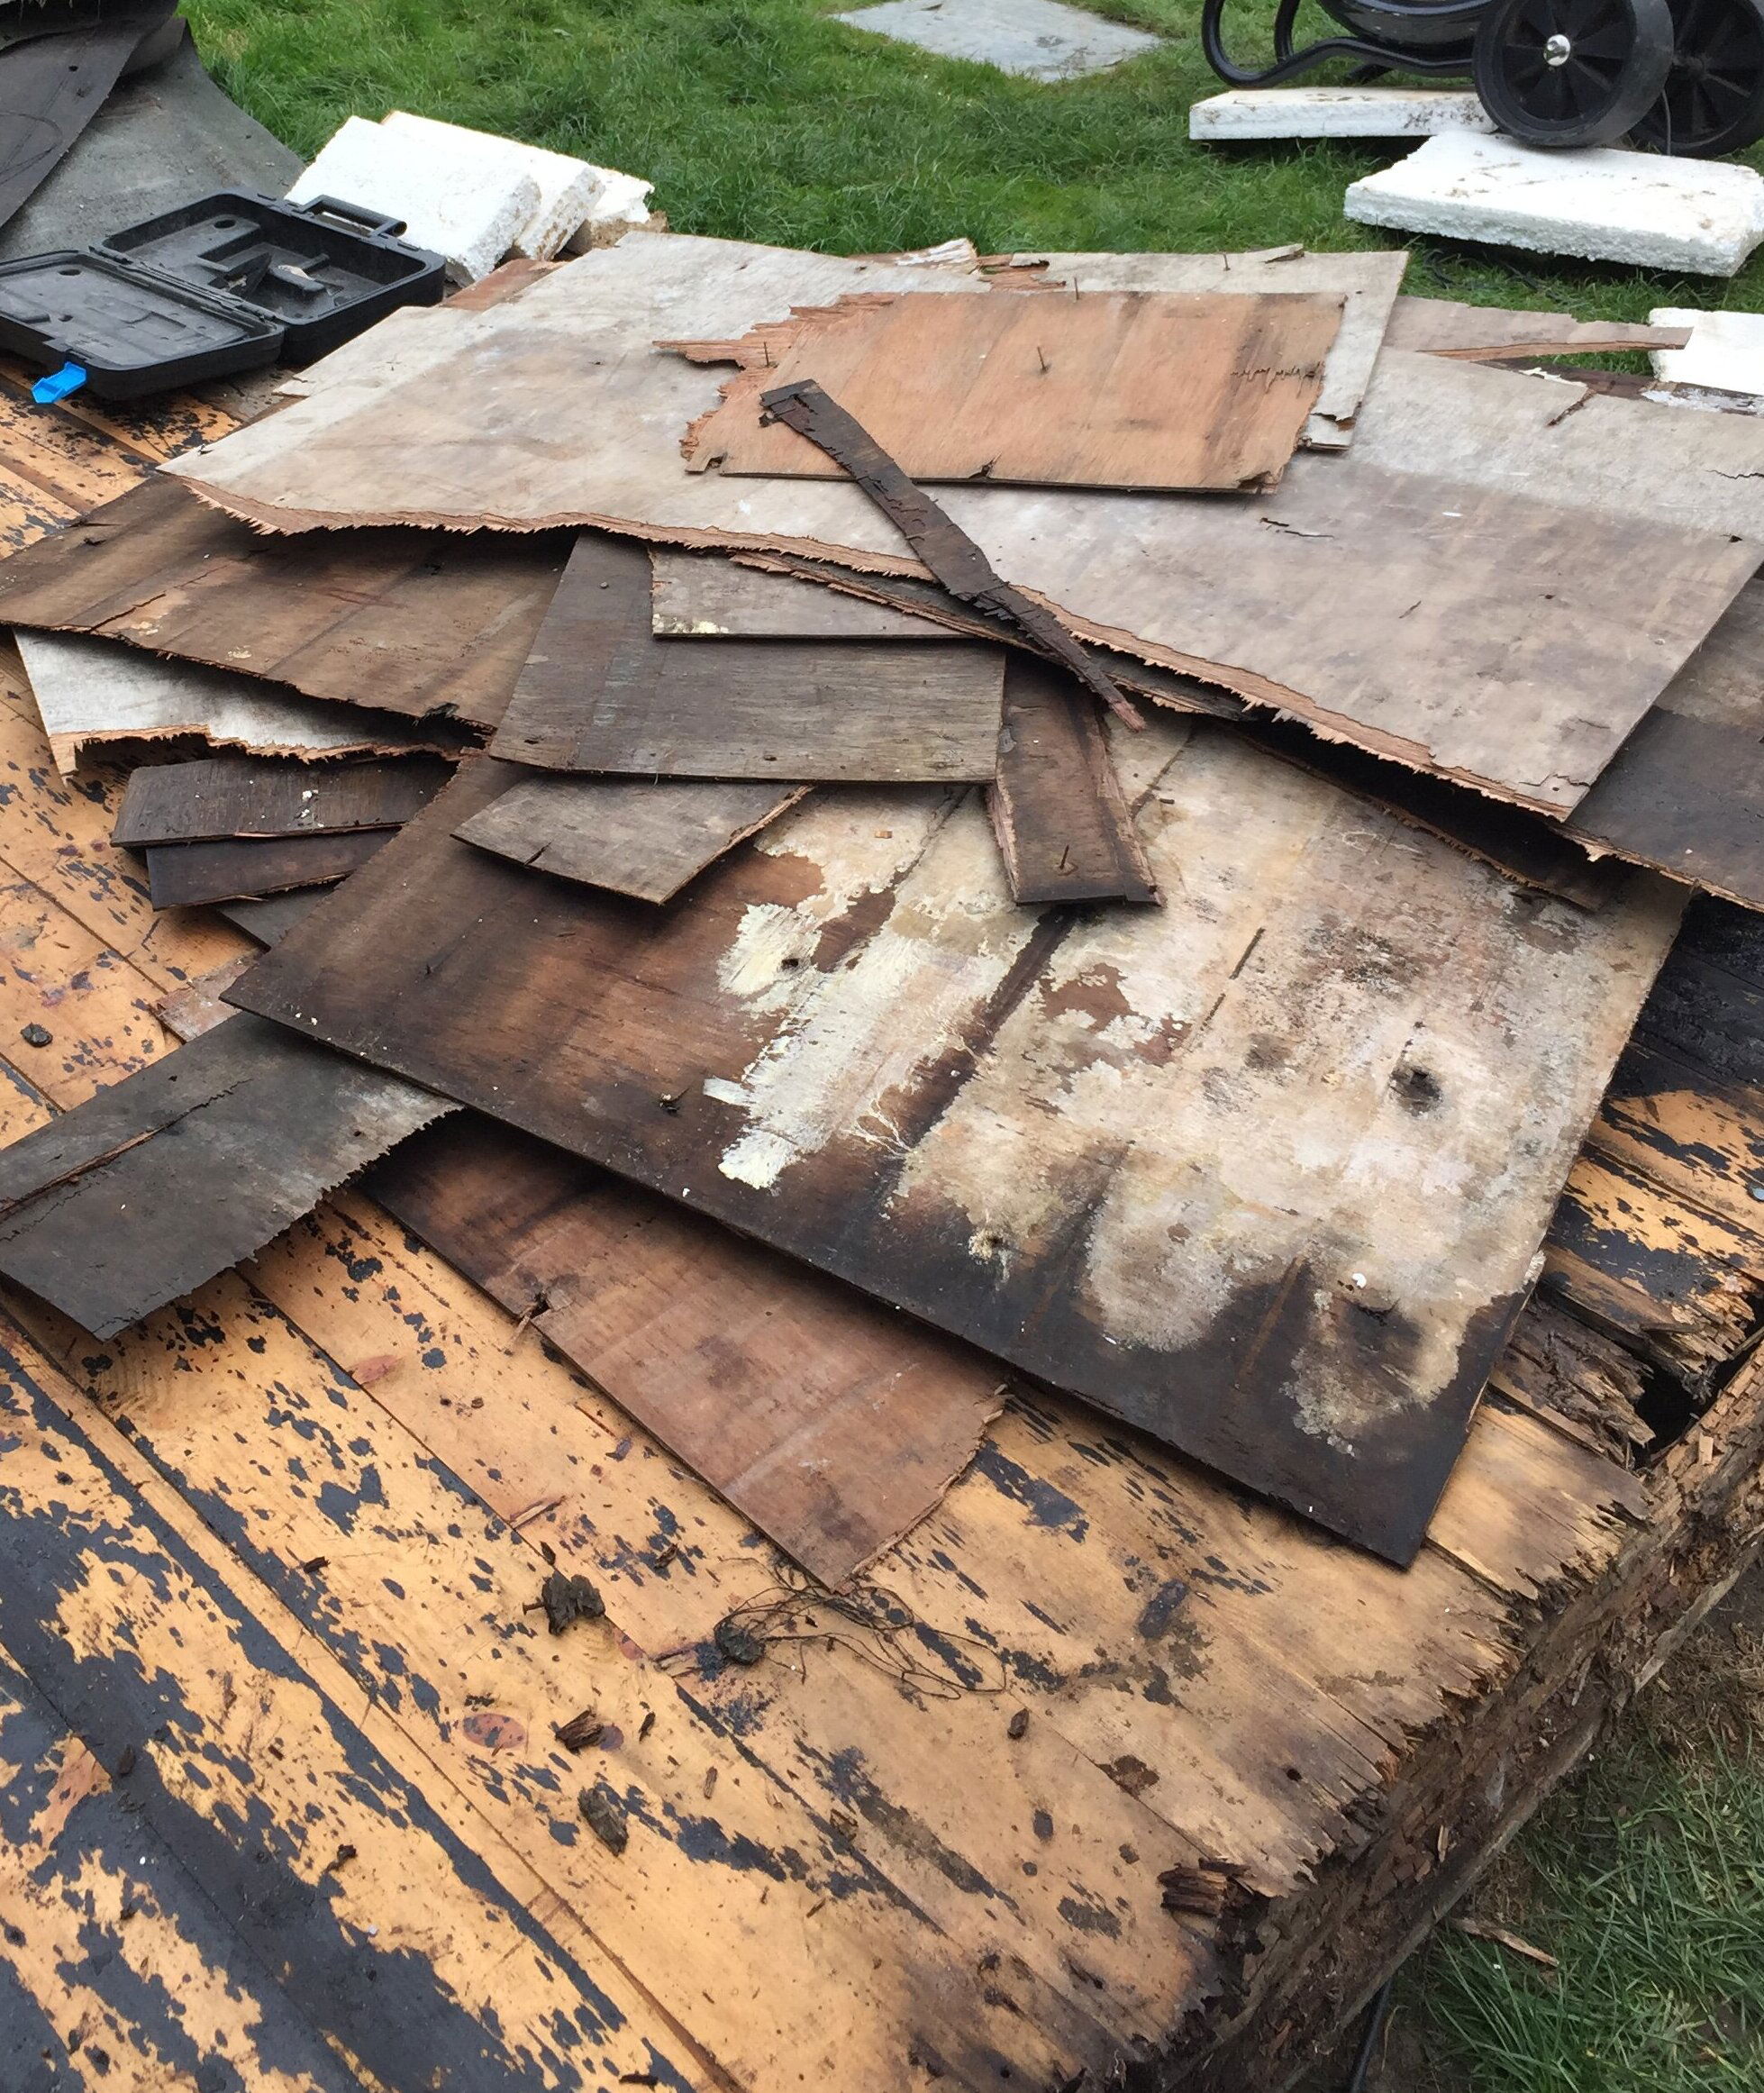
This what it looked like after dismantling in the sellers garden and transporting to mine. This wasn't going to be easy!
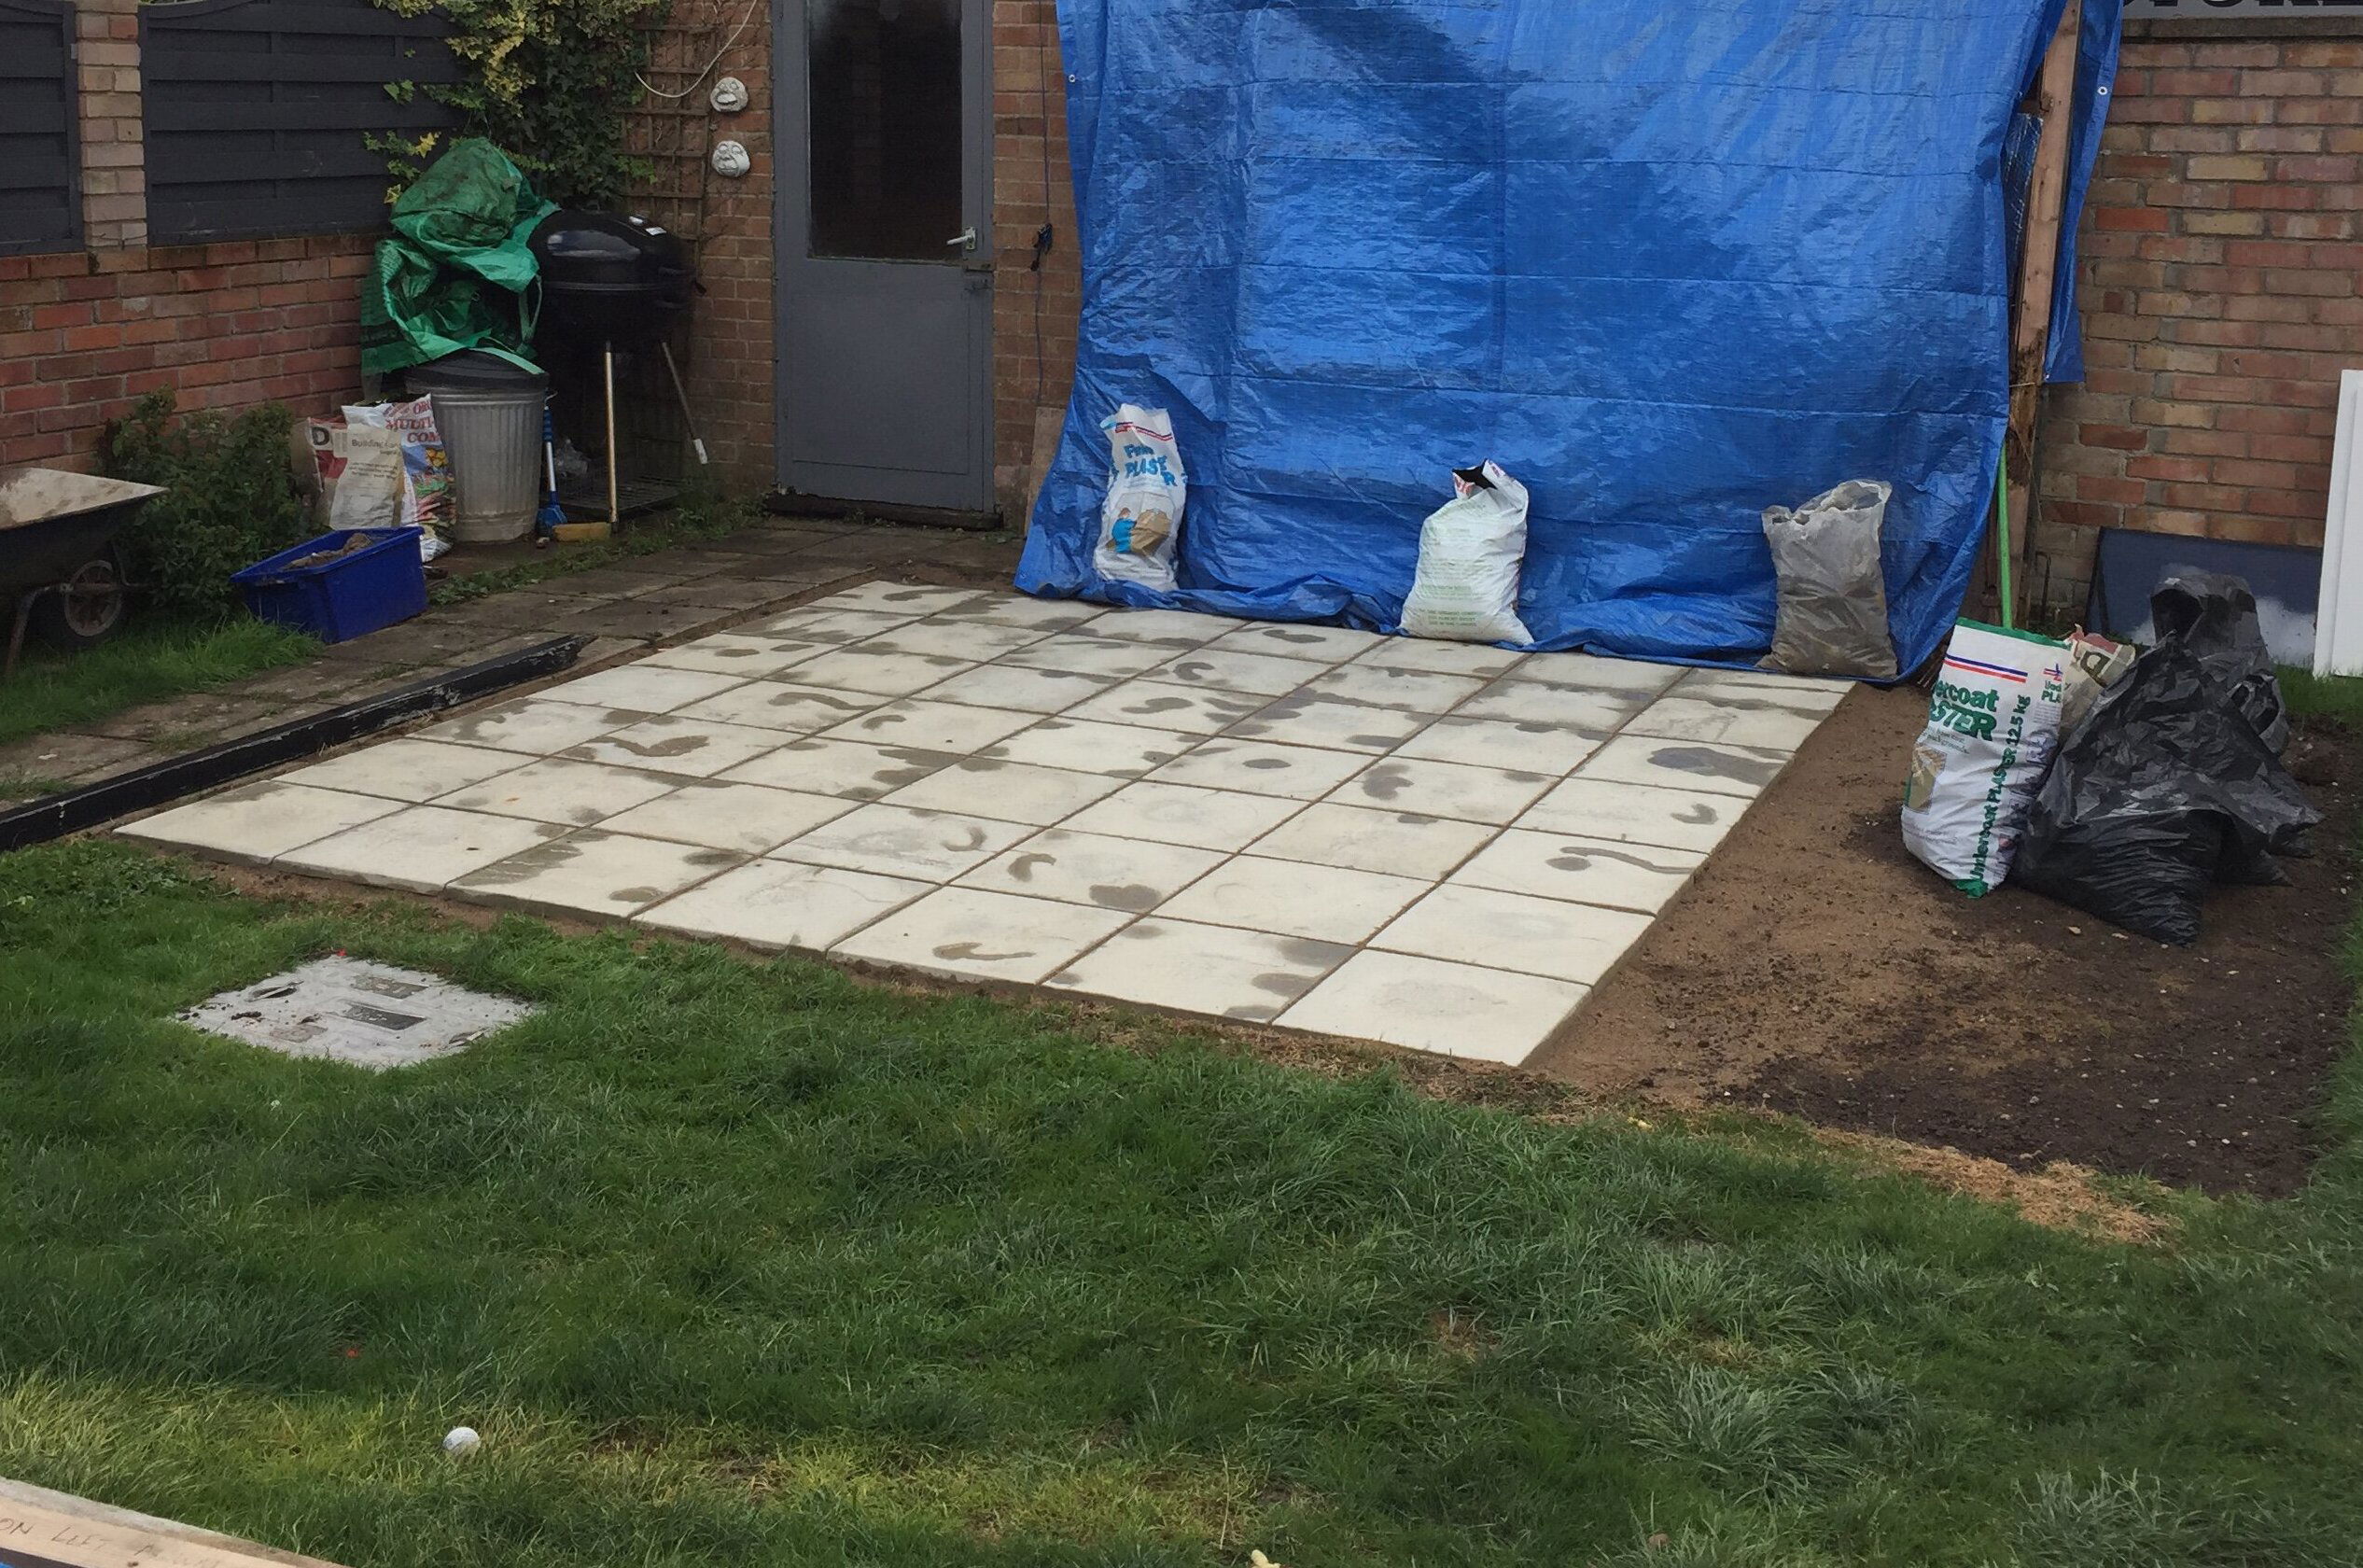
The first job is to create a hardstanding for the base.
We had a bit of help!

The base is down with polystyrene insulation added.
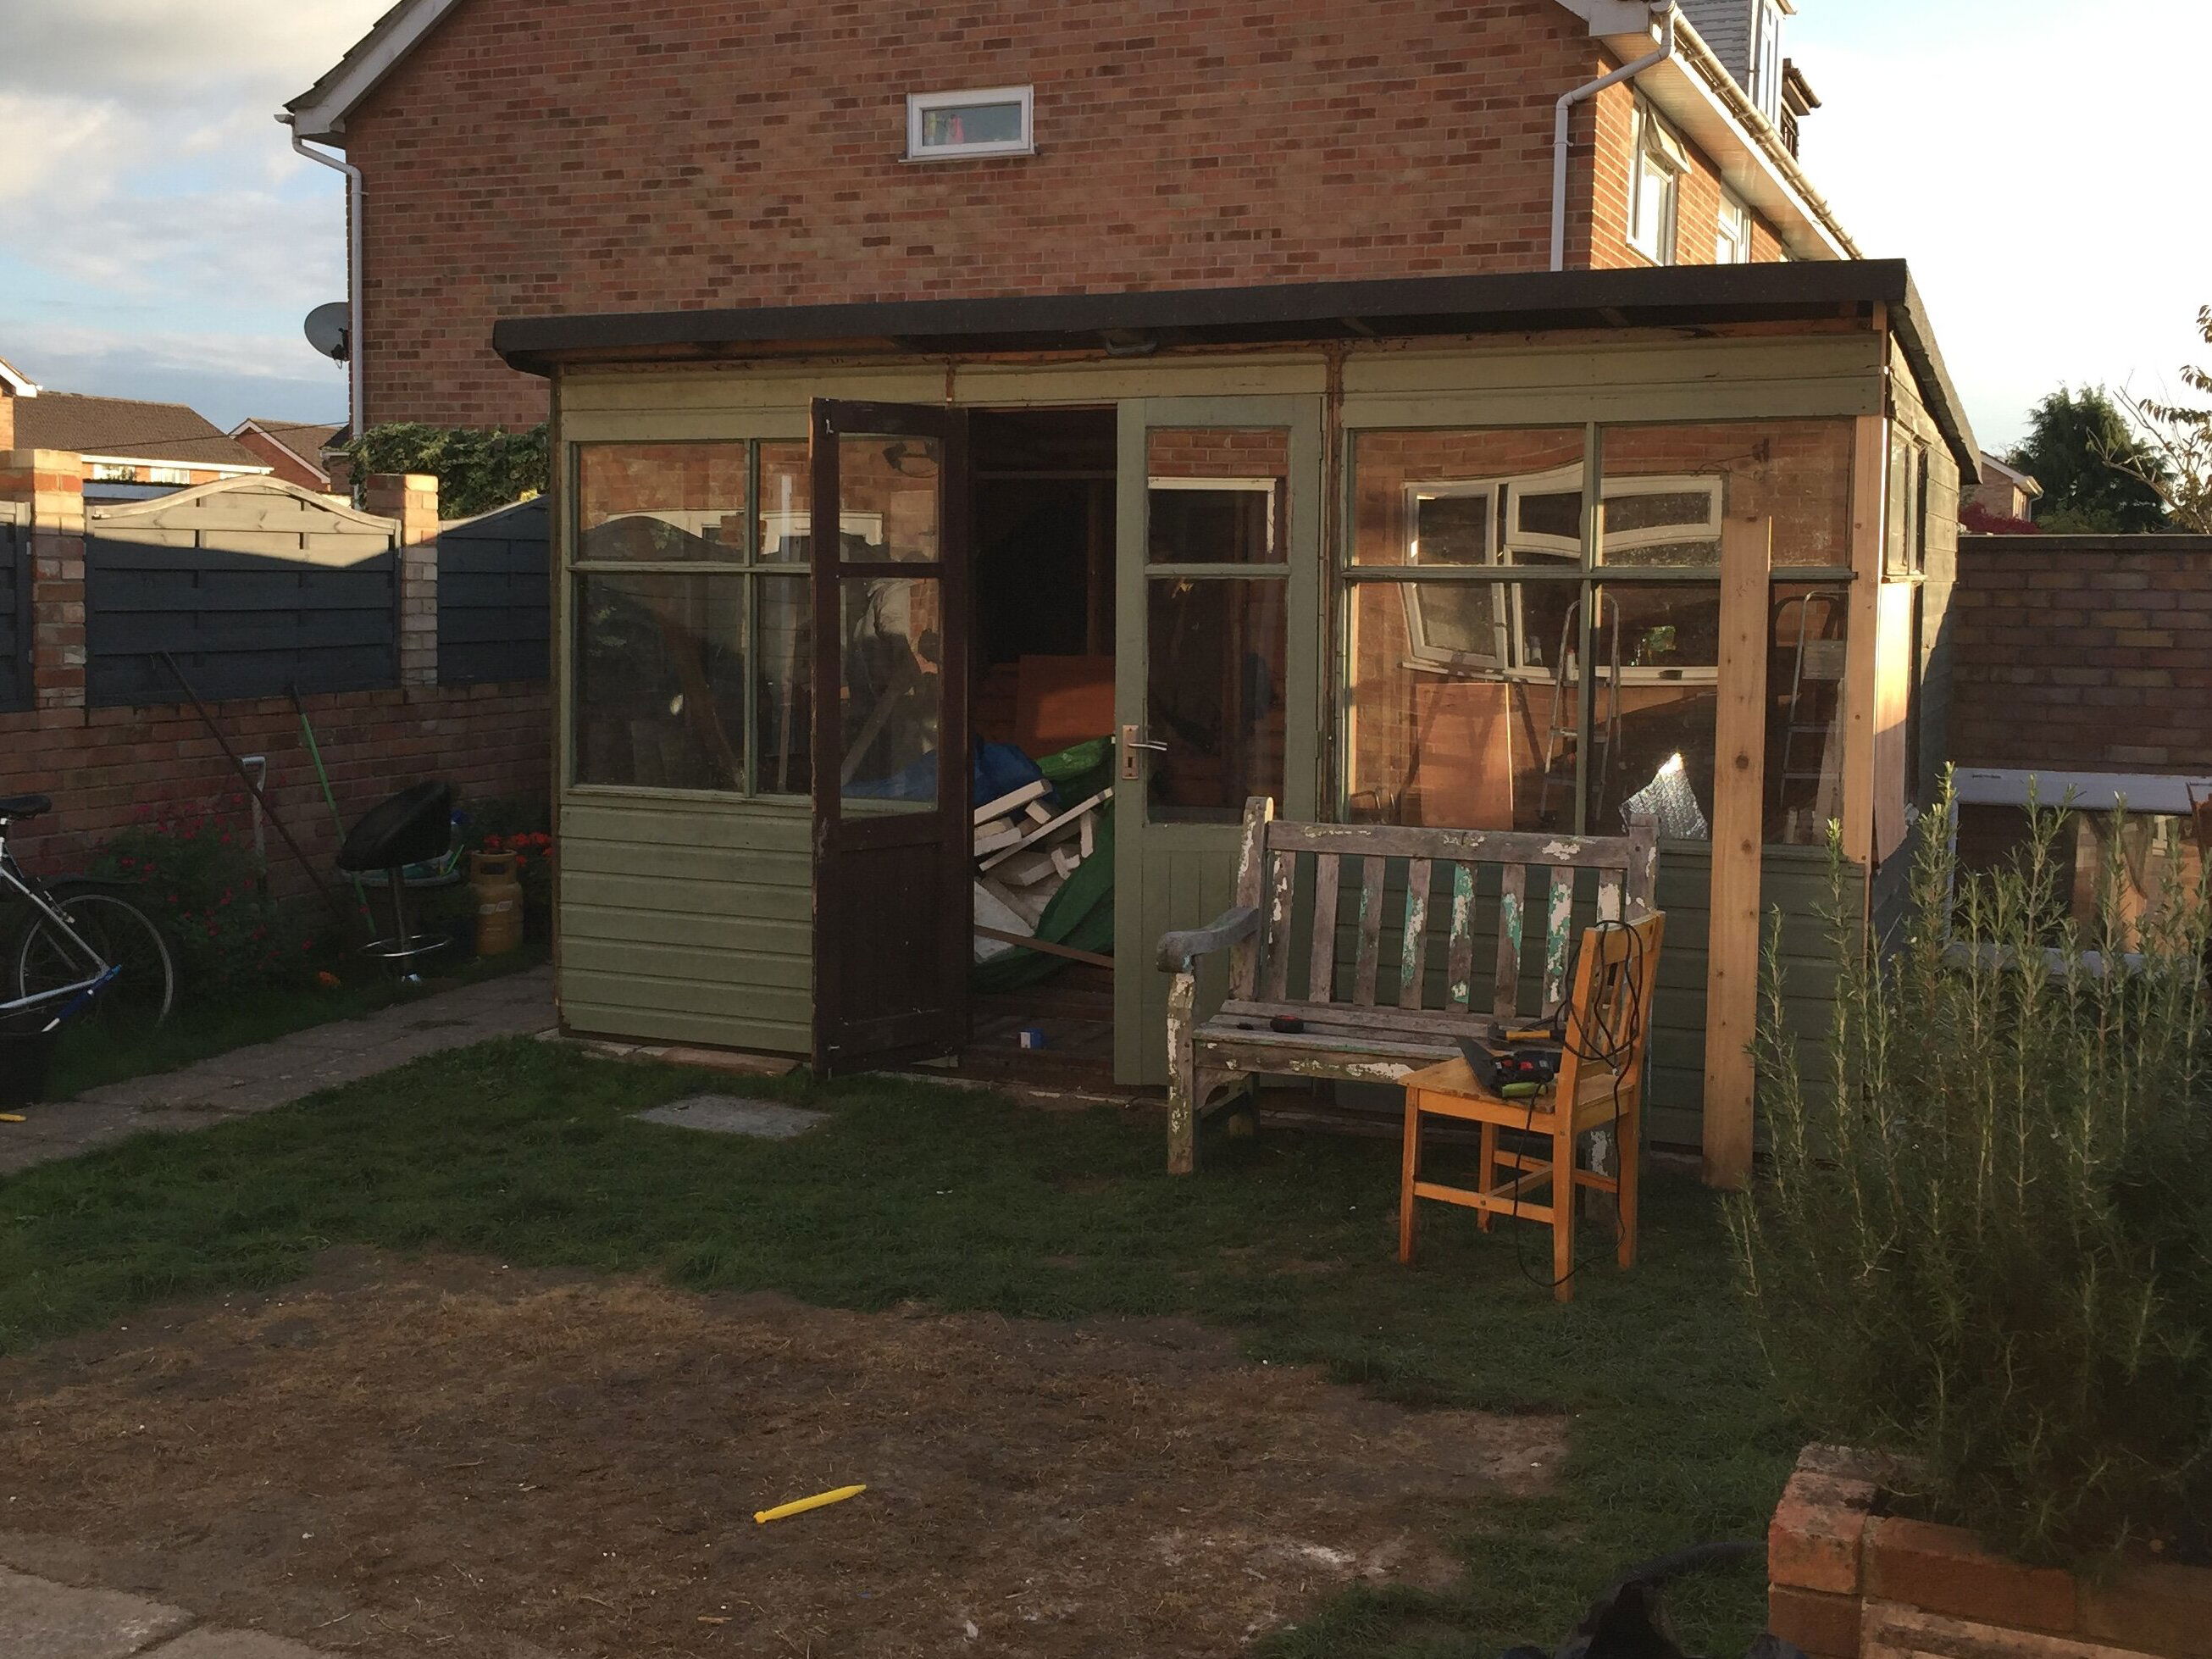
Now it was time to negotiate the front, back and sides. As much as we had tried to mark them as we were dismantling, it still took some lining up. We were replacing rotten wood as we were going along as best we could. I have to give my hubby a big shout out for all of his hard work. This is picture of how we left it after a really long day assembling. The roof was going to have to wait.

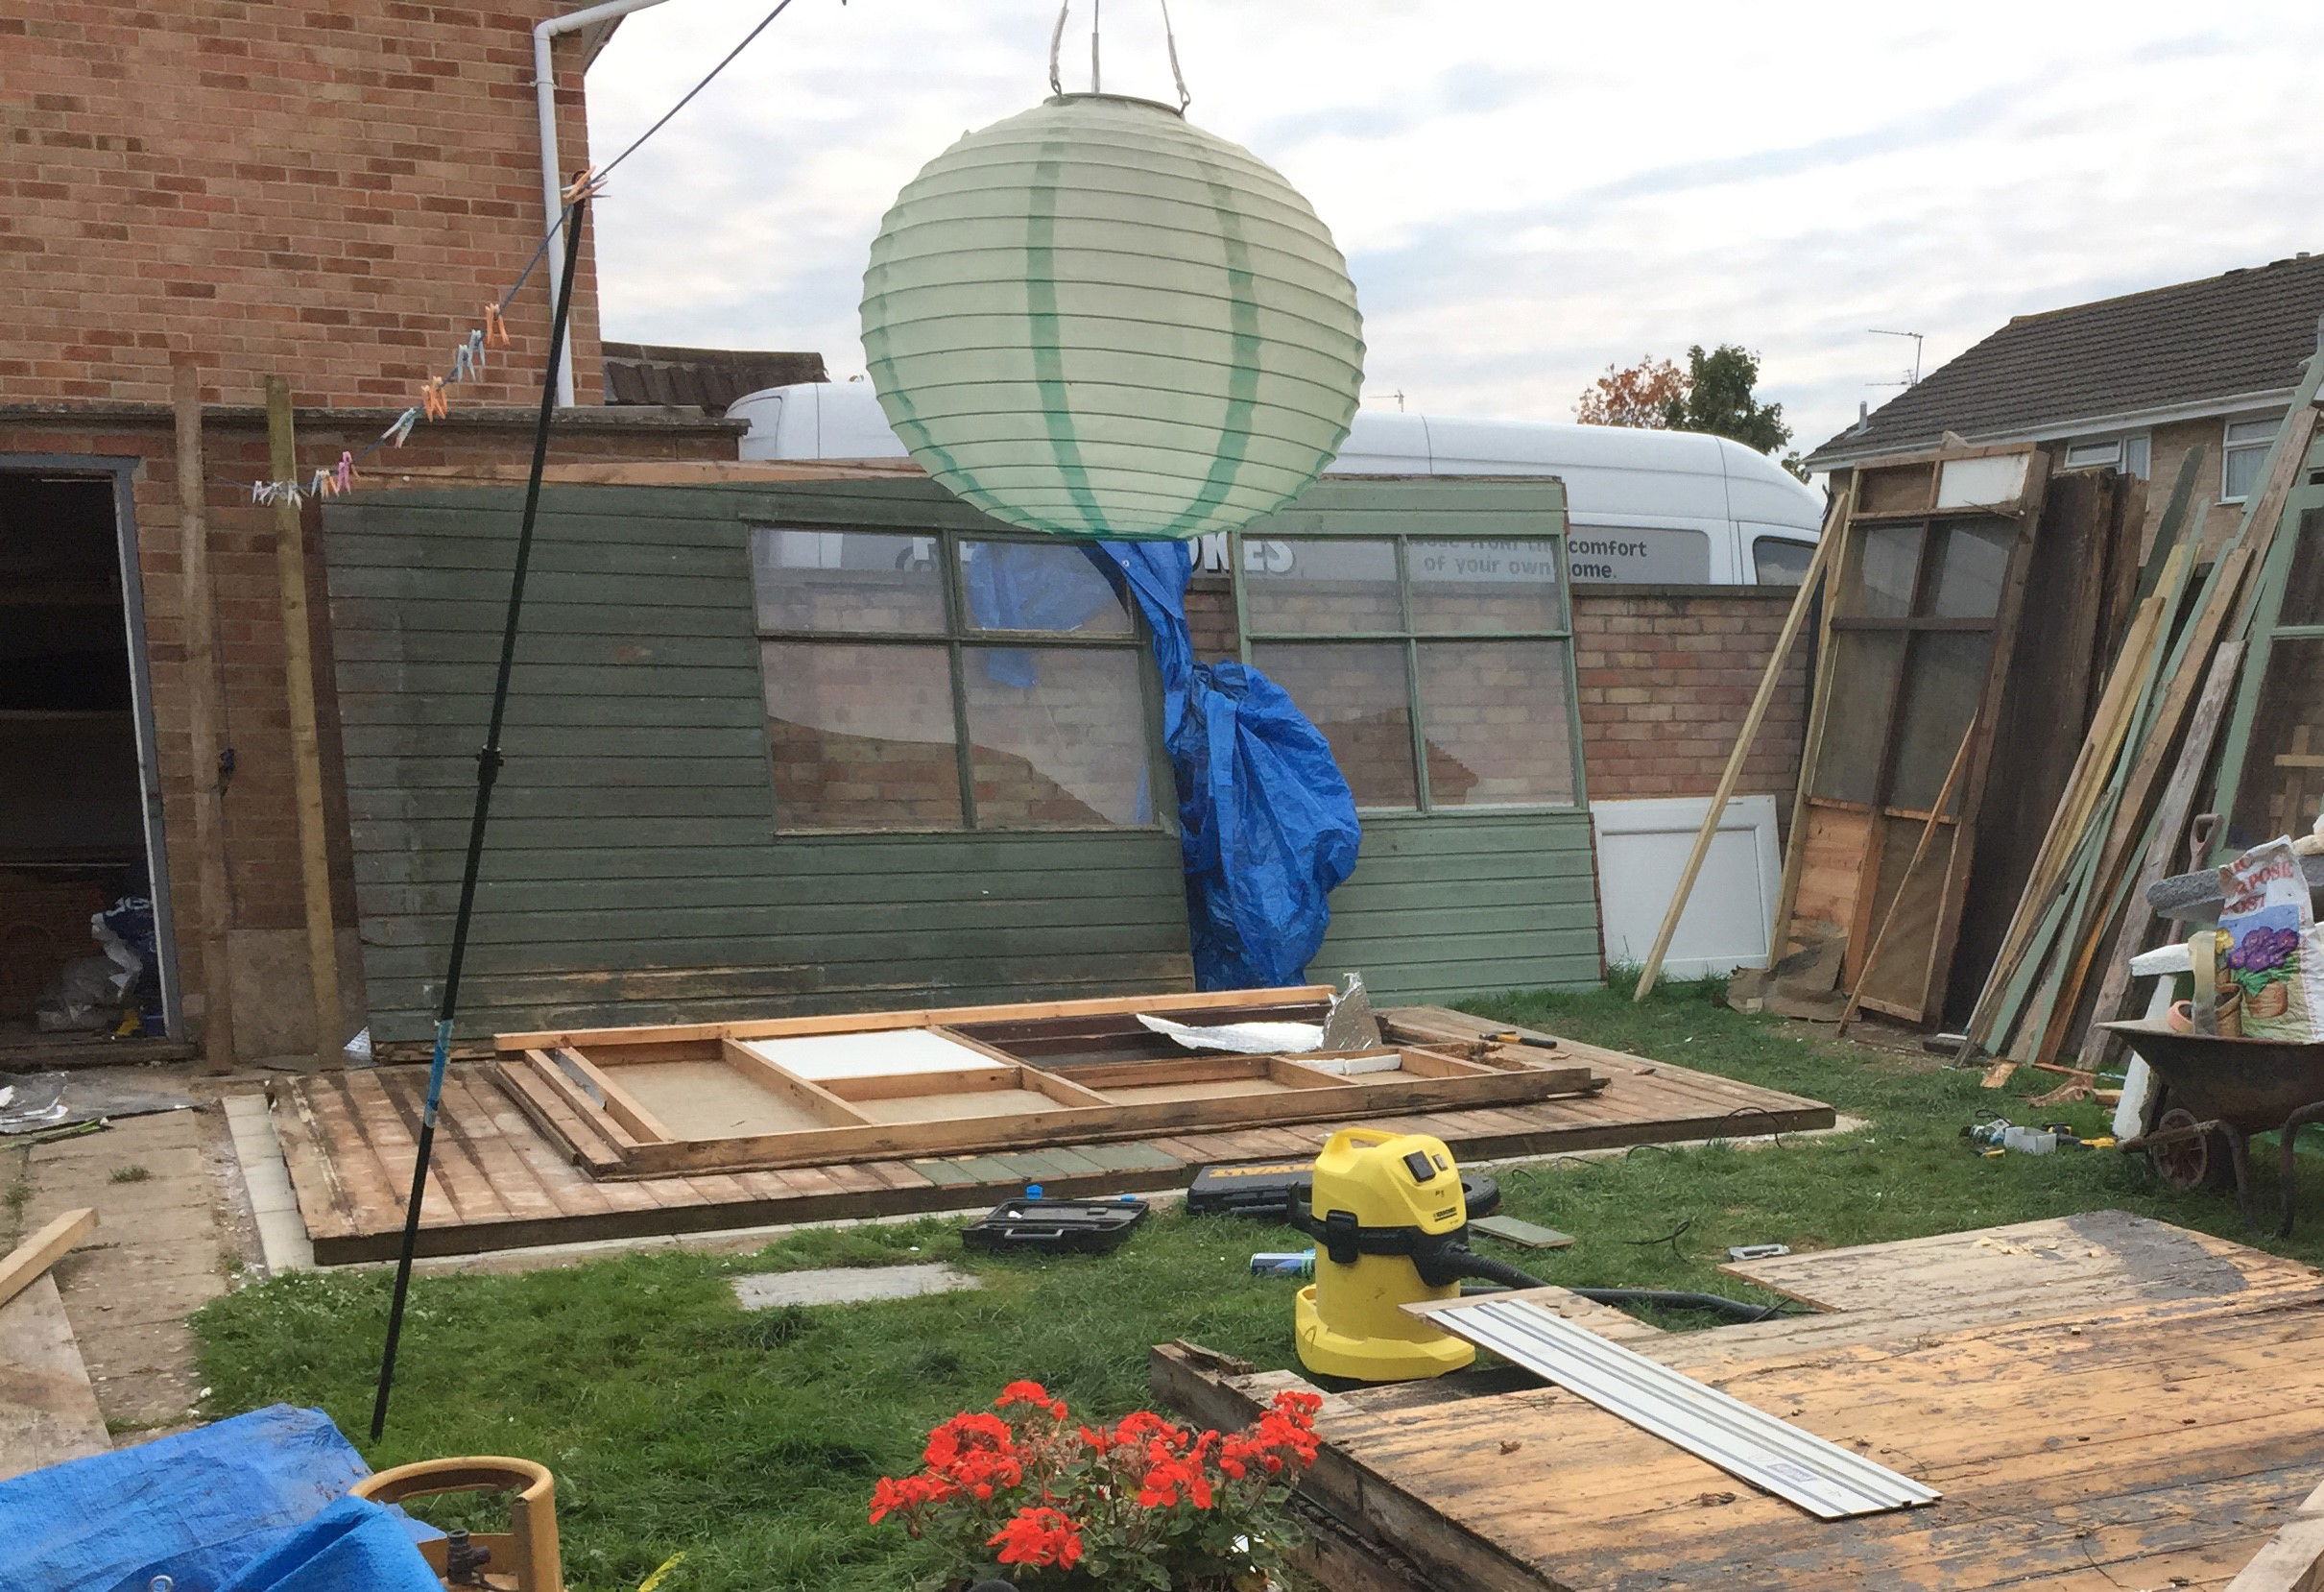
Next was the roof. We discovered that most of this was rotten when we uncovered it. We knew that we had to refelt the roof as it transported in two big pieces so the felt had to be cut. We had hoped that it would be pretty straightforward but it never is, is it?
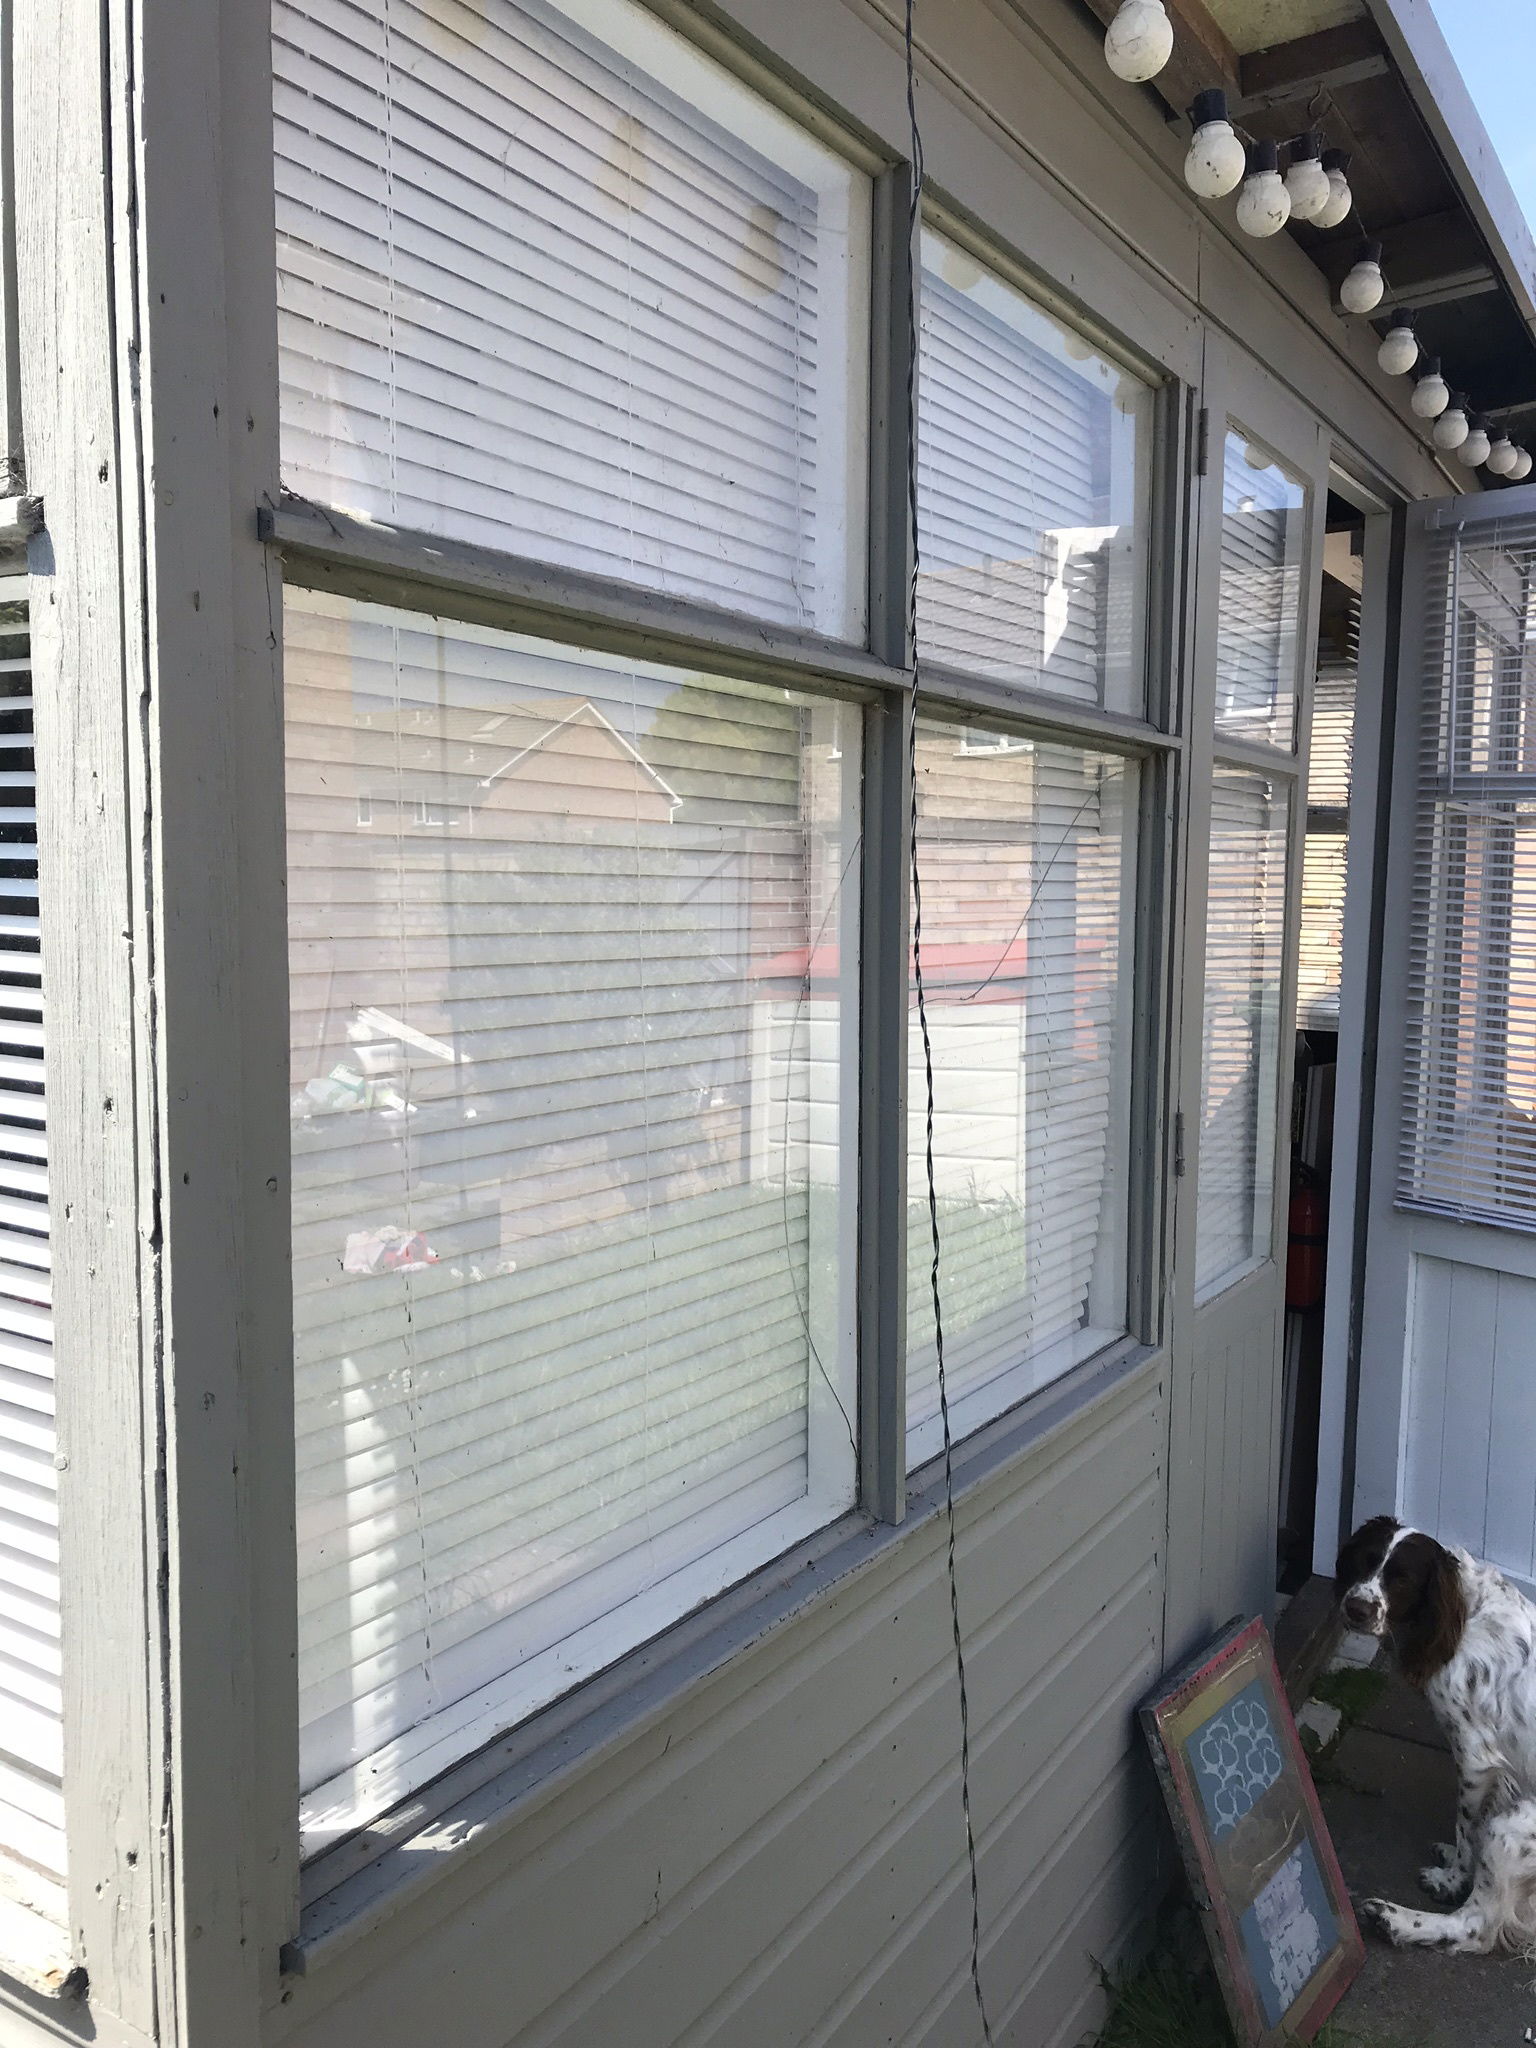
With the outside all up and the new roof on it was finally a whole structure. It was nearly watertight. I just needed to replace a window. So now I could finally get an idea of the size. It had been several months between buying it and getting to this stage and I had forgotten how it looked. I loved the fact it has three sides of windows to let in all the light and the double doors. The roof was supposed to overhang at the front more but we had decided to have this overhang at the back to allow for a bit of outside storage.
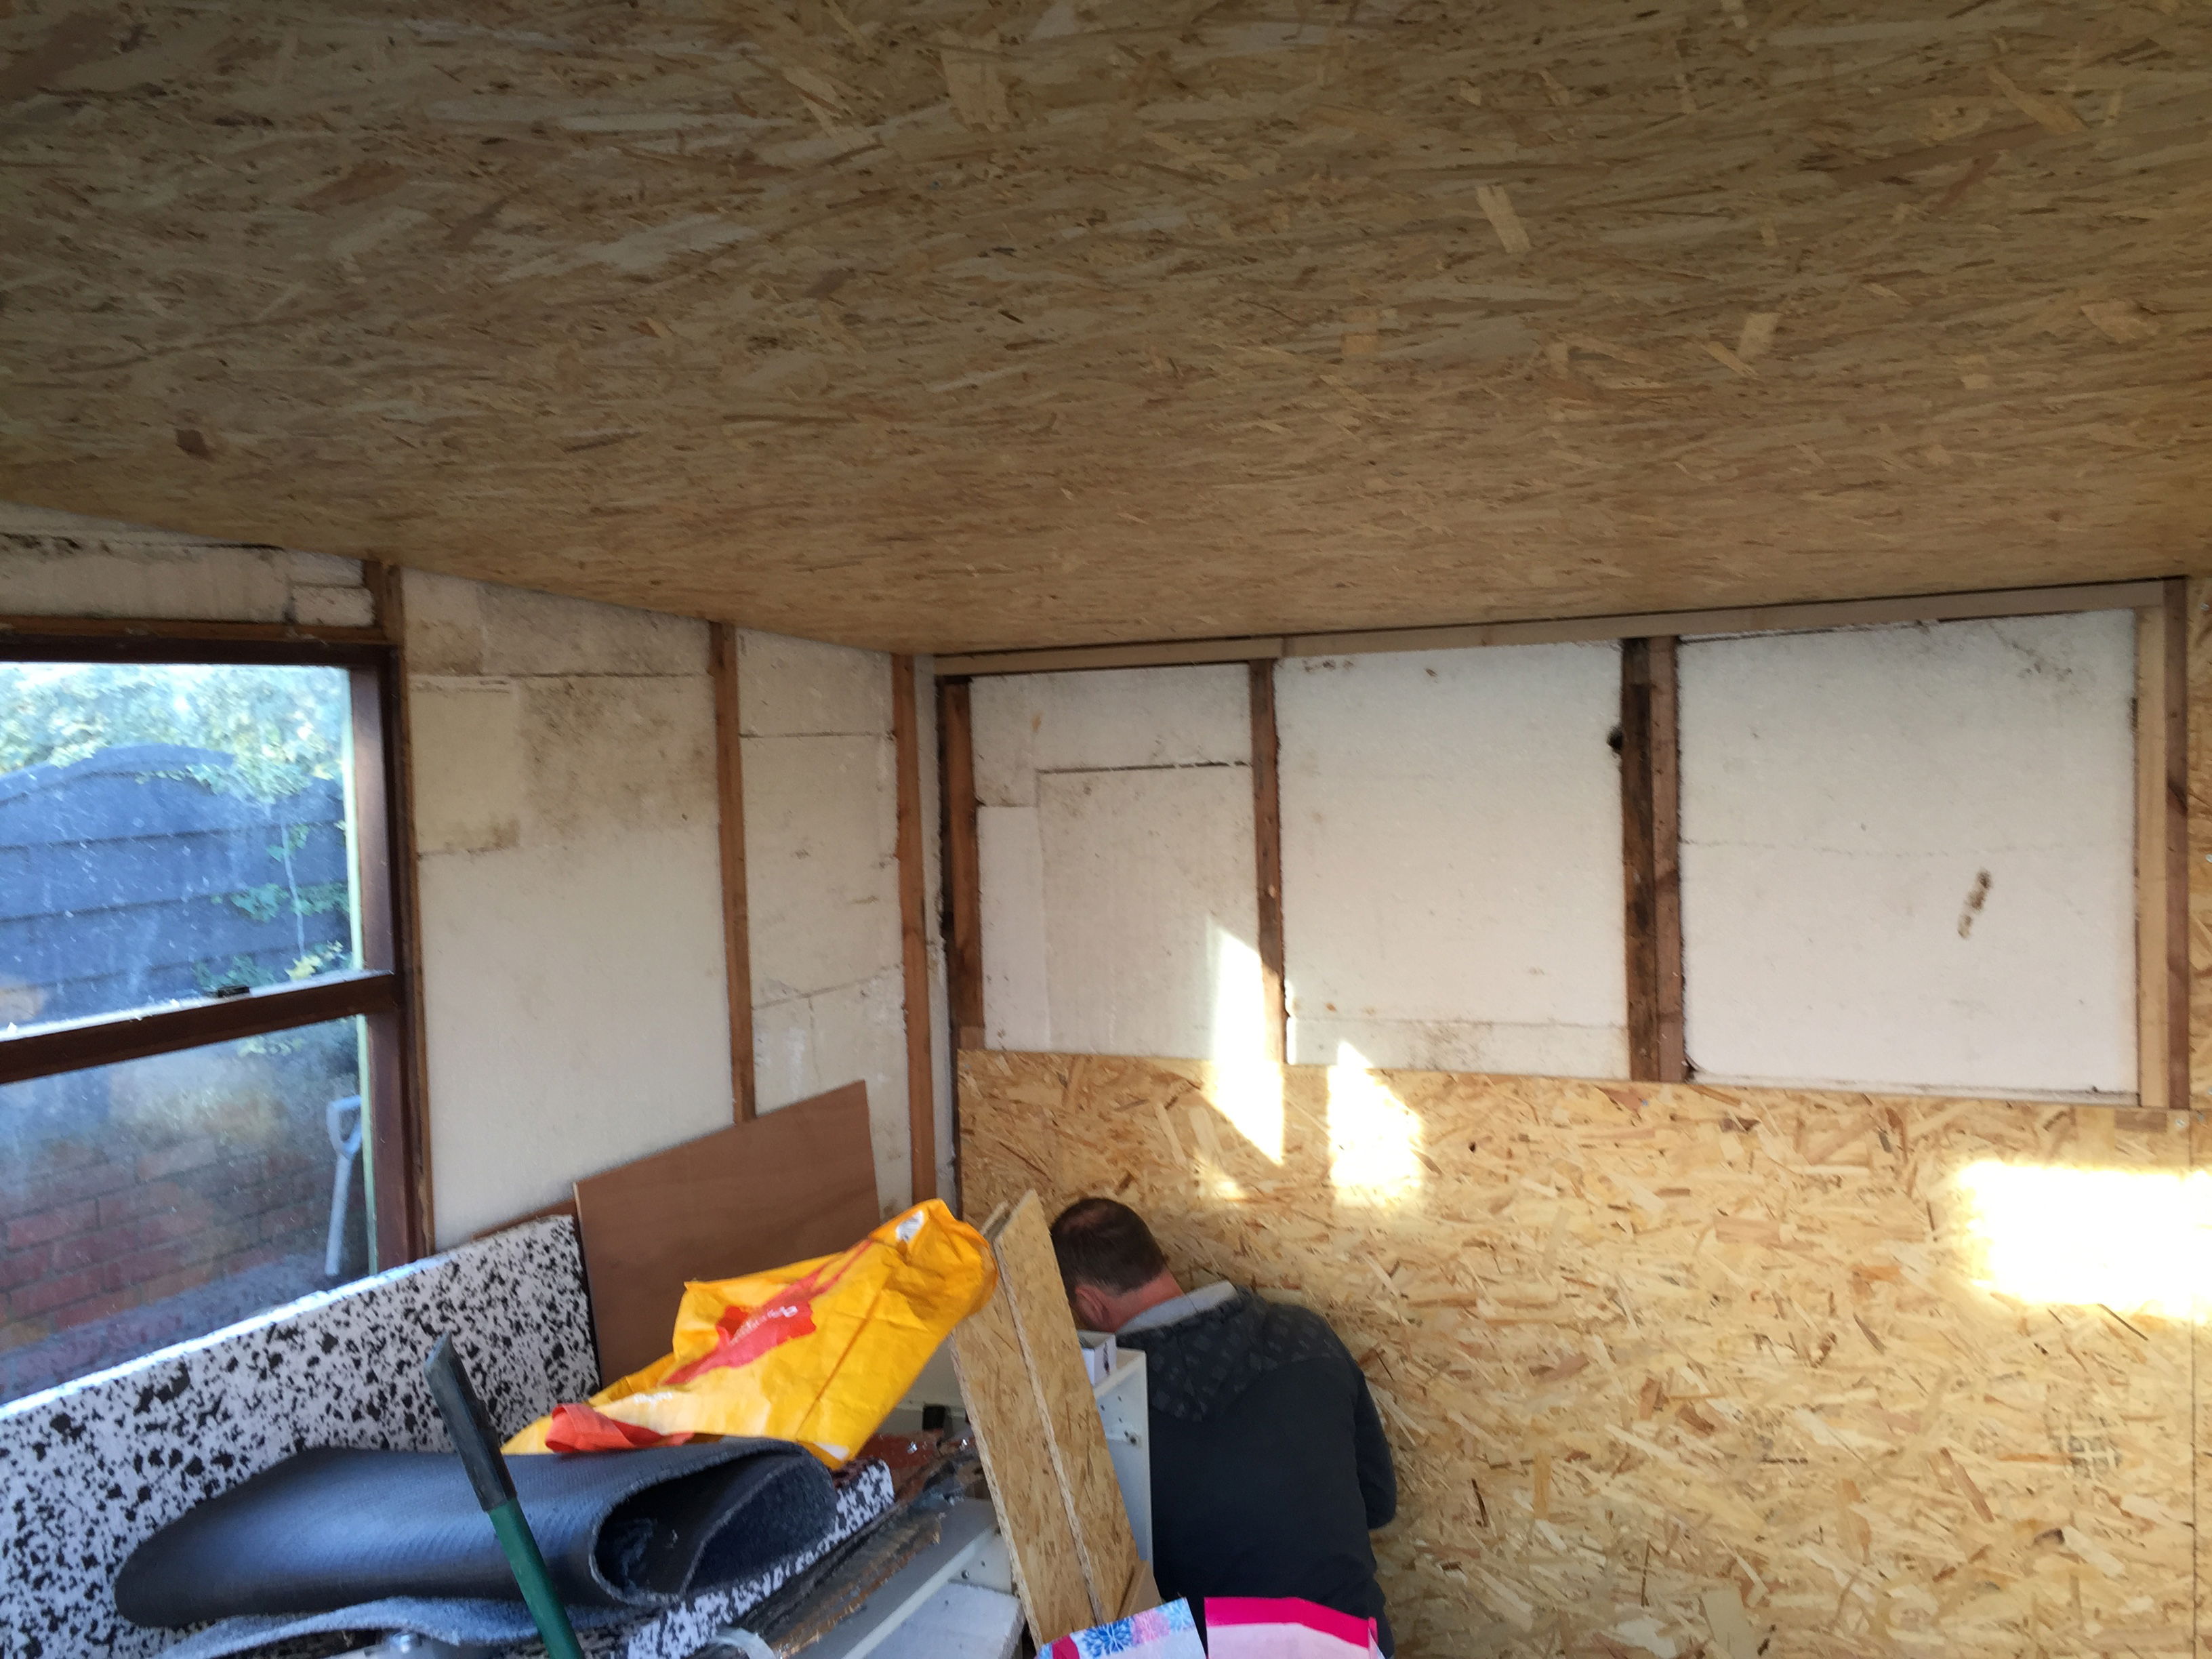
Time to work on the inside.
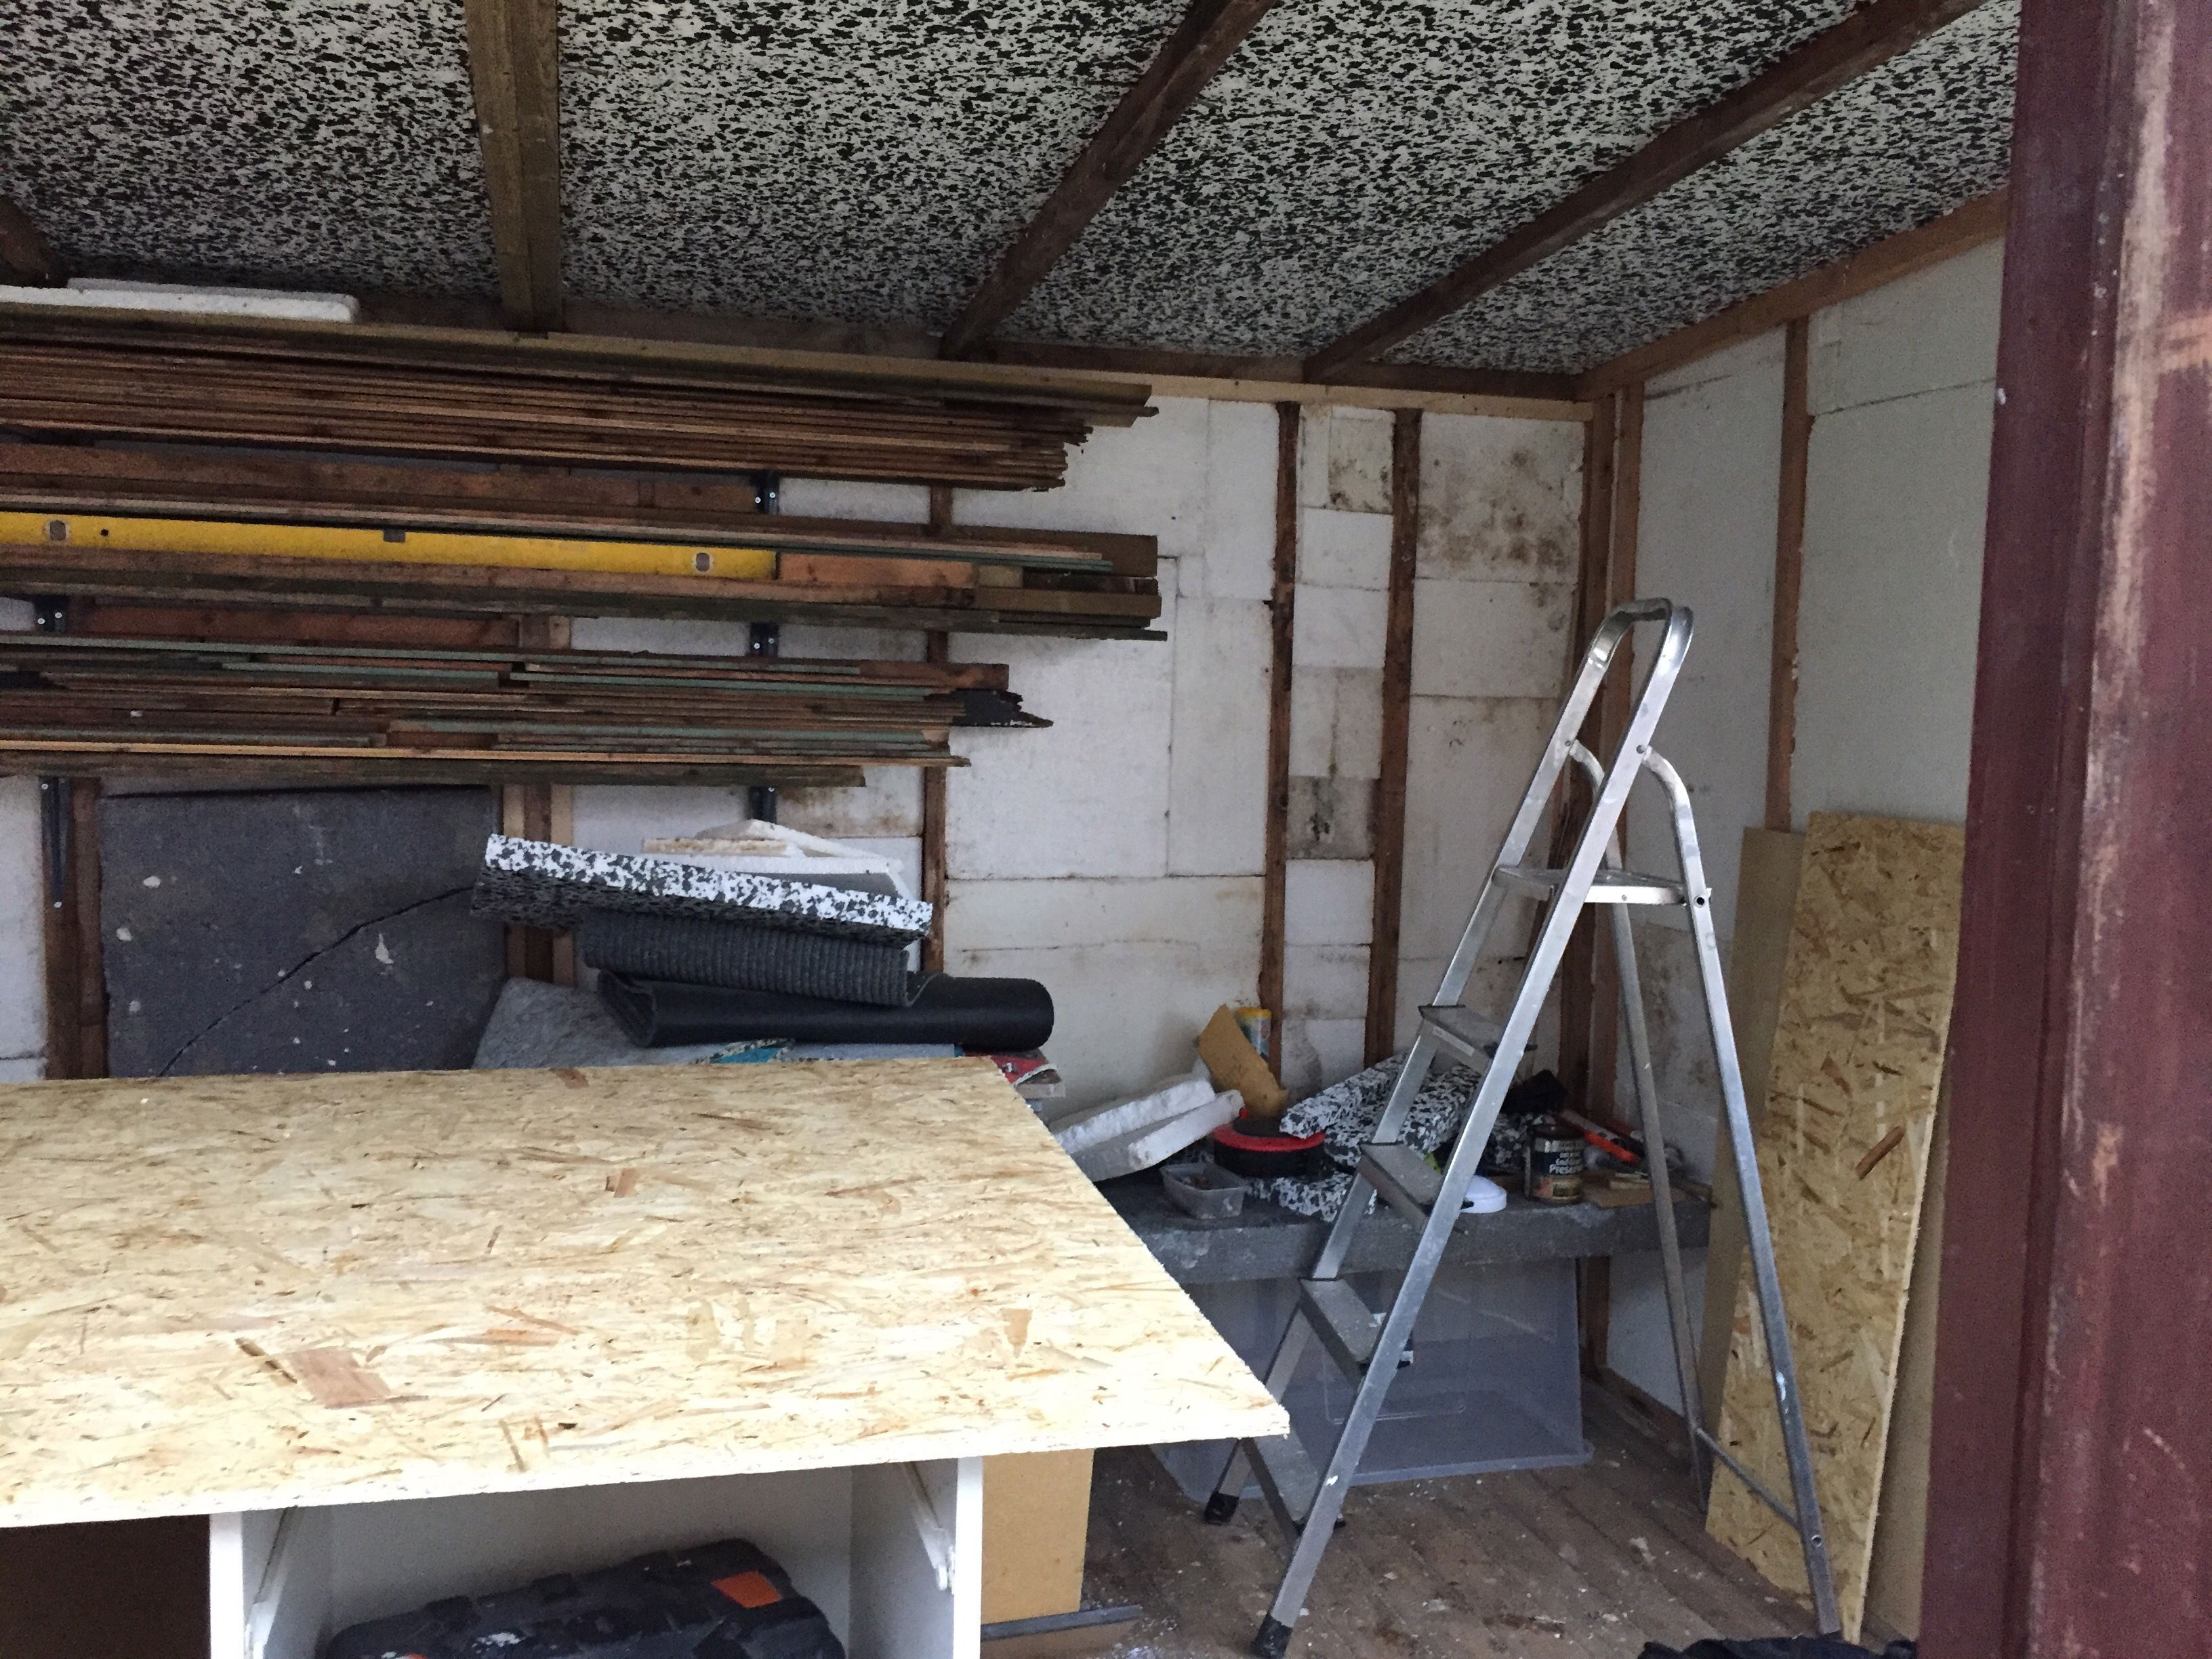
We had made sure that we kept every bit of wood and insulation that came with the shed. Re using and recycling is a big part of my reasons for getting this shed. All of the furniture inside my shed is reused or repurposed. OSB board was used to create the inside walls.
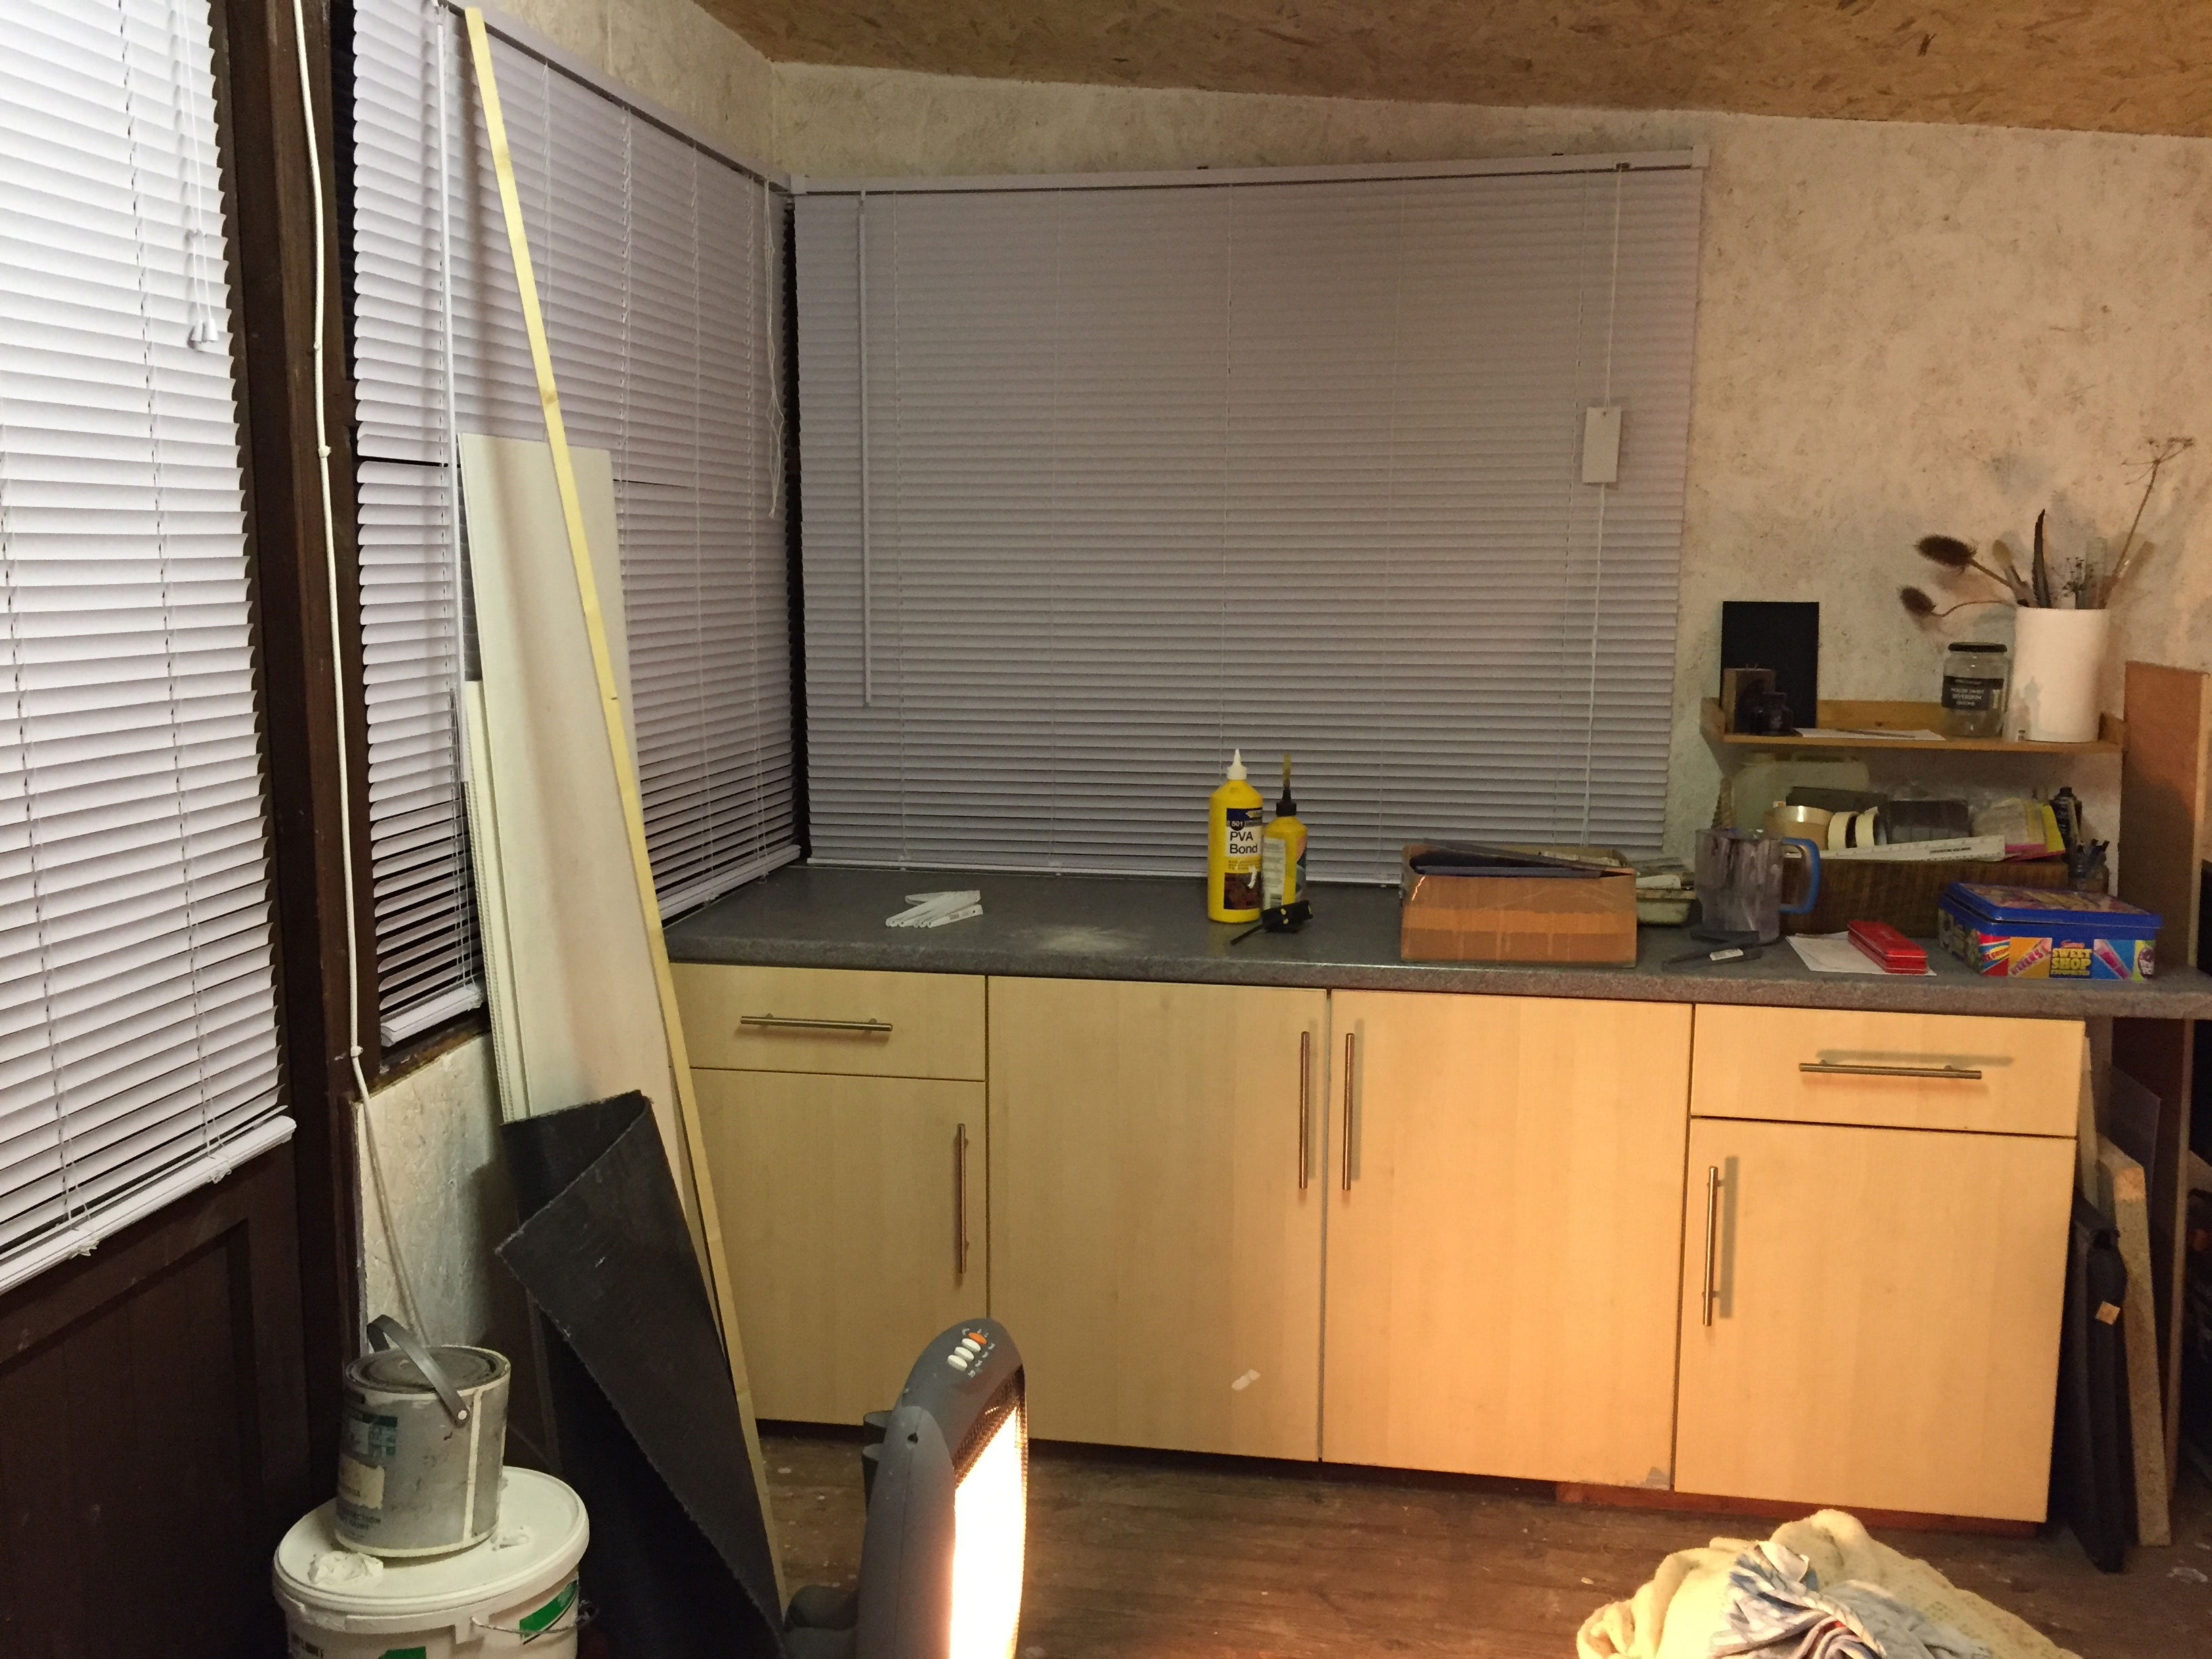
I painted the walls with a wash of white paint, added some cheap blinds on the windows and doors and reused some kitchen cabinets and worktop that we had kept hold of.
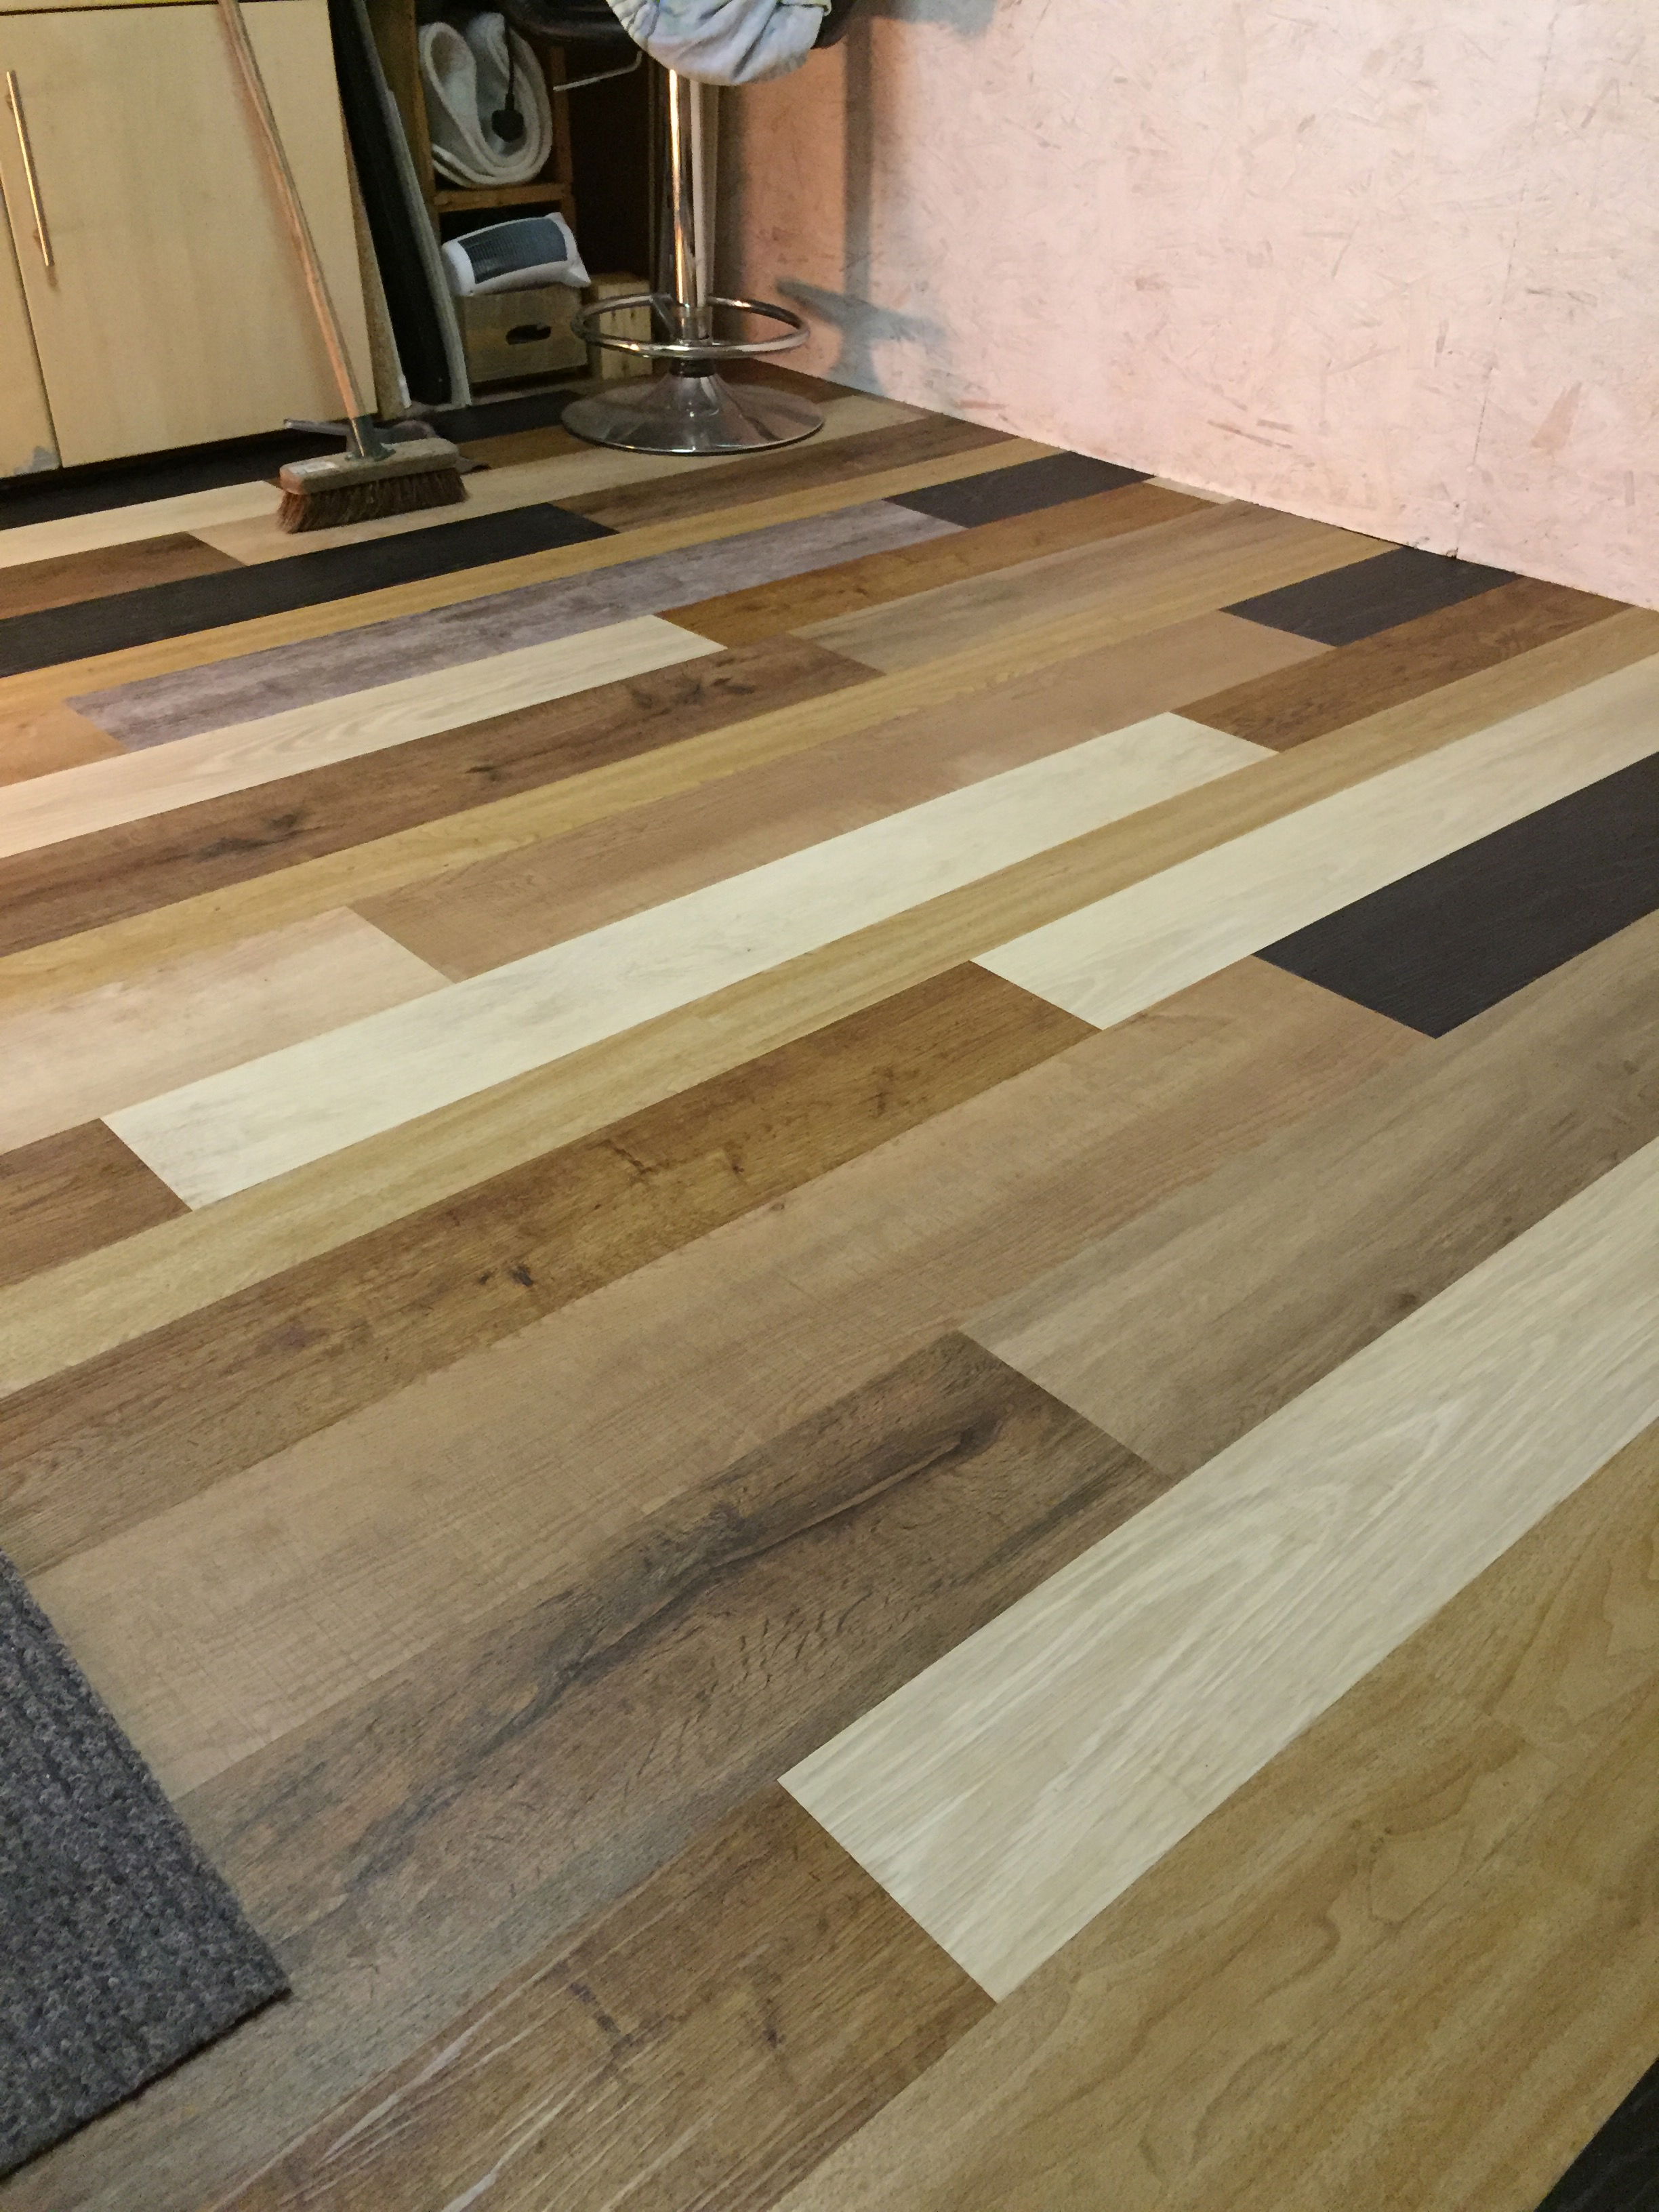
My flooring was laid. My hub is a flooring specialist and used up some LVT planks he had left over from some jobs. I absolutely love this picture. I cant really see much of the floor now as there is so much of my stuff in the shed now.
This is more like how it looks now. (When it's tidy!) Window frames and doors all painted white so it's all nice and airy. Also, I now have electricity installed. Hooray!!

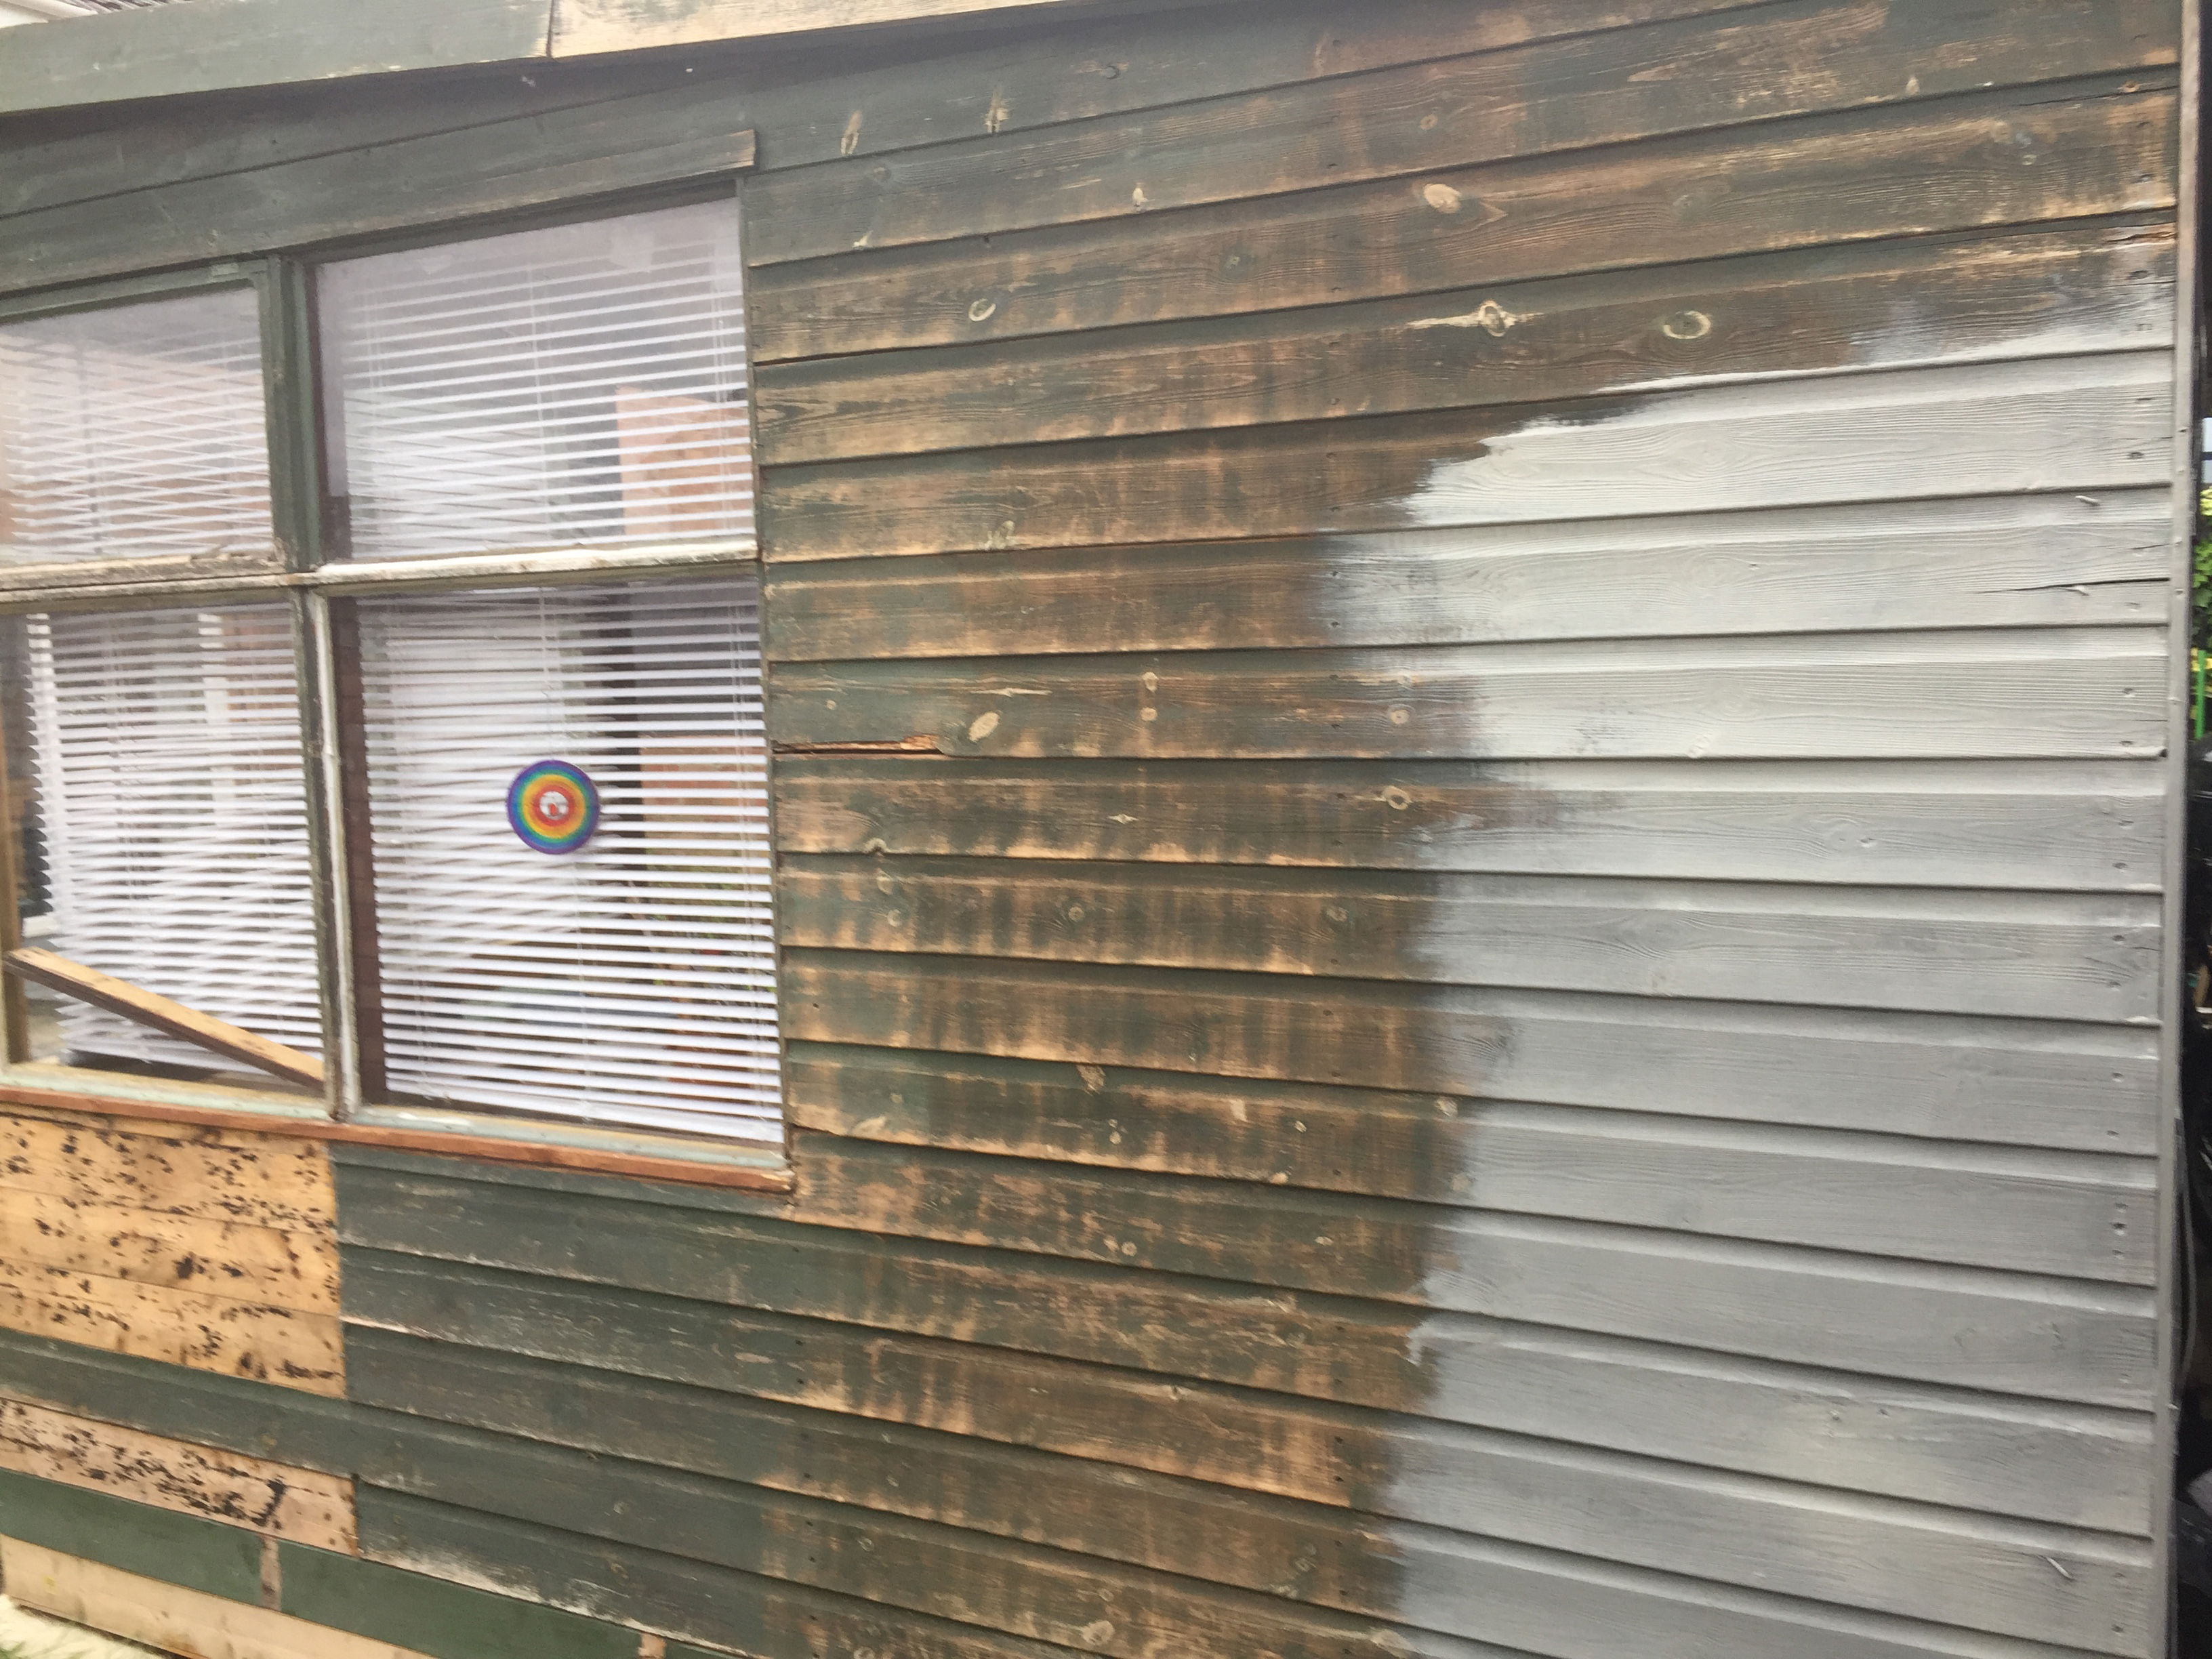
First layer of the outside paint.
Its all done now. I feel so incredibly lucky to have this space in my home and also proud of my hubby and I for what we have achieved. It has probably taken us almost 18 months to get to this stage. It is so worth it. Thank you Peter.xxx.